
PT Cruiser L4-2.4L Turbo VIN 8 (2005)
cylinder mounting flange making sure the seal fits squarely in its groove (Fig. 97).
CAUTION: If resistance is met during master cylinder insertion into power brake booster, the master cylinder push rod may not be lined up with
the booster push rod. Remove the master cylinder, realign and insert it again.
4. Line the master cylinder mounting holes up with the mounting studs on the power brake booster. Ensure the master cylinder piston push rod lines
up with the booster push rod, then carefully slide the master cylinder into the power brake booster until it contacts the face of the booster.
5. Install the two master cylinder mounting nuts (Fig. 86). Bosch Master Cylinder - Tighten each nut to 18 Nm (160 inch lbs.). Continental Teves
Master Cylinder - Tighten each nut to 25 Nm (221 inch lbs.).
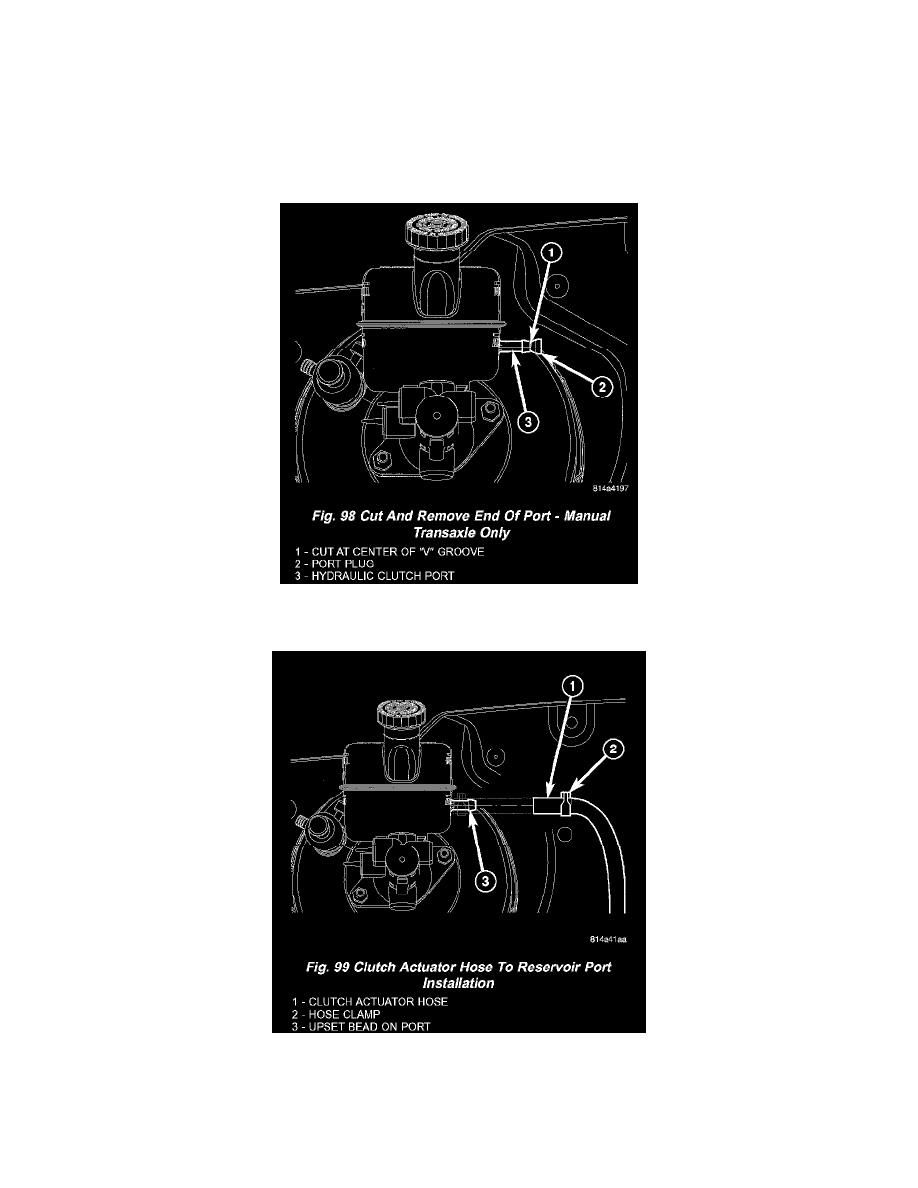
6. Continental Teves Master Cylinder Only - If equipped with a manual transaxle and a new reservoir is being installed, using an appropriate cutting
tool, cut the clutch actuator port at "V" groove opening the port. Discard the severed plug (Fig. 98).
7. Continental Teves Master Cylinder Only - If equipped with a manual transaxle, slide the clutch actuator hose onto the reservoir port (Fig. 99).
Install the hose clamp just past the upset bead on the port.
8. Connect the primary and secondary brake tubes to the master cylinder (Fig. 84). Tighten all tube nuts to 17 Nm (145 inch lbs.).
9. Connect the brake fluid level switch wiring connector.
10. Install the brake booster vacuum supply hose.