
PT Cruiser L4-2.4L Turbo VIN 8 (2005)
Brake Master Cylinder: Service and Repair
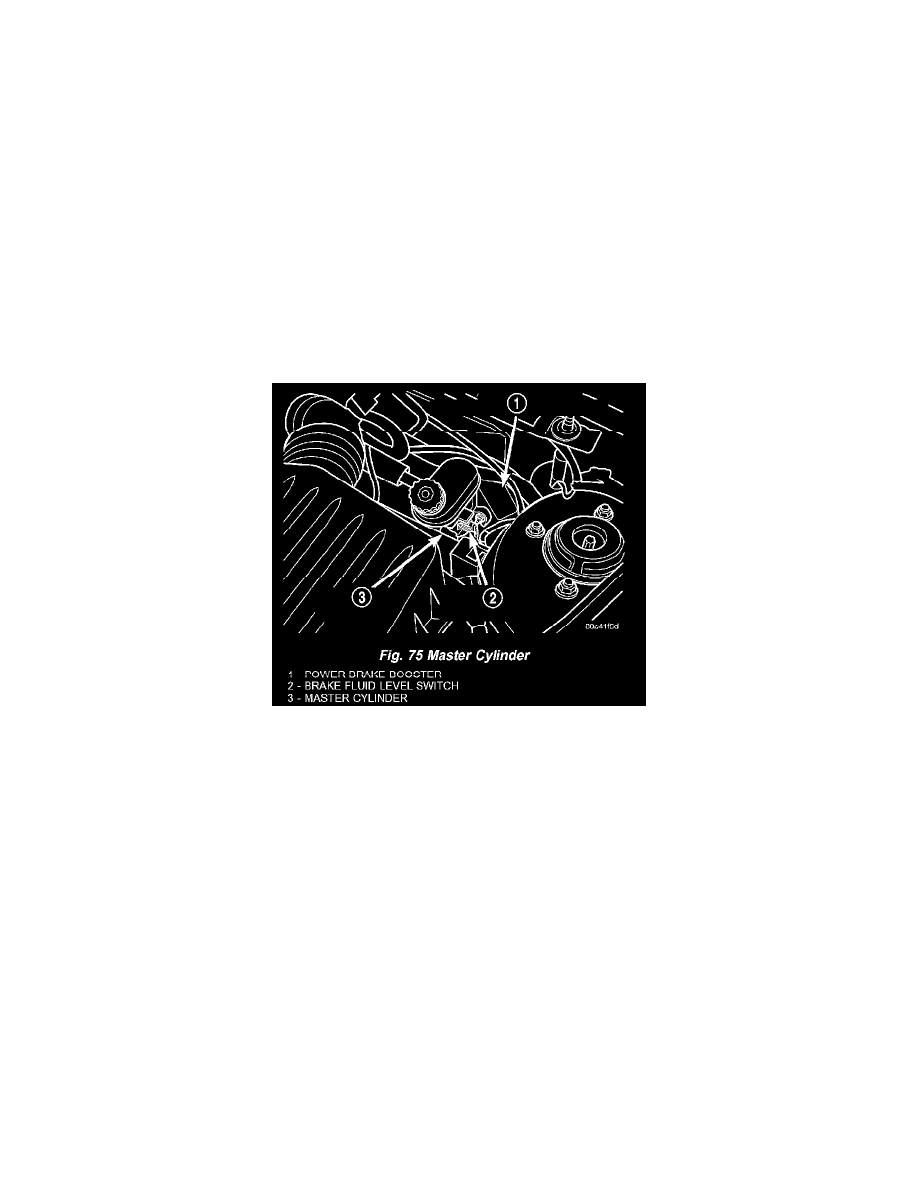
Brake Master Cylinder
LHD
MASTER CYLINDER
REMOVAL - LHD WITH ABS
NOTE: Before proceeding refer to Service Precautions.
CAUTION: The vacuum in the power brake booster must be pumped down before removing the master cylinder to prevent the booster from sucking
in any contamination. This can be done by pumping the brake pedal while the engine is not running until a firm brake pedal is achieved.
1. With the engine not running, pump the brake pedal 4-5 strokes until the pedal feel is firm.
2. Unclip the air cleaner cover (two clips) and move the cover aside.
3. Remove the air cleaner housing by pulling straight up.
4. Disconnect the negative (ground) cable from the battery and isolate the cable.
5. Unlatch the power distribution center, lift it up, and move it to the side.
6. Remove the vehicle wiring harness connector from brake fluid level switch in master cylinder brake fluid reservoir (Fig. 75).
7. Disconnect the primary and secondary brake tubes at the master cylinder outlet ports (Fig. 76). Install plugs at all of the open brake tube outlets on
the master cylinder.