
PT Cruiser L4-2.4L Turbo VIN 8 (2005)
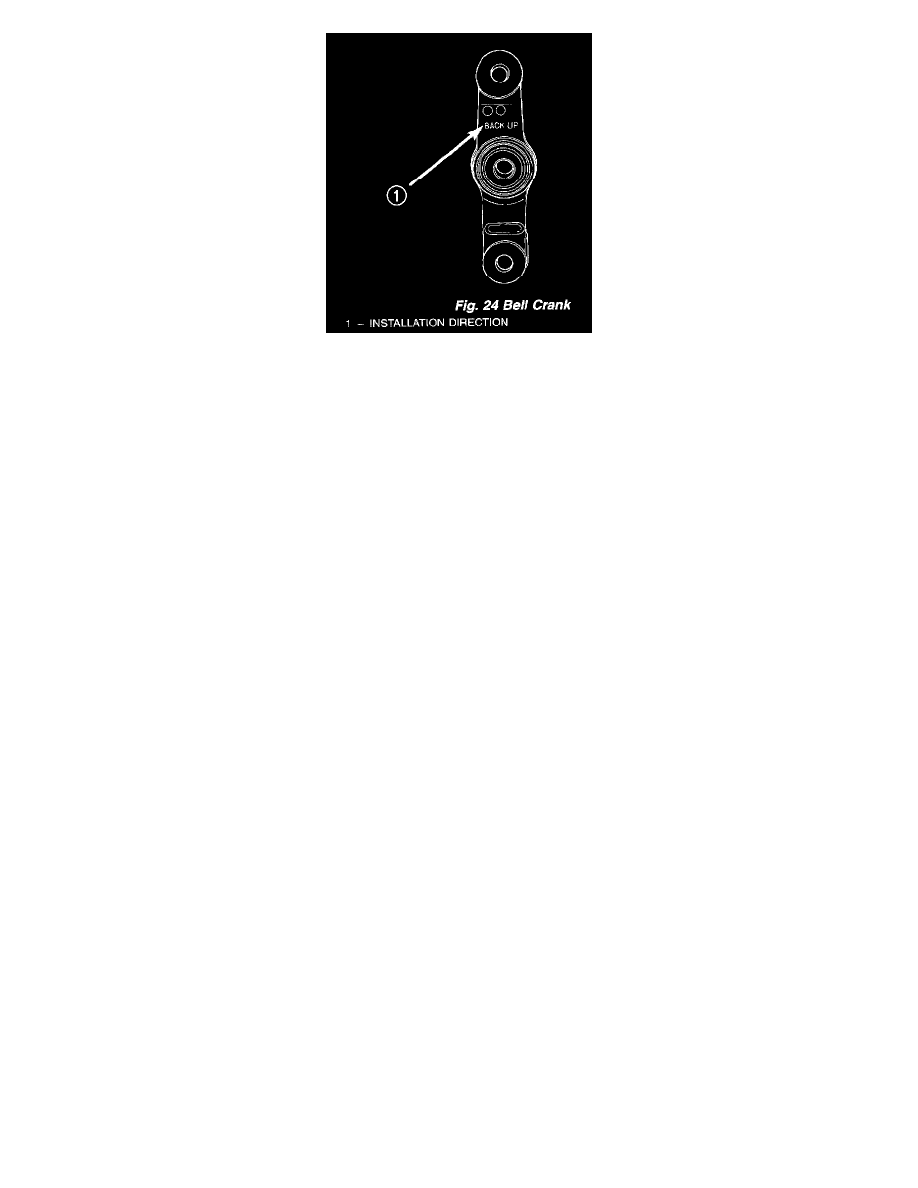
1. Install the pivot bolt through the front of the watts link bell crank. Make sure the words "BACK UP" are towards the rear.
2. Start the pivot bolt with the bell crank attached into the front of the axle center mounting hole.
CAUTION: Although both ends of the bell crank appear to be the same, they are not. When installing the watts links and bell crank, make sure
the bell crank is properly positioned. When mounted properly, the words "BACK UP" should be able to be read from the rear over the top of the
axle.
NOTE: The upper link extends from the right side of the vehicle to the upper end of the bell crank while the lower link extends from the left side
of the vehicle to the lower end of the bell crank.
3. Install the upper and lower links to the bell crank. Install the nuts on the ball joint studs and tighten them to a torque of 14 Nm (10 ft. lbs.) plus an
additional 180° turn after torque is met.
4. Slide the bell crank pivot bolt all the way through the axle.
5. Place the washer and nut on the end of the pivot bolt and tighten it to a torque of 149 Nm (110 ft. lbs.).
6. Verify the words "BACK UP" can be read on the bell crank from the rear over the top of the axle.
7. Lower the vehicle to the ground.