
PT Cruiser L4-2.4L Turbo VIN 8 (2005)
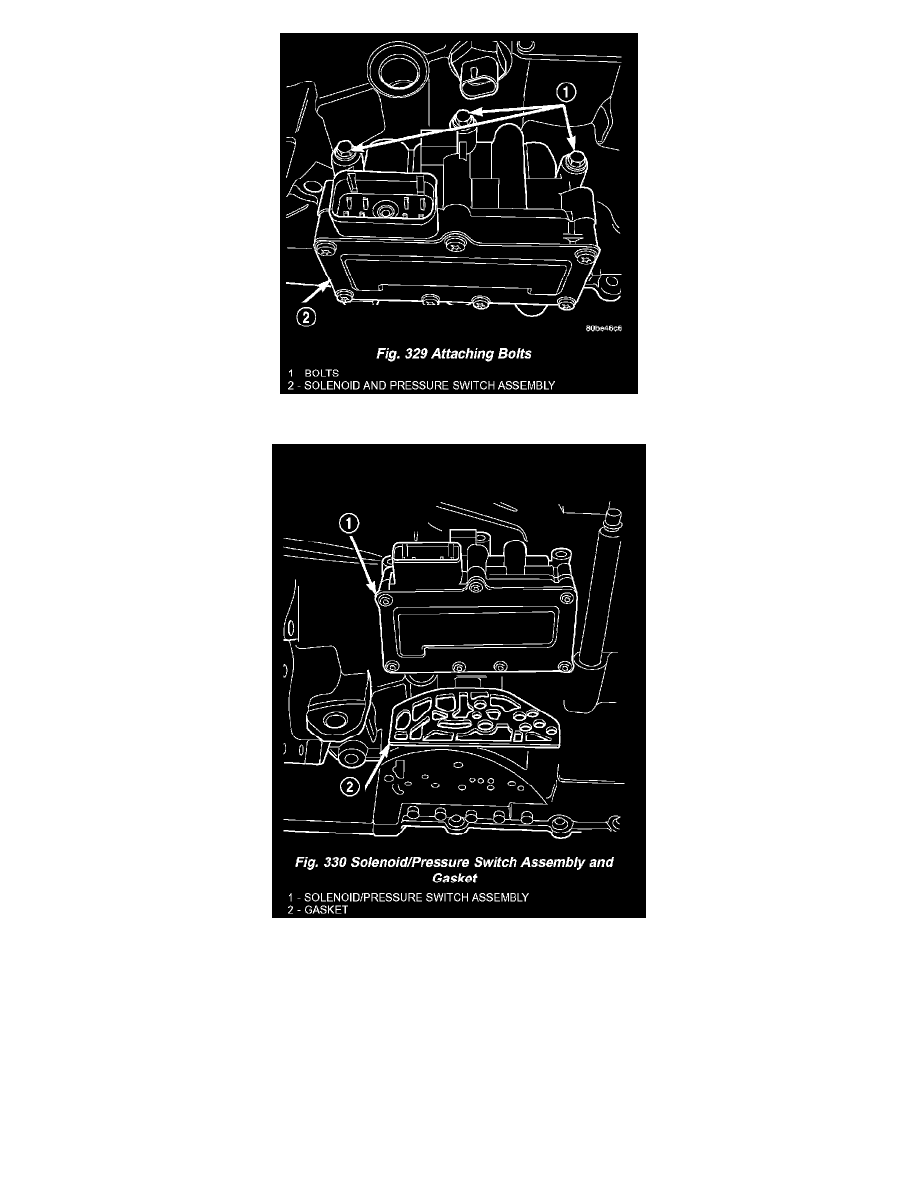
8. Remove the three solenoid/pressure switch assembly-to-transaxle case bolts (Fig. 329).
9. Remove solenoid/pressure switch assembly and gasket (Fig. 330).
CAUTION: Be sure to keep foreign material from entering ports in transaxle case. Erratic transaxle operation and/or failure can result.
INSTALLATION
1. Install solenoid/pressure switch assembly to case using a new gasket (Fig. 330).
2. Install bolts and torque to 13 Nm (110 inch lbs.) (Fig. 329).
3. Install 8-way connector and torque screw to 4 Nm (35 inch lbs.).
4. Uncap and install transmission oil cooler lines.
5. Install input speed sensor (Fig. 328) and torque to 27 Nm (20 ft. lbs.).
6. Install the battery tray (Fig. 327).
7. Install the battery and hold down clamp (Fig. 326).