
Sebring Convertible V6-2.7L (2009)
1. Place the top in the vertical position. See: Description and Operation/Convertible Top - Description.
2. Remove the header trim panel. See: Convertible Top Moulding / Trim/Service and Repair/Header Trim - Removal.
3. Release the "J" strip on the headliner at the header and allow the headliner to hang down.
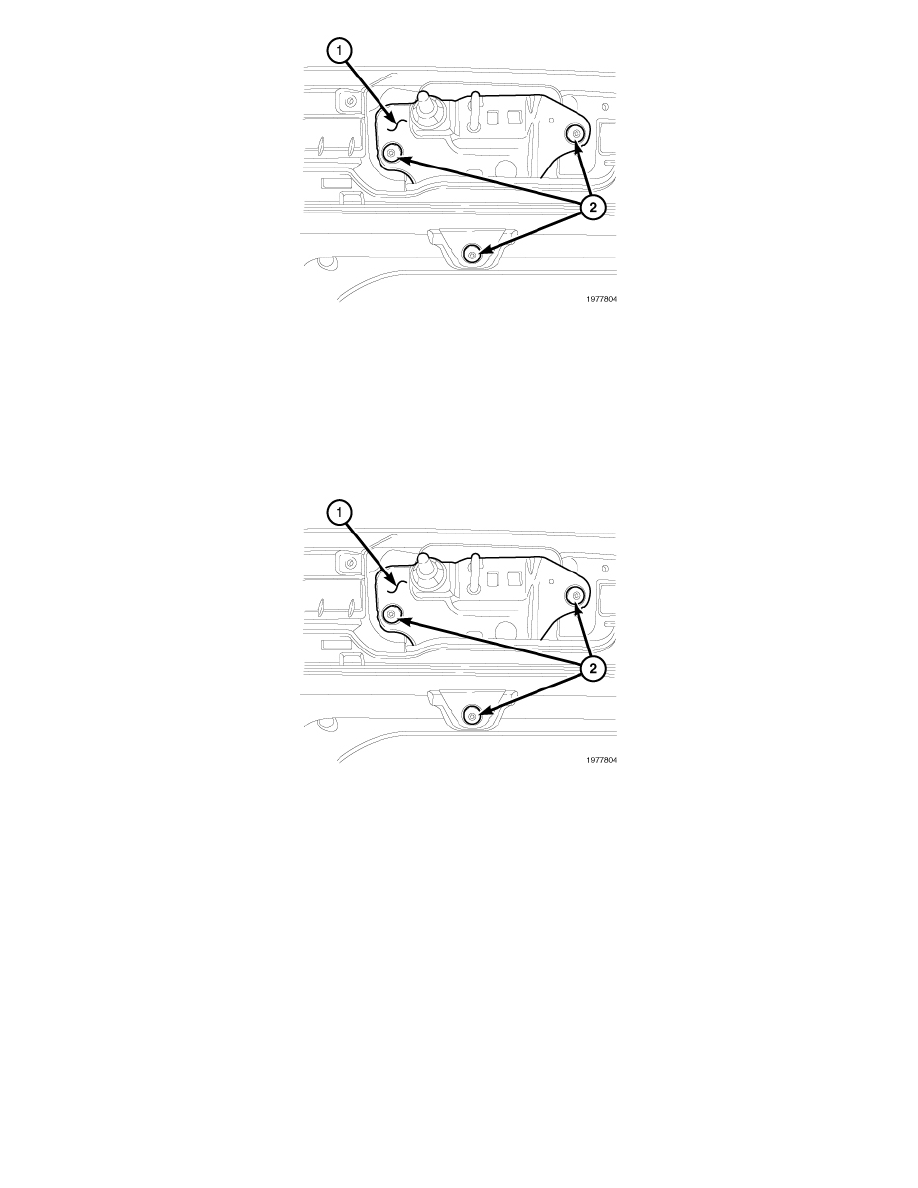
4. Remove the striker plate mounting fasteners (2).
5. Remove the striker plate (1) from the vehicle.
Convertible Top Header Latch Striker Plate - Installation
INSTALLATION
1. Position the striker plate and loosely install fasteners.
2. Close and latch the top.
3. Tighten two fasteners to 15 N-m (11 ft. lbs.).
4. Open top to the vertical position.
5. Tighten remaining fastener to 15 N-m (11 ft. lbs.).
6. Position the headliner at the header casting and secure the "J" strip.
7. Install the header trim panel. See: Convertible Top Moulding / Trim/Service and Repair/Header Trim - Installation
8. Close and latch the convertible top.
Folding Top Latch - Removal
REMOVAL