
Sebring LX Convertible L4-2.4L VIN X (2002)
Connecting Rod: Removal and Replacement
REMOVAL
1. Remove cylinder head.
2. Remove oil pan.
3. Remove Balance Shaft Carrier Assembly.
4. Remove top ridge of cylinder bores with a reliable ridge reamer before removing pistons from cylinder block. Be sure to keep tops of pistons
covered during this operation.
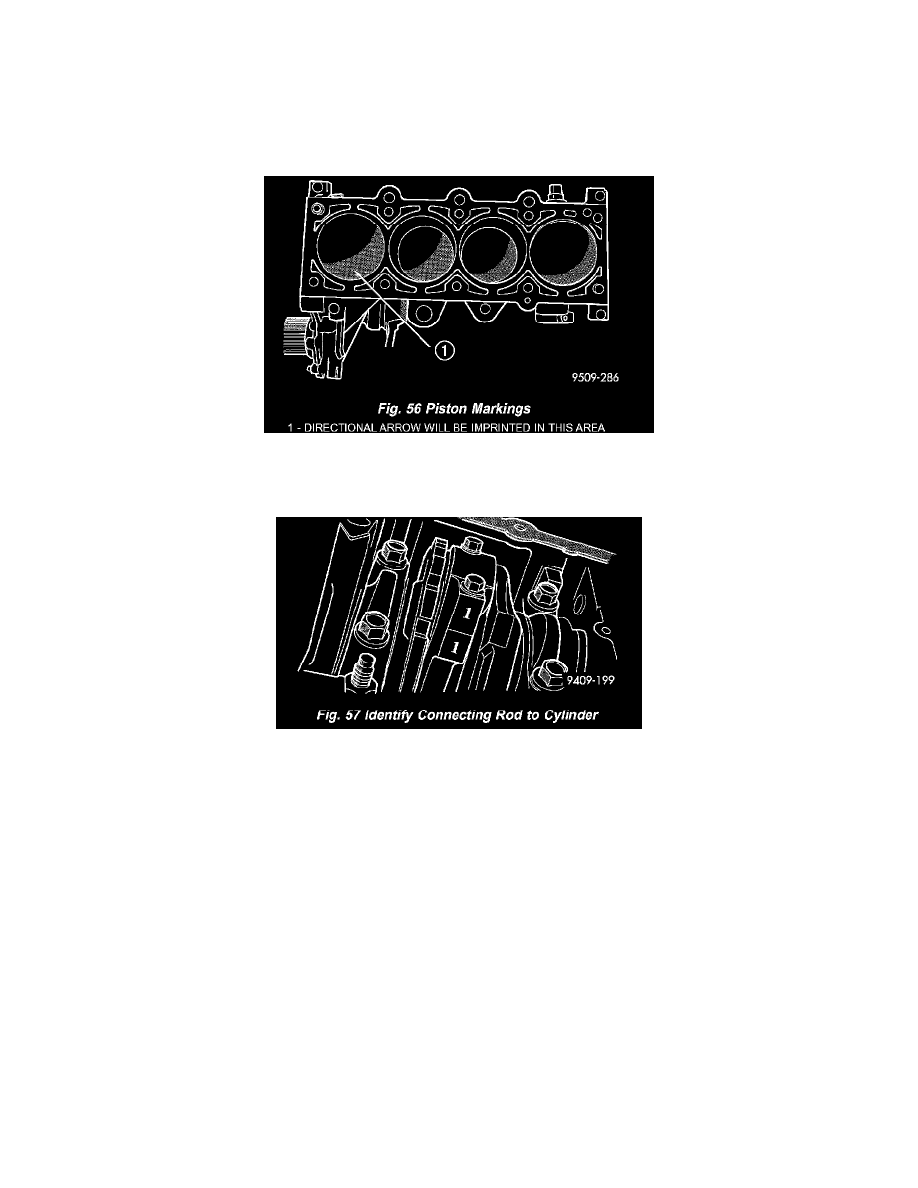
5. Pistons have a directional stamping in the front half of the piston facing towards the front of engine (Fig. 56).
6. Pistons and connecting rods must be removed from top of cylinder block. Rotate crankshaft so that each connecting rod is centered in cylinder
bore.
7. Using a permanent ink or paint marker, identify cylinder number on each connecting rod cap (Fig. 57).
CAUTION: DO NOT use a number stamp or a punch to mark connecting rods. Damage to connecting rod could occur.
8. Remove connecting rod bolts and cap. Care should be taken not to damage the fracture rod and cap surfaces.
NOTE: Do not reuse connecting rod bolts.
CAUTION: Care must be taken not to damage the fractured rod and cap joint surfaces, as engine damage many occur.