
Sebring LXI Sedan V6-2.7L VIN R (2002)
To perform removal and replacement of the lower control arm isolator bushings, the lower control arm must be removed from the vehicle.
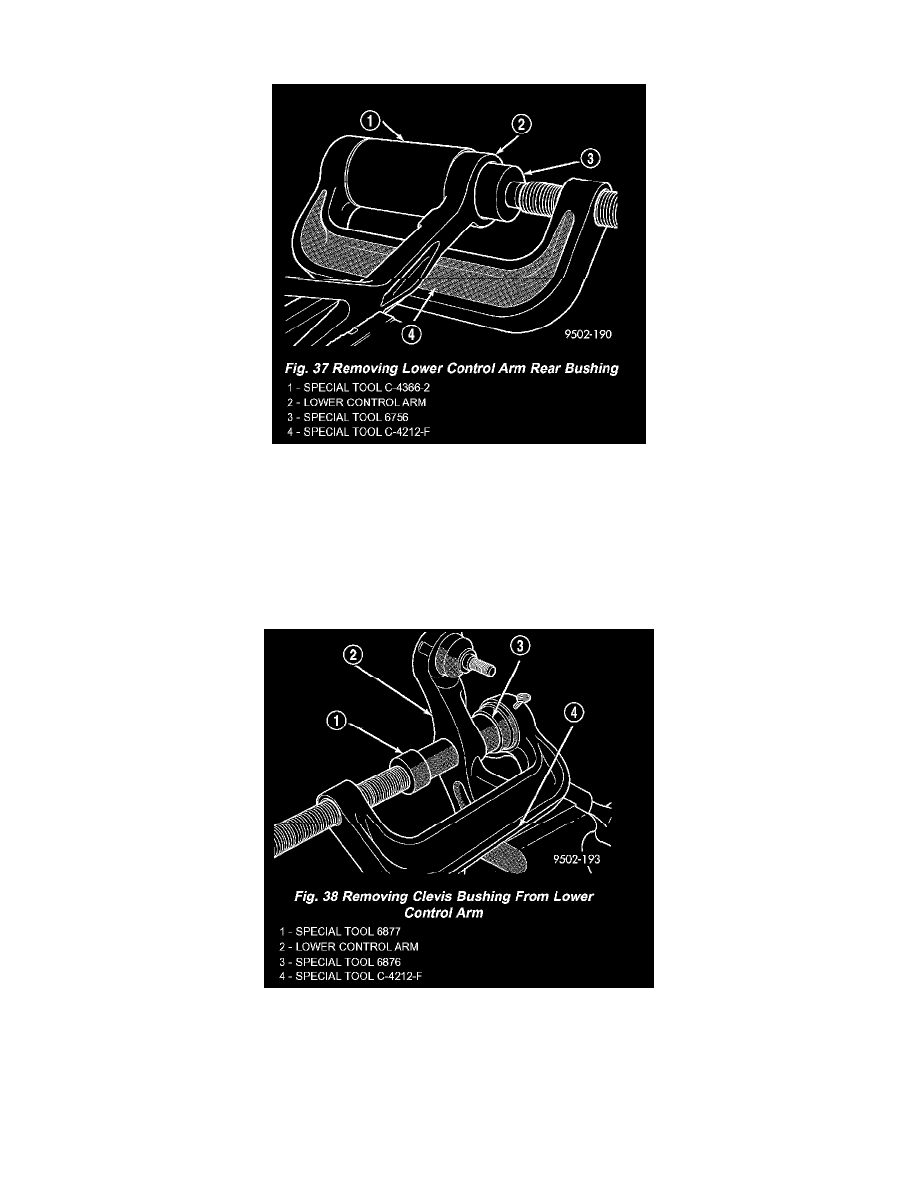
1. Remove lower control arm assembly from vehicle.
2. Install Bushing Remover, Special Tool 6756 and Bushing Receiver, Special Tool C-4366-2 on Special Tool C-4212-F.
3. Install Special Tools assembled for removal of the rear isolator bushing on the lower control arm. Be sure Special Tool C-4366-2 is square on
lower control arm and Special Tool 6756 is positioned correctly on isolator bushing.
4. Tighten screw on Remover/Installer Special Tool C-4212-F to press rear bushing out of lower control arm.
DISASSEMBLY - CLEVIS BUSHING
To perform removal and replacement of the lower control arm clevis bushing, the lower control arm must be removed from the vehicle.
1. Remove lower control arm assembly from vehicle.
2. Install Bushing Remover, Special Tool 6877 and Bushing Receiver, Special Tool 6876 on Special Tool C-4212-F.
3. Install lower control arm on Special Tools assembled for removal of the clevis isolator bushing. Be sure Special Tool 6876 is square on lower
control arm and Special Tool 6877 is positioned correctly on clevis bushing.
4. Tighten screw on Remover/Installer Special Tool C-4212-F to press clevis bushing out of lower control arm.
ASSEMBLY - FRONT ISOLATOR BUSHING
To perform removal and replacement of the lower control arm isolator bushings, the lower control arm must be removed from the vehicle.