
Town & Country AWD V6-3.8L VIN L (2003)
Housing Assembly HVAC: Service and Repair
Rear HVAC Housing Removal and Installation
REAR HVAC HOUSING
REMOVAL
WARNING: REFER TO THE APPLICABLE WARNINGS AND CAUTIONS FOR THIS SYSTEM BEFORE PERFORMING THE
FOLLOWING OPERATION.
1. Recover the refrigerant from the refrigerant system. Refer to: "Refrigerant : Service and Repair" See: Refrigerant/Service and Repair
2. Drain the engine cooling system. Refer to: "Engine, Cooling and Exhaust : Cooling System : Service and Repair" See: Engine, Cooling and
Exhaust/Cooling System/Service and Repair
3 Disconnect and isolate the battery negative cable.
4. Raise and support the vehicle.
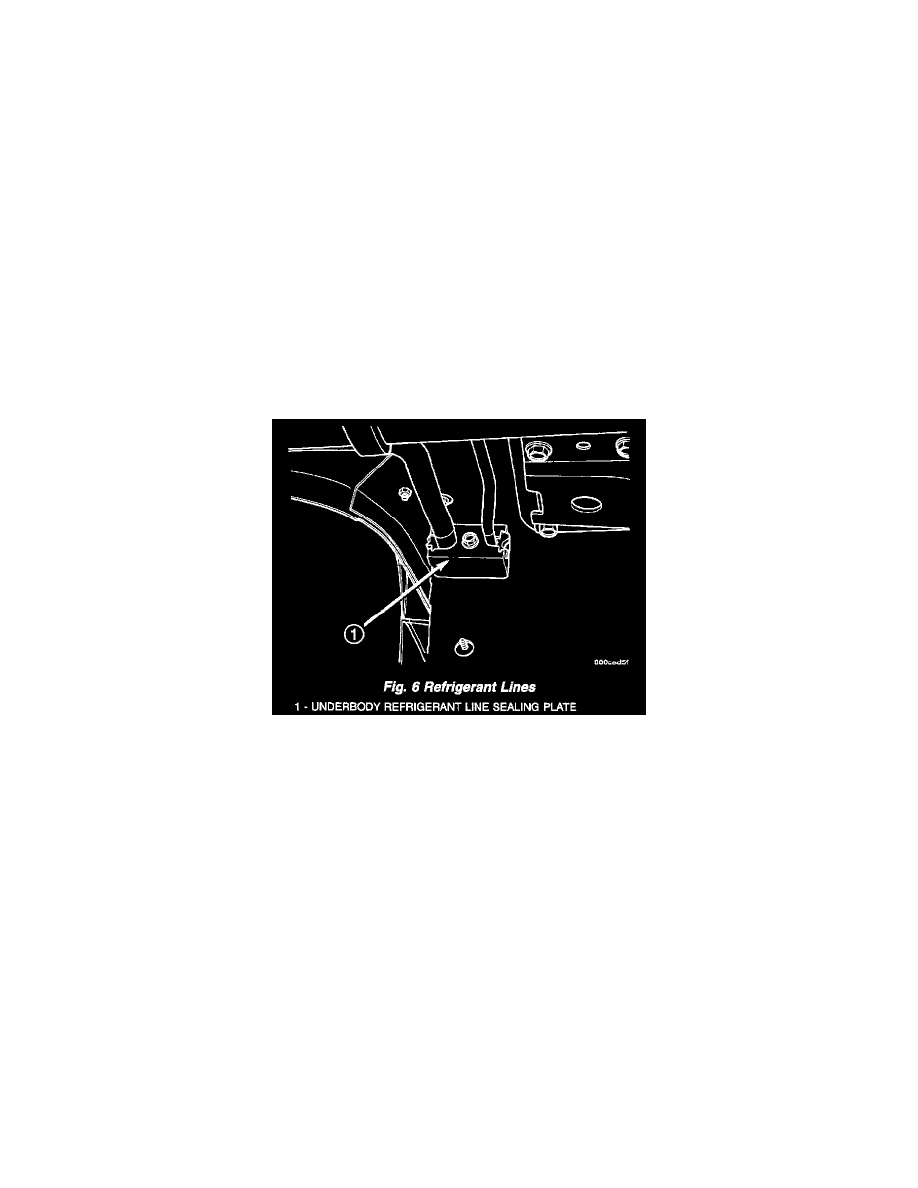
5. Disconnect the underbody refrigerant line sealing plate from the rear heater-A/C unit evaporator extension line sealing plate that extends through
the rear floor panel behind the right rear wheel housing.
Fig.6 Refrigerant Lines
6. Remove the seals from the liquid line and suction line fittings and discard.
7. Install plugs in, or tape over the opened liquid line and suction line fittings and both ports in the evaporator extension line sealing plate.
8. Remove the three nuts that secure the rear heater-A/C unit mounting studs to the rear floor panel behind the right rear wheel housing.