
Voyager L4-2.4L VIN B (2001)
5. Reconnect the battery negative cable.
Rear A/C Distribution Duct Replacement
REMOVAL
1. Remove the trim from the right quarter inner panel and the right D pillar. Refer to: "Body and Frame : Interior Trim : Service and Repair"
See: Body and Frame/Interior Moulding / Trim/Trim Panel/Service and Repair
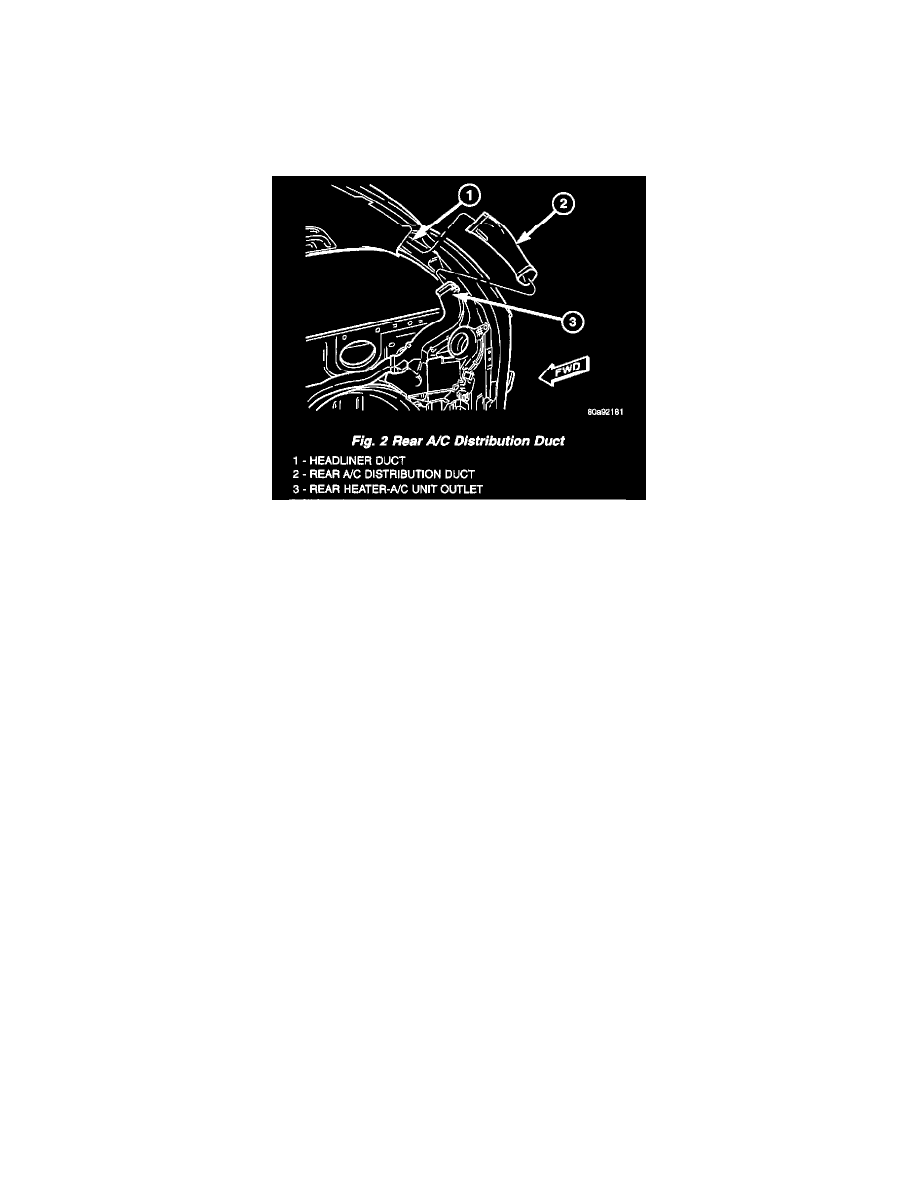
Fig.2 Rear A/C Distribution Duct
2. Slide the rear air conditioning distribution duct upwards far enough to disengage it from the outlet at the top of the rear heater-A/C unit housing.
3. While pulling the lower end of the auxiliary air conditioning distribution duct away from the rear heater-A/C unit outlet, disengage the upper end
of the distribution duct from the headliner duct.
4. Remove the auxiliary air conditioning distribution duct from the vehicle.
INSTALLATION
1. Align the upper end of the rear air conditioning distribution duct to the headliner duct.
2. Slide the upper end of the rear air conditioning distribution duct onto the headliner duct far enough to align the lower end of the duct with the
outlet at the top of the rear heater-A/C unit housing.
3. Slide the rear air conditioning distribution duct downwards far enough to engage it onto the outlet at the top of the rear heater-A/C unit housing.
4. Reinstall the trim onto the right quarter inner panel and the right D pillar. Refer to: "Body and Frame : Interior Trim : Service and Repair"
See: Body and Frame/Interior Moulding / Trim/Trim Panel/Service and Repair
Rear Heater Distribution Duct Replacement
REMOVAL
1. Remove the trim from the right quarter inner panel. "Body and Frame : Interior Trim : Service and Repair" See: Body and Frame/Interior
Moulding / Trim/Trim Panel/Service and Repair