
Voyager L4-2.4L VIN B (2001)
Fuel Rail: Service and Repair
REMOVAL
1. Perform fuel system pressure release procedure before servicing or starting repairs. Refer to Fuel System Pressure Release Procedure
See: Fuel Filter/Fuel Pressure Release
2. Disconnect negative cable from battery.
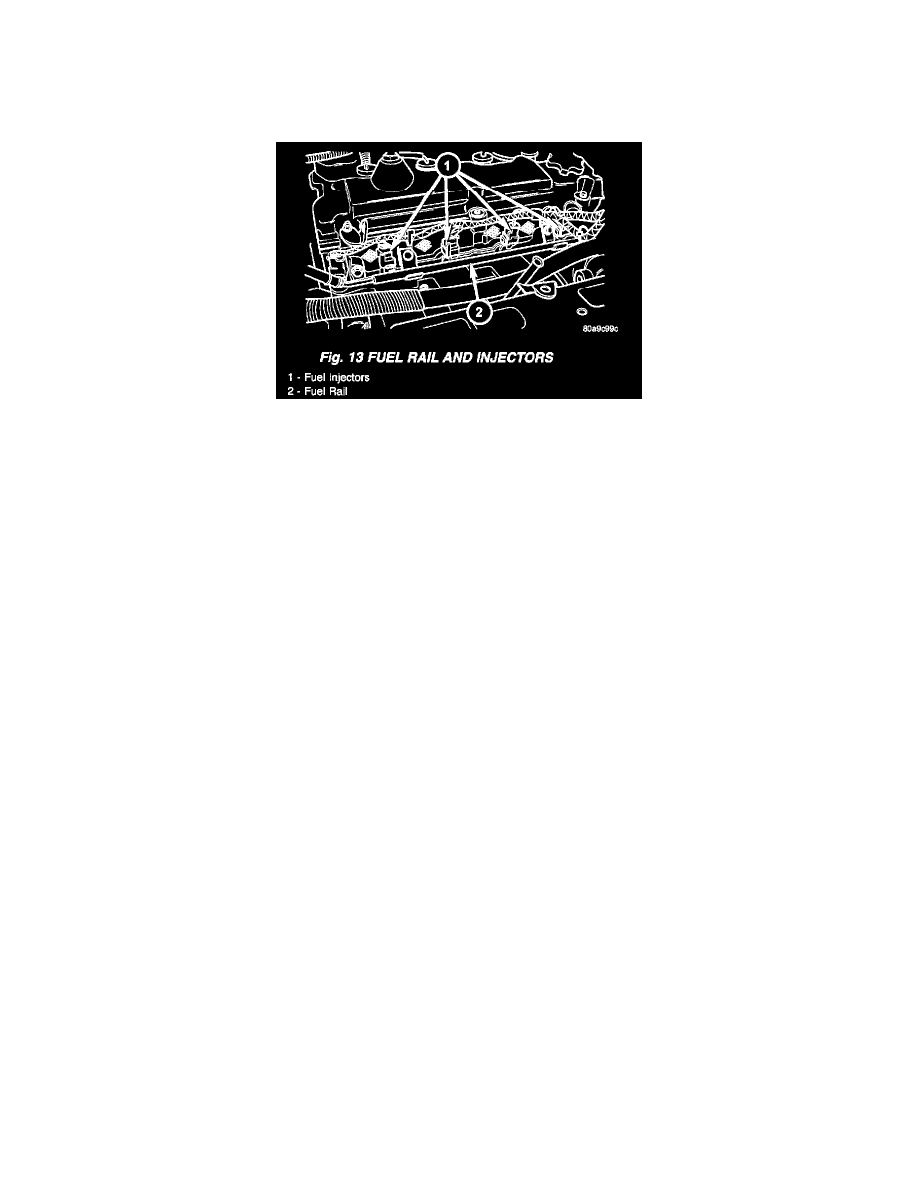
Fig. 13 Fuel Rail And Injectors
3. Disconnect the wiring connectors for fuel injectors harness (Fig. 13).
4. Remove wiring harness from brackets.
5. Disconnect the connectors from the fuel injectors.
6. Remove harness from vehicle.
7. Remove fuel hose quick connect fitting from the chassis tube. Refer to Fuel Hoses, Clamps and Quick Connect Fittings.
See: Fuel Line Coupler/Service and Repair
Place a shop towel under the connections to absorb any fuel spilled from the fitting.
WARNING: WRAP A SHOP TOWEL AROUND HOSES TO CATCH ANY GASOLINE SPILLAGE.
8. Remove fuel rail attaching bolts.
9. Remove fuel rail. Be careful not to damage the injector O-rings upon removal from their ports.
INSTALLATION
1. Ensure injector holes are clean. Replace O-rings if damaged.
2. Lubricate injector O-rings with a drop of clean engine oil to ease installation.
3. Put the tip of each injector into their ports. Push the assembly into place until the injectors are seated in the ports.
4. Install the fuel rail mounting bolts. Tighten bolts to 22 Nm (200 in. lbs.) torque.
5. Connect the connectors to the fuel injectors.
6. Install wiring harness to brackets.
7. Connect the wiring connectors to fuel injectors harness (Fig. 13).
8. Connect negative battery cable.
9. Use the DRBIII(R) scan tool to pressurize the fuel system. Check for leaks.