
Lanos S Hatchback L4-1.6L DOHC D-TEC MFI (1999)
1. Install the gear cover to the hydraulic modulator/motor pack assembly.
2. Secure it with Torx, head screws.
Tighten
Tighten the gear cover Torx head screws to 4 Nm (35 inch lbs.).
3. Install the hydraulic modulator/motor pack assembly into the vehicle. See: Hydraulic Modulator/Motor Pack Assembly
Motor Pack
Disassembly Procedure
1. Remove the hydraulic modulator/motor pack assembly from the vehicle. See: Hydraulic Modulator/Motor Pack Assembly
2. Remove the gear cover. See: Gear Cover
WARNING: The modulator drive gears are under spring load and will turn during disassembly. After removing the gear cover, exercise
extreme care not to place fingers into the gear set, since fingers can be pinched by the rotating gears.
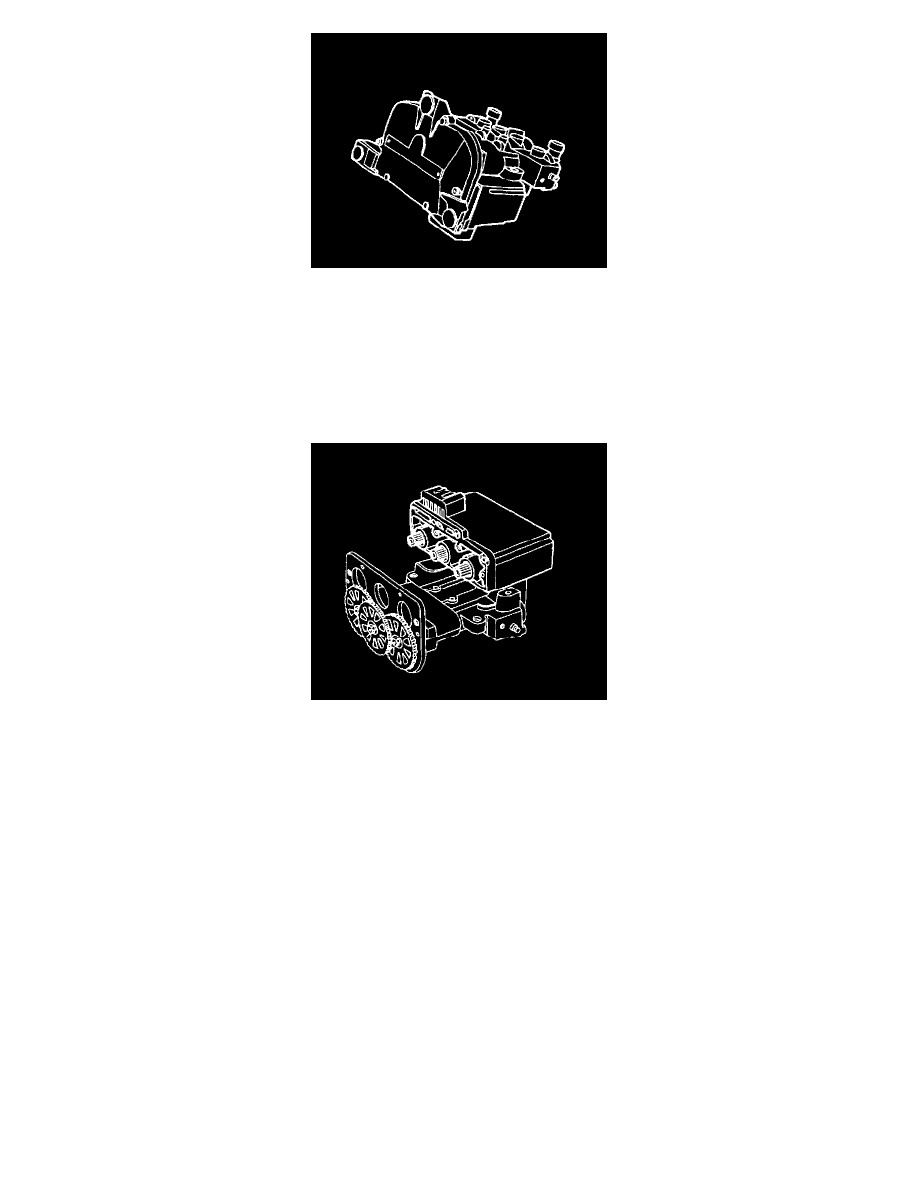
3. Remove the Torx head screws that hold the motor pack to the hydraulic modulator.
4. Remove the motor pack from the hydraulic modulator.
Assembly Procedure
1. Position the hydraulic modulator upside down with the gears facing you.
2. Rotate each hydraulic modulator gear counterclockwise until the movement stops. This will position the pistons very close to the top of the
modulator bore, simplifying the brake bleeding procedure.
IMPORTANT:
-
Take care in handling the motor pack. If it is dropped or damaged during handling, the motor pack must be replaced.
-
Align each of the three motor pack pinions with the hydraulic modulator gears.