
Lanos S Hatchback L4-1.6L DOHC D-TEC MFI (1999)
13.
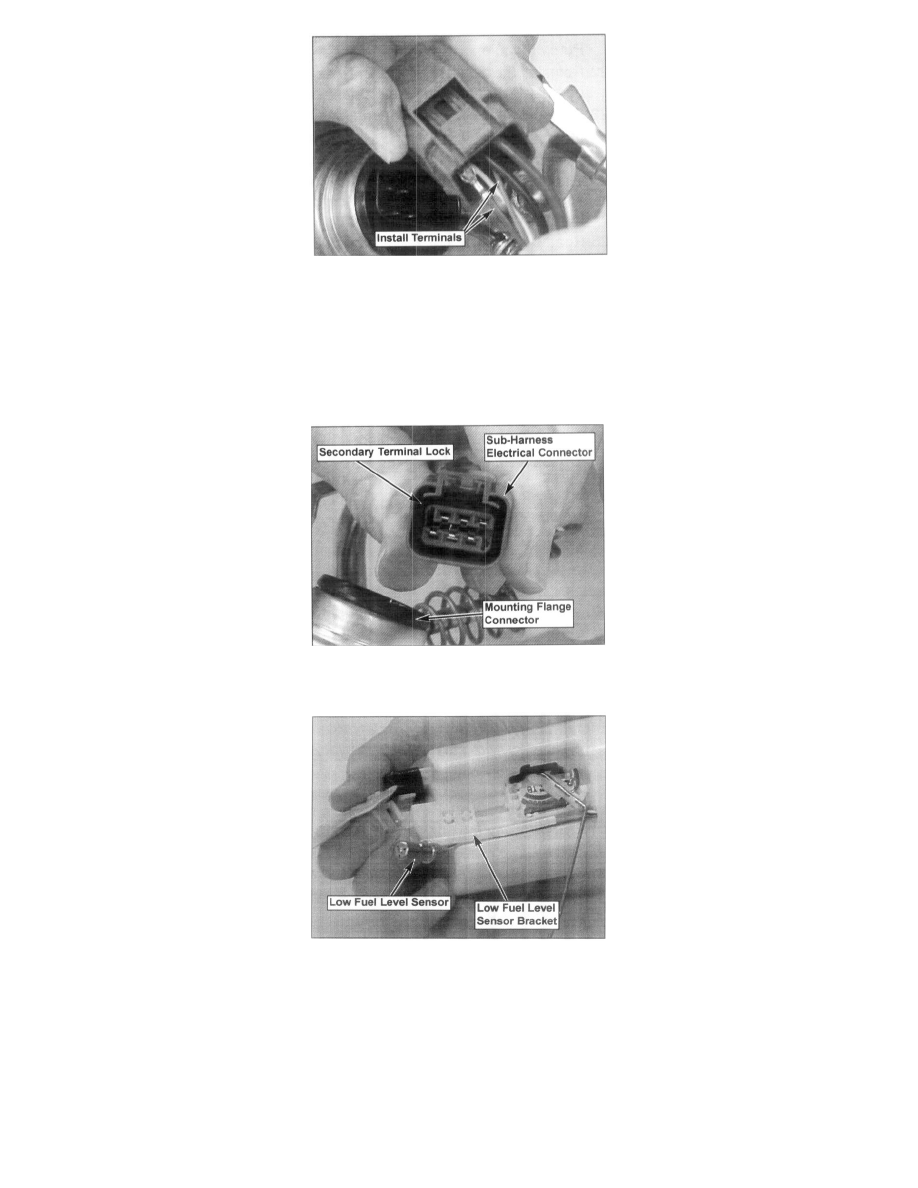
Route the Fuel Level Sensor wires through the retaining hook on top of the Fuel Pump Module Body.
14.
Remove the electrical tape, then insert the Fuel Level Sensor Terminals into the Fuel Pump Module Sub-harness Electrical Connector. Ensure that
the terminals are properly reinstalled (as noted previously) and that the correct wire colors are in their proper connector location. Also, verify that
the terminals are locked into position by gently tugging on the wires after installation.
Note:
The forward-most edge of the beveled terminal face should be oriented towards the "outboard" edges of the terminal housing.
15.
Once the terminals are properly positioned, reinstall the secondary terminal lock into the connector. Reconnect the sub-harness connector to the
Fuel Pump Module Mounting Flange Connector.
16.
Guide the Low Fuel Level Sensor Bracket onto the retaining rail on the Fuel Pump Module Body. An audible "click" will be heard as it locks into
it's proper position.
17.
Reinsert the Low Fuel Level Sensor onto its bracket.
18.
Test the new Fuel Level Sensor by using the procedure described in steps 18 through 23 of the Fuel Level Sensor Diagnostic Procedure before
reinstalling the Fuel Pump Module into the Fuel Tank.
19.
Using a new 0-ring, carefully reinstall the Fuel Pump Module into the Fuel Tank. Take care not to damage the O-ring or bend the Fuel Level
Sensor Float Arm.