
Lanos S Hatchback L4-1.6L DOHC D-TEC MFI (1999)
14. Inspect the brakes.
-
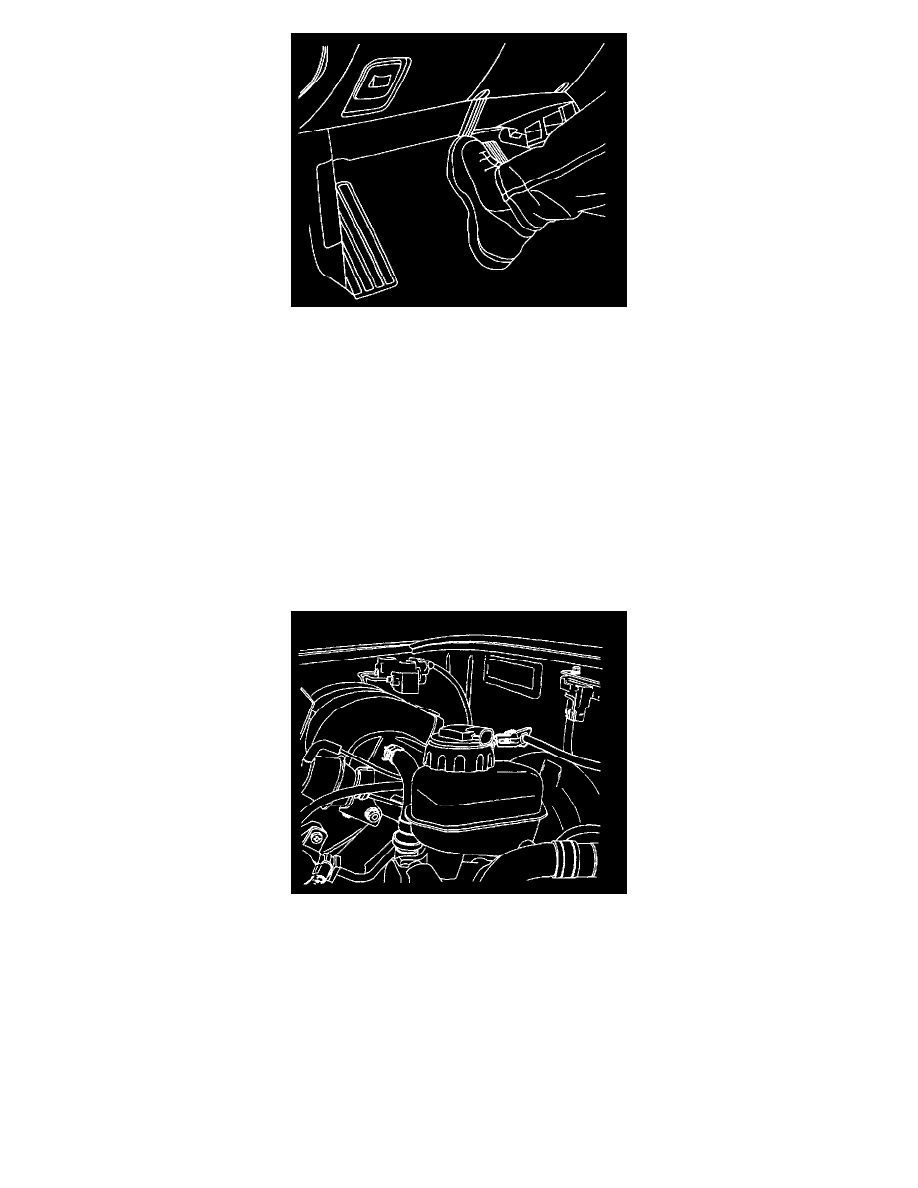
With the ignition switch ON, press the brake pedal with moderate force and hold it in position. Note pedal travel and feel.
-
If the pedal feels firm and constant and pedal travel is not excessive, start the engine. With the engine running, re-check the pedal travel. If it is
still firm and pedal travel is not excessive, proceed with step 15.
-
If the pedal feels soft or has excessive travel whether initially or after the engine starts, using the scan tool, release then apply the motors 3
times and cycle the solenoids 10 times. Be sure to apply the motors to ensure that the pistons are in the home position. Repeat the bleeding
procedure.
15. Road test the vehicle. Make several normal (non ABS) stops from a moderate speed to ensure proper brake system function.
BLEEDING PROCEDURES
PRESSURE BLEEDING THE BRAKES
NOTICE: Pressure bleeding equipment must be of the diaphragm type. It must have a rubber diaphragm between the air supply and the master
cylinder fluid to prevent air, moisture, oil, and other contaminants from entering the hydraulic system. Contamination could lead to deterioration of the
braking components and loss of braking action.
1. Disconnect the master cylinder electrical connector.
2. Remove the master cylinder reservoir cap.
3. Connect the bleeder with the adapter to the master cylinder reservoir.
4. For vehicles with the Antilock Brake System (ABS), locate and remove the hydraulic modulator bleeder valves. See: Brakes and Traction
Control/Antilock Brakes / Traction Control Systems/Hydraulic Control Assembly - Antilock Brakes
5. Charge the bleeder ball to 140 to 172 kPa (20 to 25 psi).
6. Connect the line to the adapter. Open the line valve.
7. Raise and suitably support the vehicle.
IMPORTANT: The bleeding sequence is as follows: right rear, left front, left rear, and right front.