
Leganza CDX L4-2.2L DOHC D-TEC MFI (1999)
Wheels: Service and Repair
Removal and Installation
Removal Procedure
1. Remove the wheel cover.
2. Loosen the wheel nuts.
3. Raise and suitably support the vehicle.
4. Remove the wheel nuts.
NOTICE: Never use heat to loosen a tight wheel. It can shorten the life of the wheel, the wheel nuts, and the wheel bearings. Excessive force,
such as hammering the wheel or tire, can also cause damage and is not recommended. Slight tapping of the wheel sidewall with one's hand or with
a rubber mallet is acceptable.
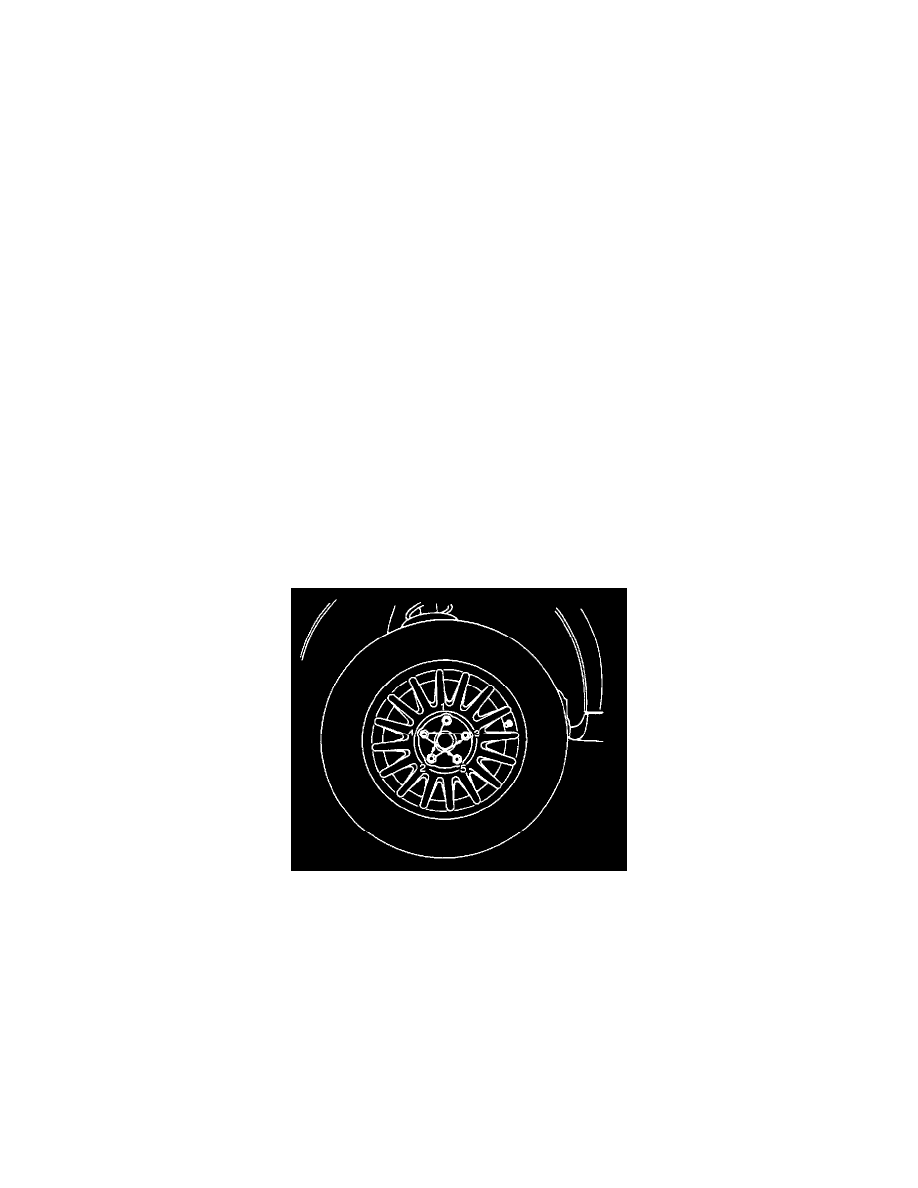
5. Remove the wheel and tire assembly.
Difficulty in removing the wheels from the vehicle can be due to foreign material or to a tight fit between the wheel centerhole and the hub or the
rotor. These wheels can be removed by:
1. Retightening the wheel nuts on the affected wheel and then loosening the wheel nuts by two turns.
2. Lowering the vehicle and rocking it from side to side as hard as possible, using one or more person's body weight to loosen the wheel.
3. Raising the vehicle and removing the wheel.
WARNING: Do not allow the penetrating oil to get on the vertical surfaces between the wheel and the drum (or rotor) because
penetrating oil in this area could cause the wheel to work loose as the vehicle is driven, resulting in loss of control and an injury accident.
Penetrating oil is not effective in removing tight wheels. If it is used, however, apply it sparingly and only to the wheel's centerhole area.
Installation Procedure
NOTICE: Before installing the wheels, remove any buildup of corrosion on the wheel mounting surface and the rotor mounting surface by scraping
and brushing them with a wire brush. Installing the wheels without good metal-to-metal contact at the mounting surfaces can cause the wheel nuts to
loosen, which can later allow a wheel to come off while the vehicle is moving. Wheel bolts must be tightened in sequence and to the proper torque to
avoid bending the wheel or the rotor.
1. Mount the wheel and tire assembly.
2. Install the wheel nuts in the sequence shown. Do not tighten the wheel nuts.
3. Lower the vehicle.
Tighten
Tighten the wheel nuts to 100 Nm (74 ft. lbs.).
4. Install the wheel cover.