
Charade L4-1295cc 1.3L (1989)
c. Remove knee bolster retaining clip, then the knee bolster.
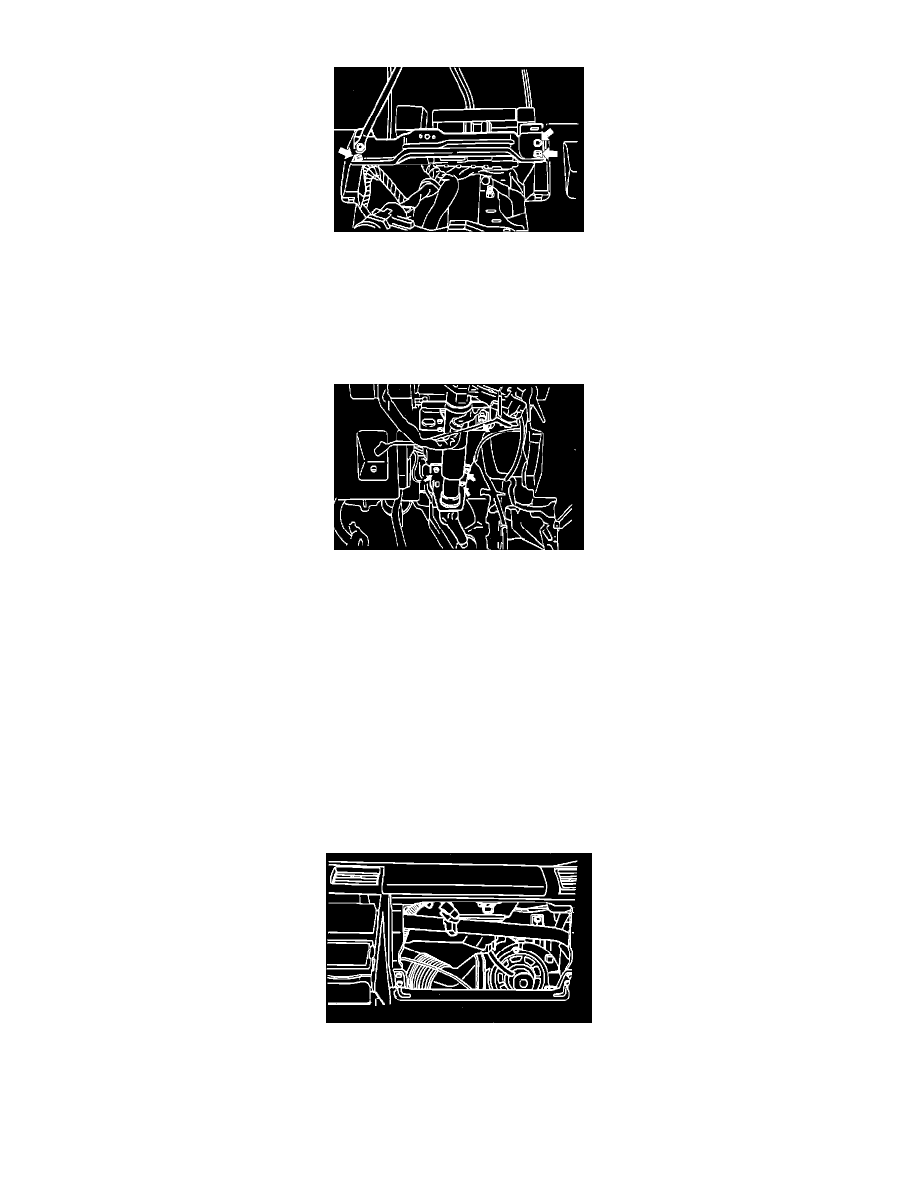
Fig. 11 Instrument Panel Reinforcement Removal.
4.
On all models, remove four instrument panel reinforcement retaining screws, Fig. 11.
5.
Remove steering column, as follows:
a. Disconnect junction block, ignition switch and horn electrical connector. Disconnect connector while lock lever is being pressed. Ensure
not to pull wire.
b. Remove universal joint section retaining screws.
Fig. 12 Steering Column Removal.
c. Remove steering column retaining bolts and nuts, Fig. 12, then the column.
6.
Remove instrument cluster finish panel subassembly, then pull subassembly outward and disconnect rear defogger and rear wiper switch electrical
connectors.
7.
Remove four combination meter assembly retaining screws, then pull meter assembly outward and disconnect speedometer cable and electrical
connector couplers.
8.
Remove glove compartment door retaining screws, then the door.
9.
Remove shift knob and shift lever boot.
10.
Remove console box assembly retaining screws, then the console box.
11.
Remove front console assembly retaining bolts, then pull console assembly outward and disconnect console electrical connector.
12.
Remove four instrument cluster center trim panel retaining screws, then pull trim panel outward and disconnect cigarette lighter and ashtray
electrical connectors.
13.
Remove radio assembly retaining screws and bolts, then pull radio outward and disconnect electrical and antenna connectors.
14.
Remove three heater control assembly retaining screws.
15.
Remove glove compartment trim at back side of glove compartment.
Fig. 13 Disconnecting ECU Electrical Connectors.
16.
Disconnect three ECU electrical connectors, Fig. 13.