
3500 4x2 Pickup L6-359 5.9L DSL Turbo (1994)
5.
Install new PCM, P/N 4798745. Torque bolts to 1 Nm (9 in. lbs.) torque.
6.
Connect 60 way electrical connector to PCM. Torque bolt to 4 Nm (35 in. lbs.).
7.
Connect negative battery cable to battery.
8.
Program radio station presets and clock.
MODULE REPROGRAMMING:
This section of the bulletin involves reprogramming the Powertrain Control Module with new software and installation of appropriate labels.
NOTE:
THE MOPAR DIAGNOSTIC SYSTEM IS REQUIRED TO PERFORM THE FOLLOWING REPAIR. THE SYSTEM MUST BE OPERATING
WITH RELEASE 16 OR HIGHER INSTALLED (TIL CD 1075 OR LATER).
This repair involves recalibrating the Powertrain Control Module with new software (calibration change).
1.
Connect the MDS (Mopar Diagnostic System) and DRBIII (Scan Tool) to the vehicle and power them up.
2.
Use the arrow keys and select # 2 MDS DIAGNOSTICS on the DRBIII MAIN MENU Screen.
3.
Use the arrow keys and select DIAGNOSTIC MENU on the MDS, then press NEXT MENU.
4.
Use the arrow keys and select CONTROLLER PROGRAMMING on the MDS, then press NEXT MENU.
5.
Use the arrow keys and select PROGRAM CONTROLLER PART on the MDS, then press NEXT MENU.
6.
Follow the steps presented on the MDS and DRBIII which will allow the DRBIII to obtain the current part number of the controller.
7.
The MDS will display the part number of the controller on the vehicle and the appropriate replacement part number, then press NEXT MENU to
begin programming.
If the controller on the vehicle has already been updated or programmed. a NO UPDATES AVAILABLE message will be displayed. Check the
part number of the controller on the vehicle and compare it to the part number displayed. If the controller has already been updated, no further
action is needed.
8.
The MDS and DRBIII will prompt for any operator action needed during the remainder of the programming process.
NOTE:
THE FOLLOWING STEPS ARE REQUIRED BY LAW.
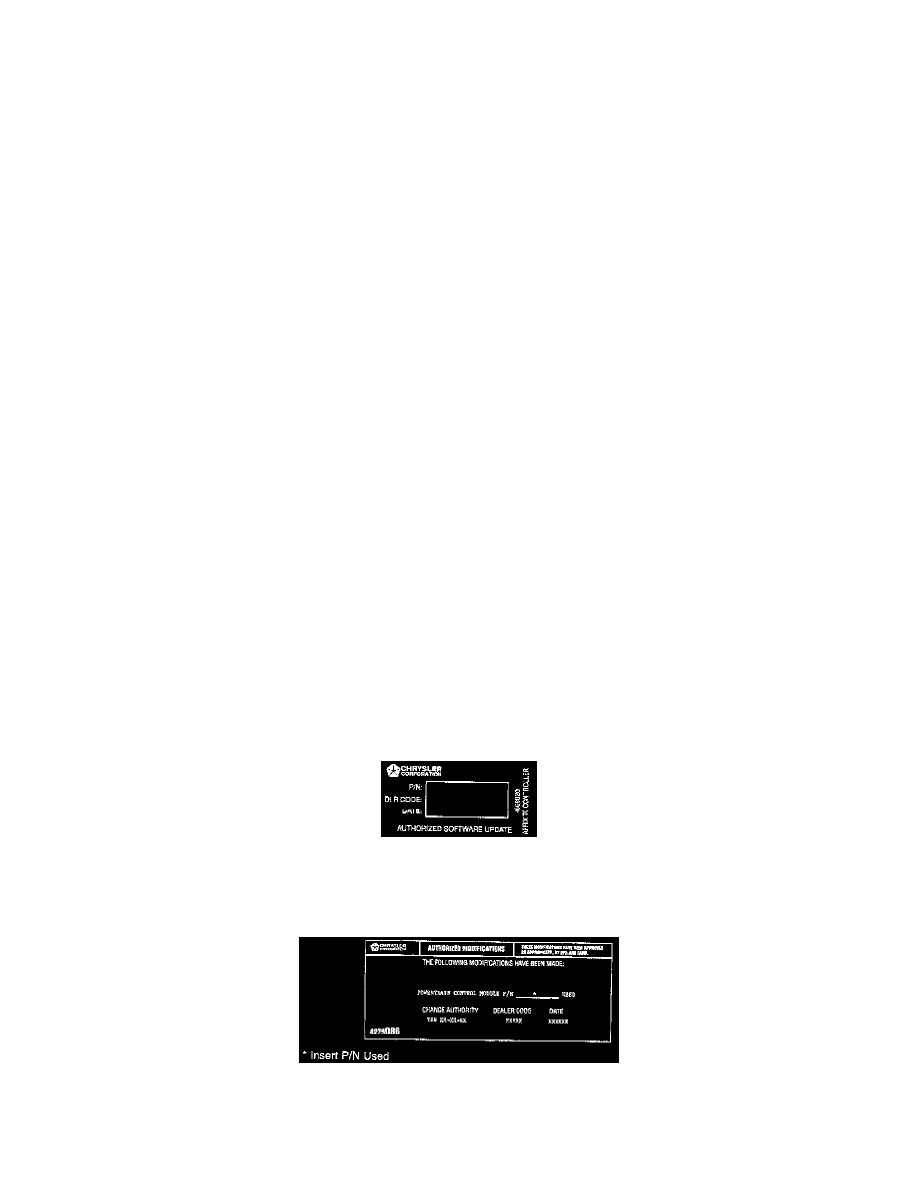
Authorized Software Modification Decal
9.
Type the necessary information on the "Authorized Software Update Label" and cover with the clear plastic sticker provided with label. Attach
label to the flat surface area located to the left of the 60 way electrical connector on the PCM.
Authorized Modification Decal
10.
Type the necessary information on the Authorized Modification Label and attach the label near the VECI Label.