
Caravan AWD V6-201 3.3L (1991)
Carrier Side Gears: Service and Repair
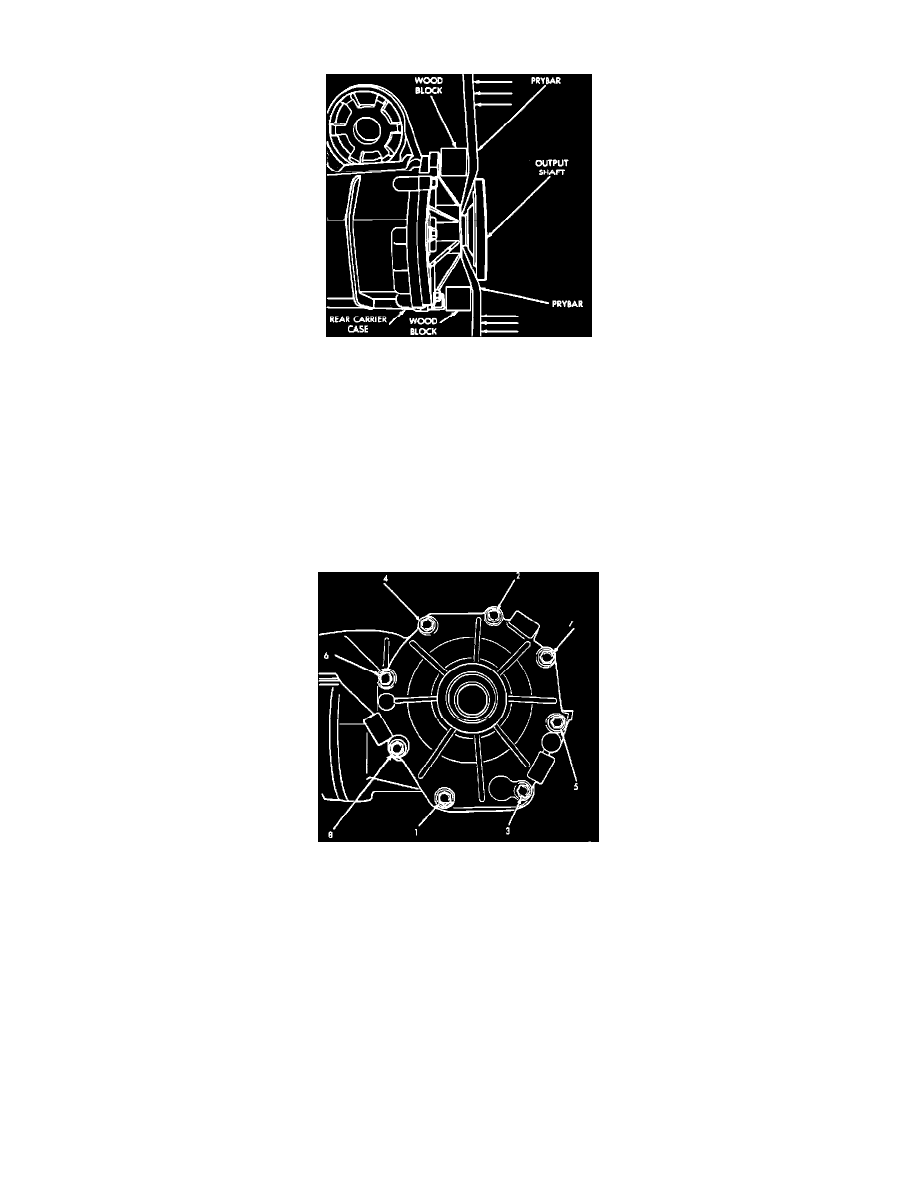
Fig. 10 Output shaft removal
DISASSEMBLY
1.
Disconnect halfshaft to drive line attaching bolts.
2.
Using two suitable pry bars and wood blocks, remove output shafts.
3.
Remove end cover attaching bolts, then remove.
4.
Remove differential cover attaching bolts, then remove.
5.
Remove differential assembly from rear drive line case.
6.
Remove ring gear attaching bolts, then separate differential case from differential body.
7.
Using suitable punch and hammer, remove pinion shaft pin.
8.
Slide pinion shaft from differential case.
Fig. 13 End cover tightening sequence
ASSEMBLY
1.
Inspect and replace pinion gears, shaft or washers, as required.
2.
Install pinion shaft, then install pinion shaft pin.
3.
Reconnect differential case and body, then install ring gear attaching bolts, torque to 70 ft. lbs.
4.
Install differential assembly in differential case.
5.
Apply Mopar Gasket Maker par No. 4318083, Loctite Gasket Eliminator No. 518 or equivalent, then install end cover. Torque attaching bolts to
250 inch lbs., in sequence shown.
6.
Install output shafts.
7.
Install halfshafts, torque attaching nuts to 45 ft. lbs.
8.
Using suitable lubricant fill differential.