
Caravan AWD V6-201 3.3L (1991)
Pinion Gear: Service and Repair
REMOVAL
1.
Remove overrunning clutch case to carrier attaching bolts, then separate cases.
2.
Remove overrunning clutch outer race snap ring, then remove outer race.
3.
Using spline tool No. 6534 or equivalent and a suitable wrench or equivalent, then remove pinion nut.
4.
Remove front cover attaching screws, then remove cover.
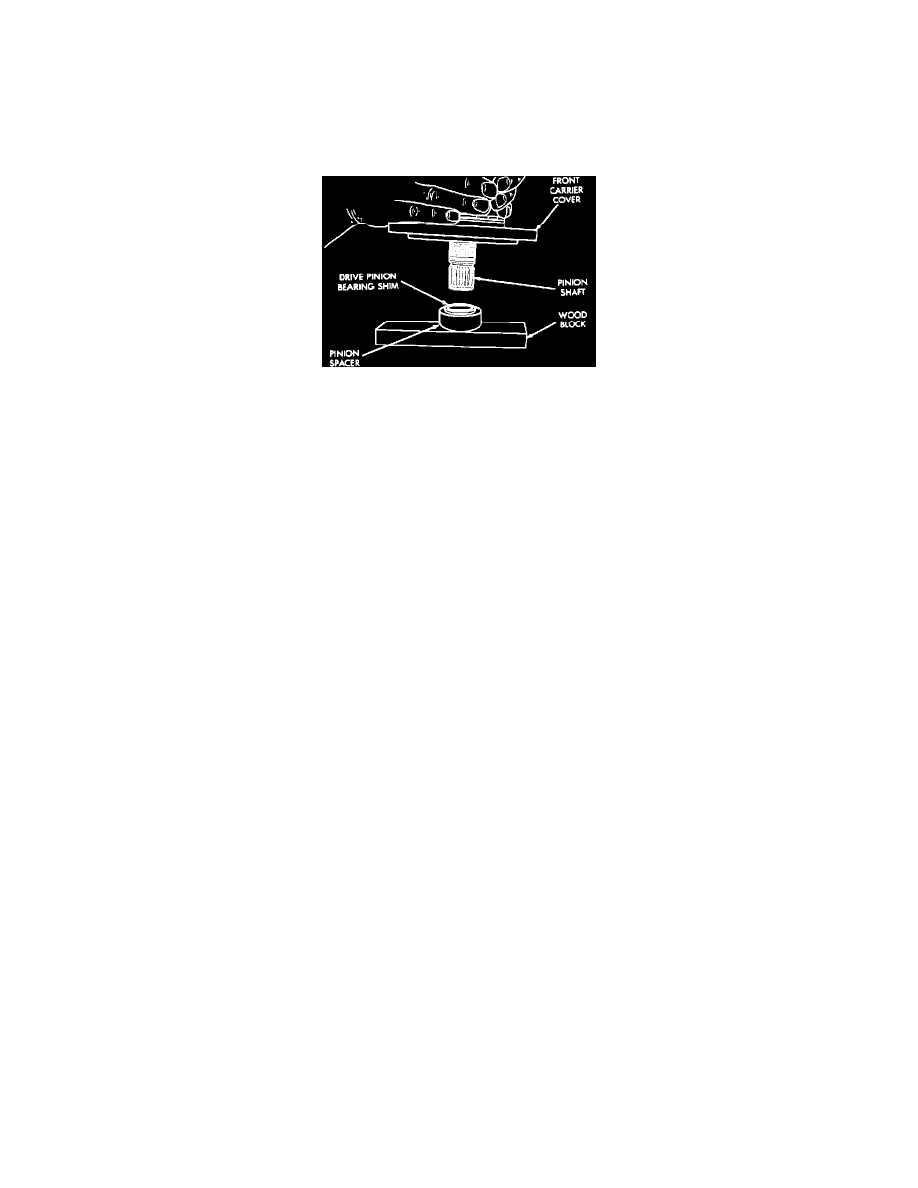
Fig. 12 Pinion spacer removal
5.
Place suitable block of wood under pinion shaft. Tap pinion against wood to remove spacer from shaft, ensure spacer is not grooved or damaged.
Shim should be installed with carrier cover. This may eliminate cutting O-ring with shim.
6.
Reinstall front cover, then torque attaching screws to 105 inch lbs.
7.
Using seal puller tool No. 7794-A or equivalent, remove overrunning clutch seal, then remove pinion seal.
INSTALLATION
1.
Apply light coat of clean suitable oil to drive pinion seal.
2.
Using seal installer tool No. 6507 or equivalent, install seal with spring side toward rear carrier case.
3.
If spacer is grooved or damaged, replace. A new drive pinion bearing shim may be required, select shim noting following procedure:
a.
Using suitable one inch micrometer, measure thickness of original spacer.
b.
Measure thickness of new spacer in the same manner.
c.
If the original spacer is the same as new, use the original shim.
d.
If the new is thicker or thinner than original, use a appropriate shim. Determine shim size in steps e through h.
e.
Determine difference in size between new and original spacer, record dimension.
f.
Measure thickness of original shim, record dimension.
g.
On models with thinner shim, add two dimensions from step e and f, then use shim of that size.
h.
On models with thicker shim, subtract two dimensions from step e and f, then use shim of that size.
4.
On all models, apply light coat of suitable oil to pinion spacer, then install on pinion shaft, tapered side facing outward.
5.
Apply light coat of suitable oil to overrunning clutch seal, then using seal installer tool No. 6508 or equivalent, install seal with spring side away
from carrier case.
6.
Install pinion nut, then torque to 280 ft. lbs.
7.
Install clutch outer race, then install snap ring.
8.
Apply suitable sealer to clutch sealing surface, then install clutch case to rear carrier case. Torque attaching bolts to 250 inch lbs.
9.
Check and fill fluid levels as required. Use only Mopar Type 7176 automatic transmission fluid or equivalent in overrunning clutch housing.