
Challenger V6-3.5L (2009)
Seals and Gaskets: Service and Repair
42RLE Automatic Transmission
Oil Pump Seal - Removal
REMOVAL
1. Remove the transmission from the vehicle See: Service and Repair/Removal and Replacement/42RLE Automatic Transmission/Removal.
2. Remove the torque converter from the transmission bellhousing.
3. Use a screw mounted in a slide hammer to remove oil pump seal.
Oil Pump Seal - Installation
INSTALLATION
1. Clean and inspect oil pump seal seat. Then install seal using Seal Installer C-4193A.
2. Clean and inspect torque converter hub. If nicks, scratches or hub wear are found, torque converter replacement will be required.
CAUTION: If the torque converter is being replaced, apply a light coating of grease to the crankshaft pilot hole. Also inspect the engine drive
plate for cracks. If any cracks are found replace the drive plate. Do not attempt to repair a cracked drive plate. Always use new
torque converter to drive plate bolts.
3. Apply a light film of transmission oil to the torque converter hub and oil seal lips. Then install torque converter into transmission. Be sure that the
hub lugs mesh with the front pump lugs when installing.
4. Reinstall the transmission into the vehicle.See: Service and Repair/Removal and Replacement/42RLE Automatic Transmission/Installation
Output Shaft Seal - Removal
REMOVAL
1. Remove the propeller shaft See: Drive/Propeller Shafts, Bearings and Joints/Drive/Propeller Shaft/Service and Repair/Propeller Shaft - Removal.
Move propeller shaft to the right and tie up.
2. Verify that the transmission is in PARK in order to prepare for the removal of the output shaft nut.
3. Remove the nut holding the propeller shaft flange to the output shaft and remove the flange.
4. Remove the output shaft seal with suitable screw and slide hammer.
Output Shaft Seal - Installation
INSTALLATION
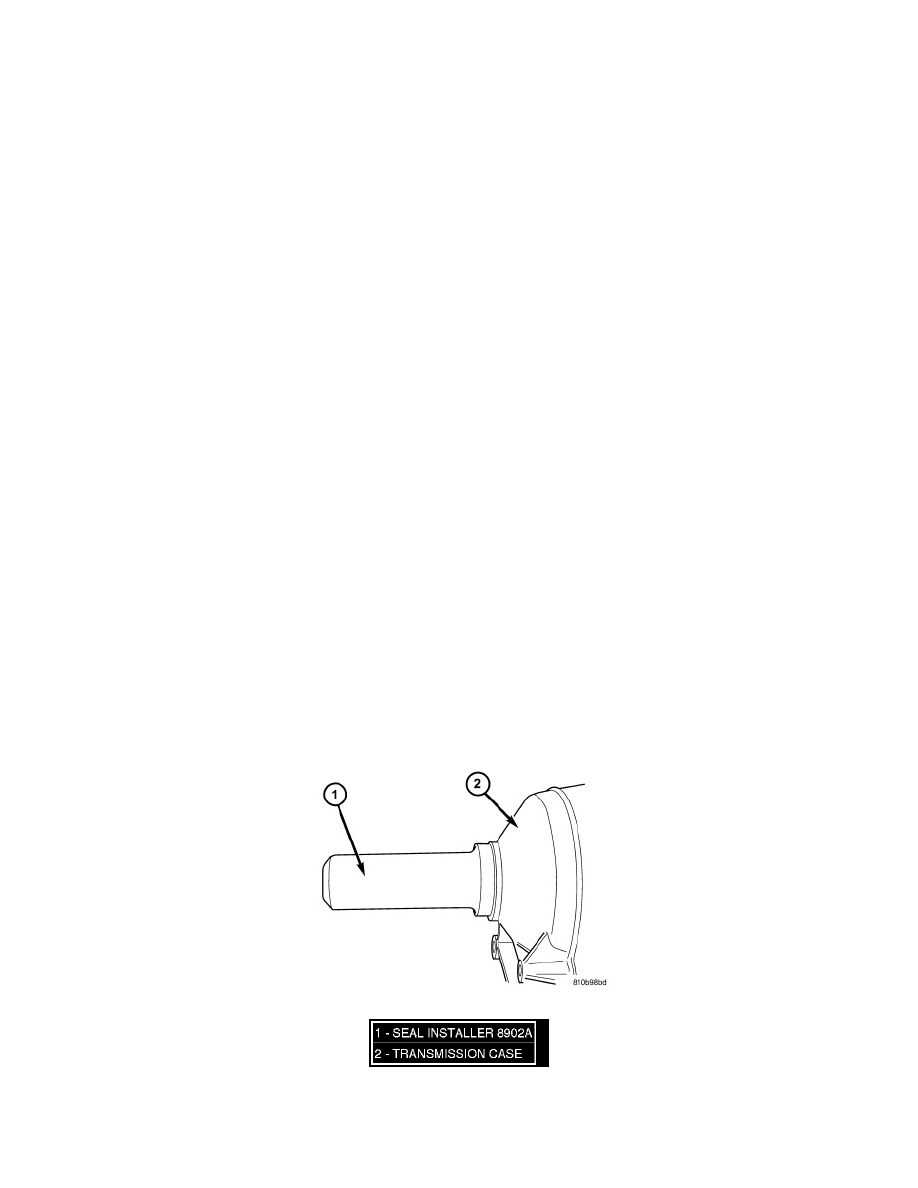
1. Position the new output shaft seal over the output shaft and against the transmission case.
2. Use Seal Installer 8902A (1) to install the seal.
3. Verify that the transmission is in PARK in order to prepare for the installation of the output shaft nut.