
Charger V6-3.5L (2009)
11. Tighten lower shock clevis bracket bolt nut (3) to 174 Nm (128 ft. lbs.).
12. Perform wheel alignment. See: Alignment/Service and Repair
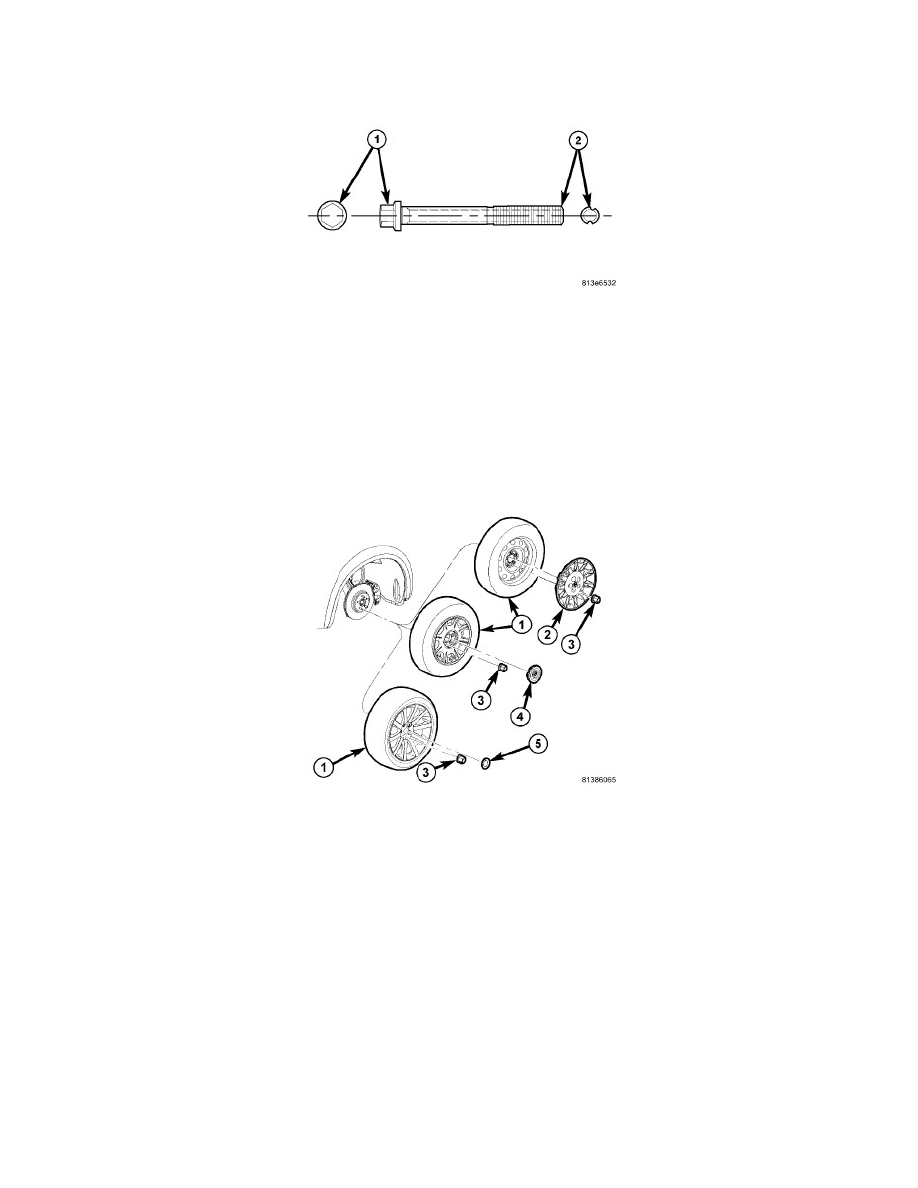
CAUTION: If lower control arm engine cradle bolt is a wheel alignment adjustment bolt (lengthwise grooved shaft (2)), be sure to only tighten
nut. Do not rotate bolt or damage to cradle will occur.
13. Once camber is found to be within specifications, tighten lower control arm cradle bolt nuts to 176 Nm (130 ft. lbs.) while holding the bolts
stationary.
14. Install belly pan. See: Body and Frame/Exterior Moulding / Trim/Underbody Cover/Service and Repair/Belly Pan - Installation
Front Tension Strut - Removal
REMOVAL
1. Raise and support vehicle See: Wheels and Tires/Vehicle Lifting/Service and Repair.
2. Remove wheel mounting nuts (3), then tire and wheel assembly (1).
3. Remove belly pan See: Body and Frame/Exterior Moulding / Trim/Underbody Cover/Service and Repair/Belly Pan - Removal.