Dakota 2WD V8-5.9L VIN Z LDC (2000)

3. Align and position upper housing separator plate on transfer plate (Fig. 131).
4. Install brace plate (Fig. 131). Tighten brace attaching screws to 4 Nm (35 in. lbs.) torque.
5. Install remaining separator plate attaching screws. Tighten screws to 4 Nm (35 in. lbs.) torque.
UPPER AND LOWER HOUSING
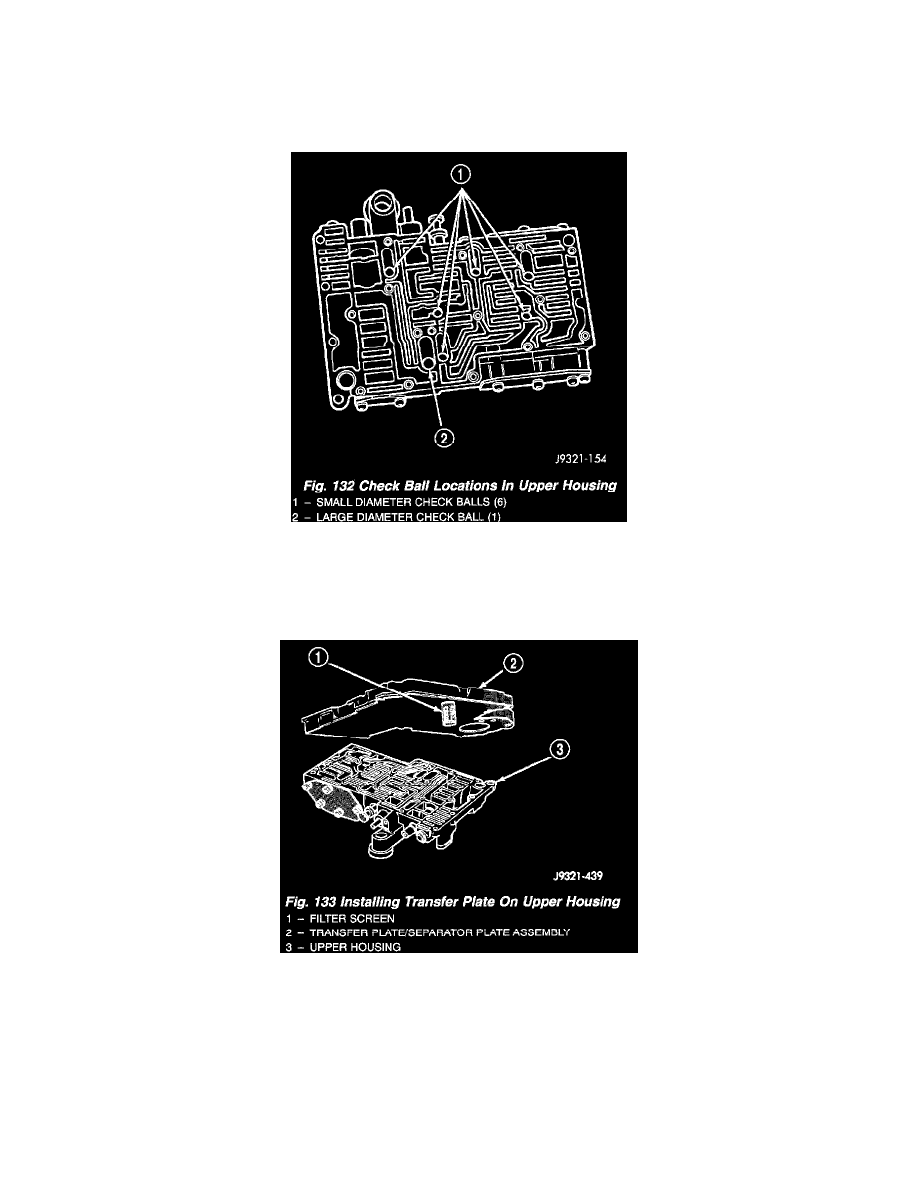
Fig. 132
1. Position upper housing so internal passages and check ball seats are facing upward. Then install check balls in housing (Fig. 132). Eight check
balls are used. The single large check ball is approximately 8.7 mm (11/32 inch) diameter. The single small check ball is approximately 4.8 mm
(3/16 inch) in diameter. The remaining 6 check balls are approximately 6.3 mm (1/4 inch) in diameter.
Fig. 133
2. Position assembled transfer plate and upper housing separator plate on upper housing (Fig. 133). Be sure filter screen is seated in proper housing
recess.
3. Install the ECE check ball into the transfer plate (Fig. 119). The ECE check ball is approximately 4.8 mm (3/16 inch) in diameter.
