
Dakota 4WD V6-239 3.9L VIN X FI (1989)
Front Door Window Motor: Service and Repair
NOTE: The following procedure describes replacement of a defective lift motor without removing the window regulator or the window glass. This
procedure cannot be used if any of the window system parts have been loosened or removed. If any of the window system parts such as lift channels,
tracks, up stops, or pivot brackets have been loosened or removed, See Regulator Replacement.
REMOVAL
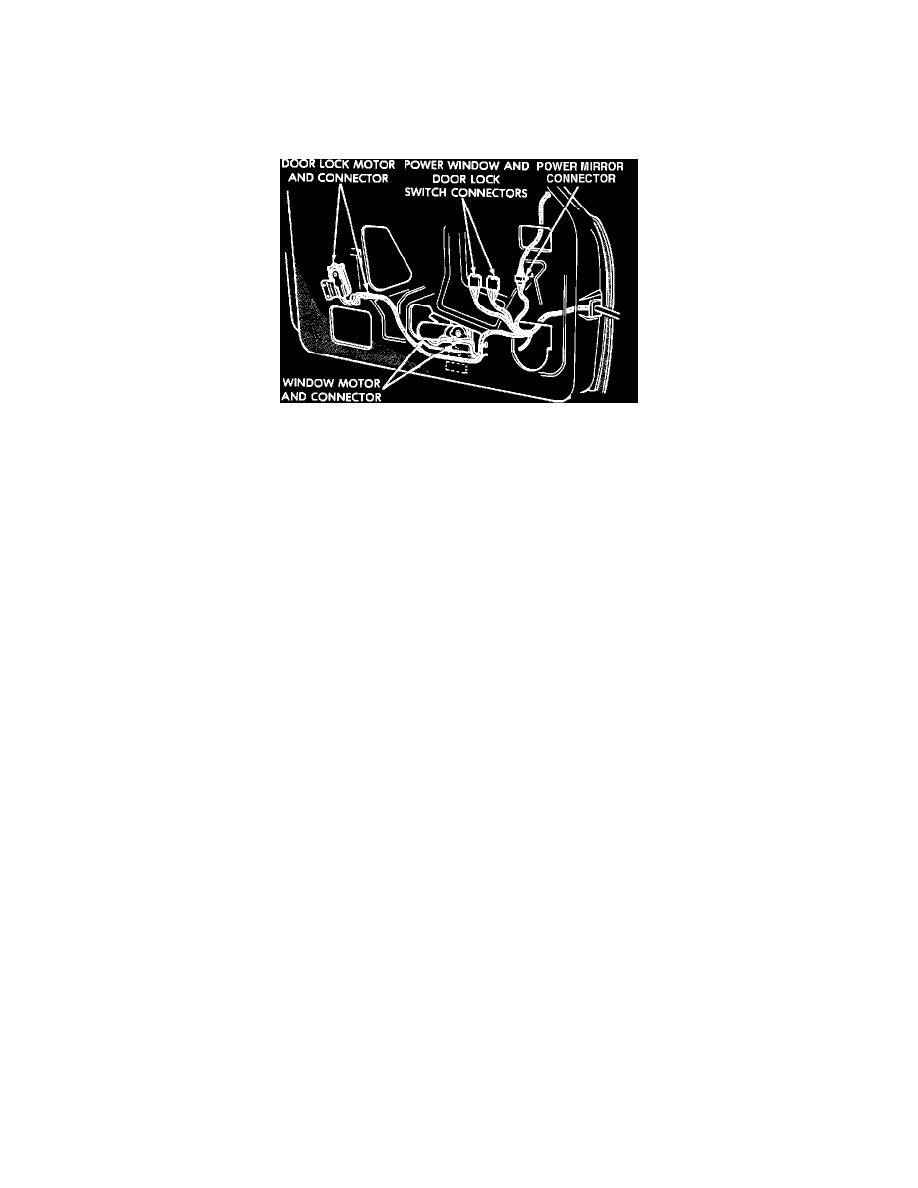
Door Mounted Motors And Connectors
1.
Remove trim panel and door liner. See: Body and Frame/Doors, Hood and Trunk
2.
Raise window to full UP position and make sure it remains there during entire lift motor replacement procedure.
NOTE: Place a wooden block to wedge between the bottom of the window and the door frame to prevent the window from going downwards.
3.
Disconnect the lift motor electrical connector.
4.
Remove the three mounting screws that hold the lift motor to the window regulator. Remove the screw that secures the lift motor tie-down bracket
to inner panel (if applicable).
5.
To remove the lift motor from the regulator assembly, grip motor housing and pull motor towards inner door panel. some rocking or twisting may
be necessary to disengage the lift motor from the window regulator.
NOTE: Do not have fingers or hands near sector gear area where they can be pinched by small movements of regulator linkage.
INSTALLATION
NOTE: New lift motor retaining screw holes are not threaded. It is necessary that these holes be tapped before attempting assembly.
1.
Install new motor on regulator by positioning motor gearbox so that it engages regulator sector teeth.
2.
Position the lift motor so that center post gearbox fits into its pilot hole in plate. A slight rotational or rocking movement may be necessary to
bring the three lift motor mounting holes into proper alignment with the mounting bracket.
3.
Install the three lift motor mounting screws and one tie down bracket screw, (if applicable) and torque to 50 - 60 lb-in (68 - 81 Nm).
4.
Connect the lift motor electrical connector to the harness connector.
5.
Remove the wooden block that is holding the window in the full UP position.
6.
Actuate the window to test operation.
7.
Install the door trim panel. See: Body and Frame/Doors, Hood and Trunk