
Dakota 4WD V6-239 3.9L VIN X FI (1989)
Window Regulator: Service and Repair
REMOVAL
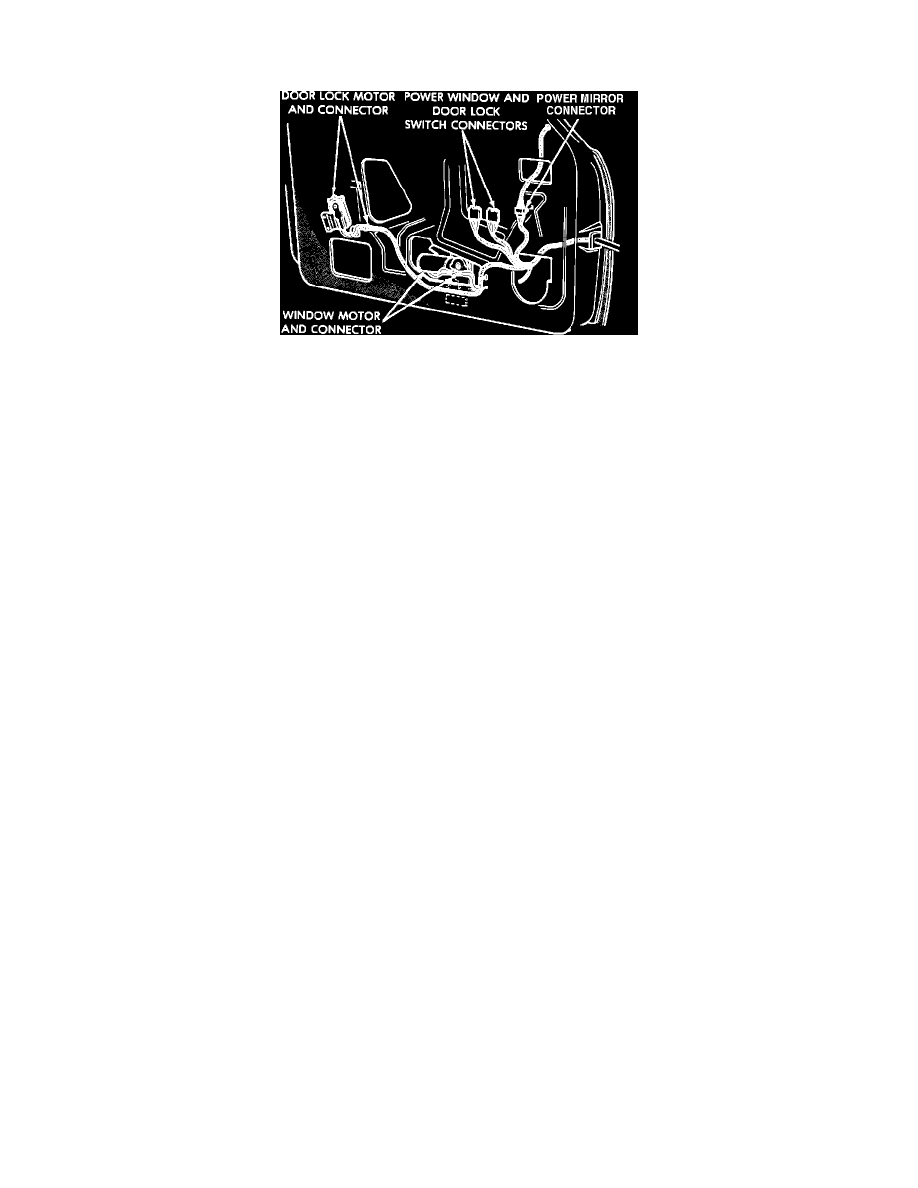
Door Mounted Motors And Connectors
1.
Remove trim panel and door liner. See: Body and Frame/Doors, Hood and Trunk
2.
Disconnect the lift motor electrical connector.
3.
Remove the rivets and/or screws that hold the window regulator and lift motor to the door.
4.
Maneuver the window regulator by hand to disengage the drive arm slider from the glass lift channel.
5.
Remove the regulator and lift motor, as an assembly, from the door.
REPAIR
1.
Secure regulator assembly in a vice so that the sector gear cannot rotate.
2.
Remove the three (3) lift motor attaching screws and remove the lift motor from the window regulator.
3.
Inspect the regulator for the following:
^
Sector gear teeth must not be broken or severely worn.
^
All rivets must be securely attached.
^
Parts must not be cracked or bent.
^
Sector gear must rotate freely.
INSTALLATION
NOTE: New lift motor retaining screw holes are not threaded. It is necessary that these holes be tapped before attempting assembly (if installing new
motor).
1.
Install lift motor on regulator by positioning motor gearbox so that it engages regulator sector teeth.
2.
Install the three lift motor mounting screws and torque to 50 - 60 lb-in (68 - 81 Nm).
3.
Install regulator and lift motor assembly into the door and engage the drive arm slider into the glass lift channel.
4.
Install 1/4-20 X 1/2 inch screws and nuts (in place of the rivets) to mount the window regulator to the inner door panel. Torque the screws to 90
lb-in (11 Nm).
5.
Connect the lift motor electrical connector to the harness connector.
6.
Actuate the window to test operation.
7.
Install the door trim panel. See: Body and Frame/Doors, Hood and Trunk