
Dakota 4WD V8-4.7L VIN J (2007)
Map Light Bulb: Service and Repair
Installation - Bulb
INSTALLATION - BULB
CAUTION: Always use the correct bulb size and type for replacement. An incorrect bulb size or type may overheat and cause damage to the
lamp, the socket or the lamp wiring.
NOTE: On vehicles equipped with an optional overhead console the standard front dome lamp is replaced by two combination dome and reading lamps
that are integral to the console housing. Each of these lamps is controlled by the door ajar switches on the courtesy lamp circuit, but also are
independently controlled by a switch that is activated by depressing the lamp lens. The bulb types and service procedures are identical for both of these
lamps.
NOTE: The overhead console reading lamp switches and bulb holders are serviced as a unit with the overhead console wire harness.
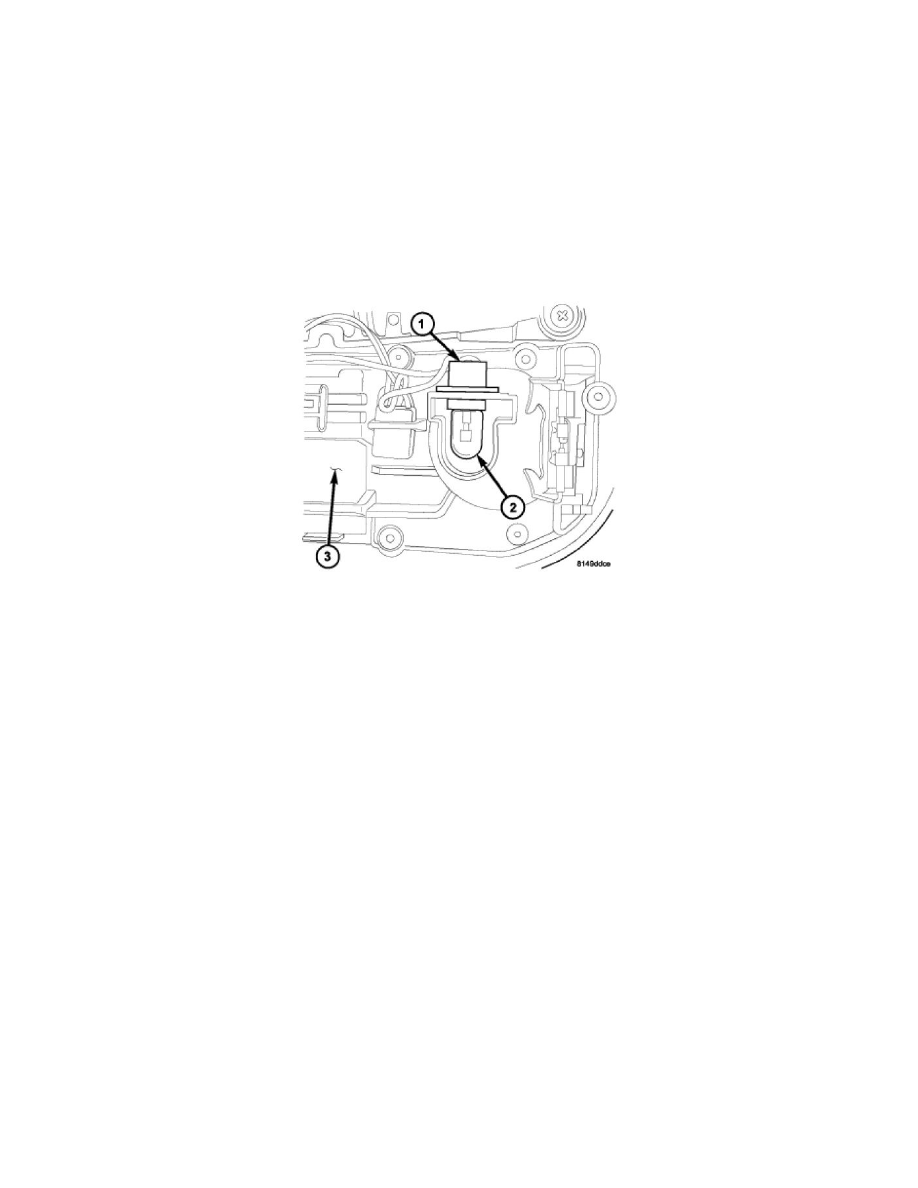
1. Align the base of the overhead console reading lamp bulb (2) with the socket (1).
2. Push the bulb straight into the socket until the base is firmly seated.
3. Align the socket and bulb with the keyed opening on the back of lamp housing in the overhead console.
4. Insert the socket and bulb into the housing and press firmly on the back of the socket until it snaps into place and is firmly seated.
5. Reinstall the overhead console onto the headliner.
6. Reconnect the battery negative cable.