
Dakota Quad Cab 2WD V8-5.9L VIN Z LDC (2002)
Glove Box Lamp Switch: Service and Repair
REMOVAL
WARNING: ON VEHICLES EQUIPPED WITH AIRBAGS, REFER TO RESTRAINTS BEFORE ATTEMPTING ANY STEERING
WHEEL, STEERING COLUMN, OR INSTRUMENT PANEL COMPONENT DIAGNOSIS OR SERVICE. FAILURE TO TAKE THE
PROPER PRECAUTIONS COULD RESULT IN ACCIDENTAL AIRBAG DEPLOYMENT AND POSSIBLE PERSONAL INJURY.
1. Disconnect and isolate the battery negative cable.
2. Open the glove box.
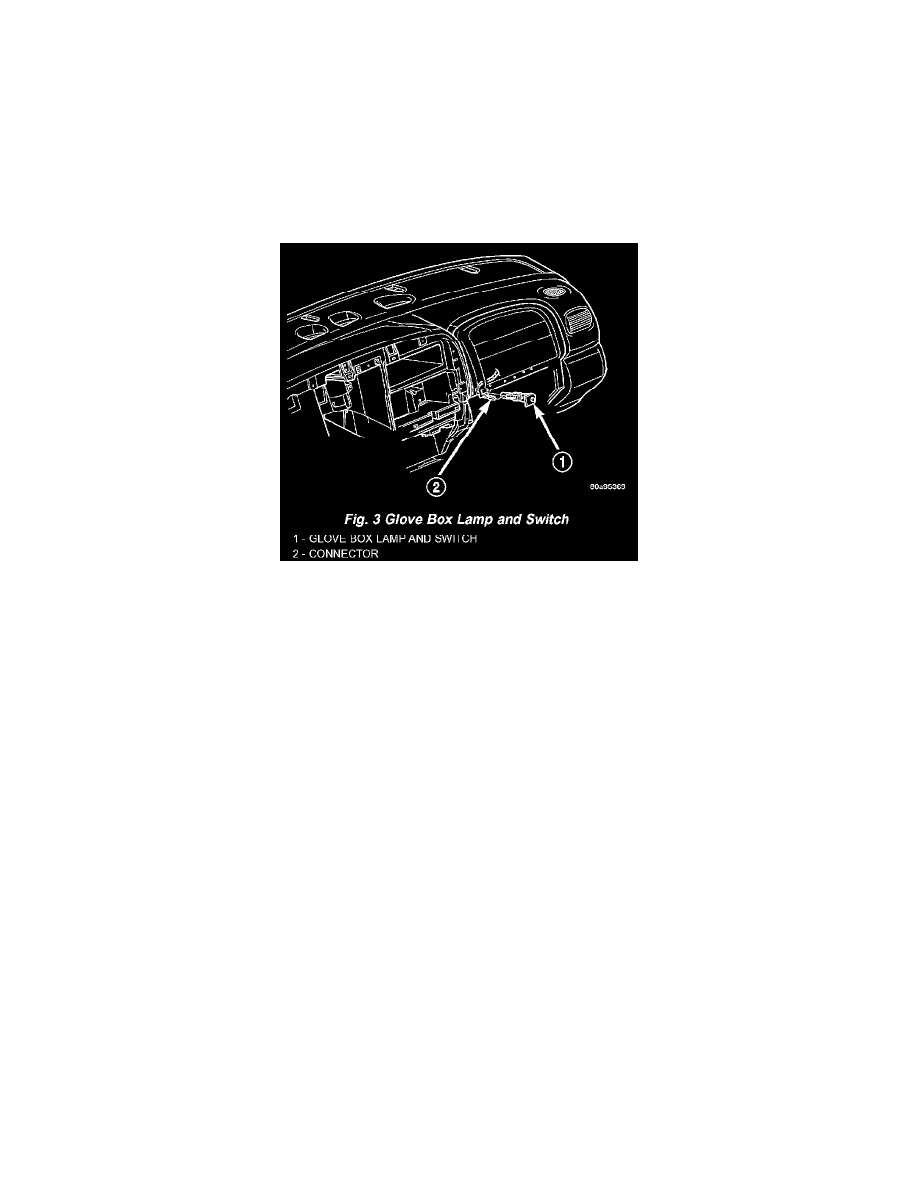
3. Reach through the glove box opening and behind the glove box opening upper reinforcement to access and depress the retaining latches on the
glove box lamp and switch housing.
Fig.3 Glove Box Lamp And Switch
4. Push the glove box lamp and switch out through the mounting hole in the instrument panel and disconnect the wire harness connector.
5. Remove the glove box lamp and switch from the instrument panel.
INSTALLATION
WARNING: ON VEHICLES EQUIPPED WITH AIRBAGS, REFER TO RESTRAINTS BEFORE ATTEMPTING ANY STEERING
WHEEL, STEERING COLUMN, OR INSTRUMENT PANEL COMPONENT DIAGNOSIS OR SERVICE. FAILURE TO TAKE THE
PROPER PRECAUTIONS COULD RESULT IN ACCIDENTAL AIRBAG DEPLOYMENT AND POSSIBLE PERSONAL INJURY.
1. Reconnect the instrument panel wire harness connector to the glove box lamp and switch connector.
2. Align the glove box lamp and switch housing with the mounting hole in the instrument panel glove box opening upper reinforcement.
3. Push the glove box lamp and switch into the mounting hole until the retaining latches are fully seated
4. Close the glove box
5. Connect the battery negative cable.