
Durango 2WD V8-4.7L VIN N (2001)
3.
Remove center console.
4.
Remove cluster bezel.
5.
Remove knee blocker and lower center instrument panel trim panel.
6.
Remove kick panels and lower door trim strip in order to free-up carpet.
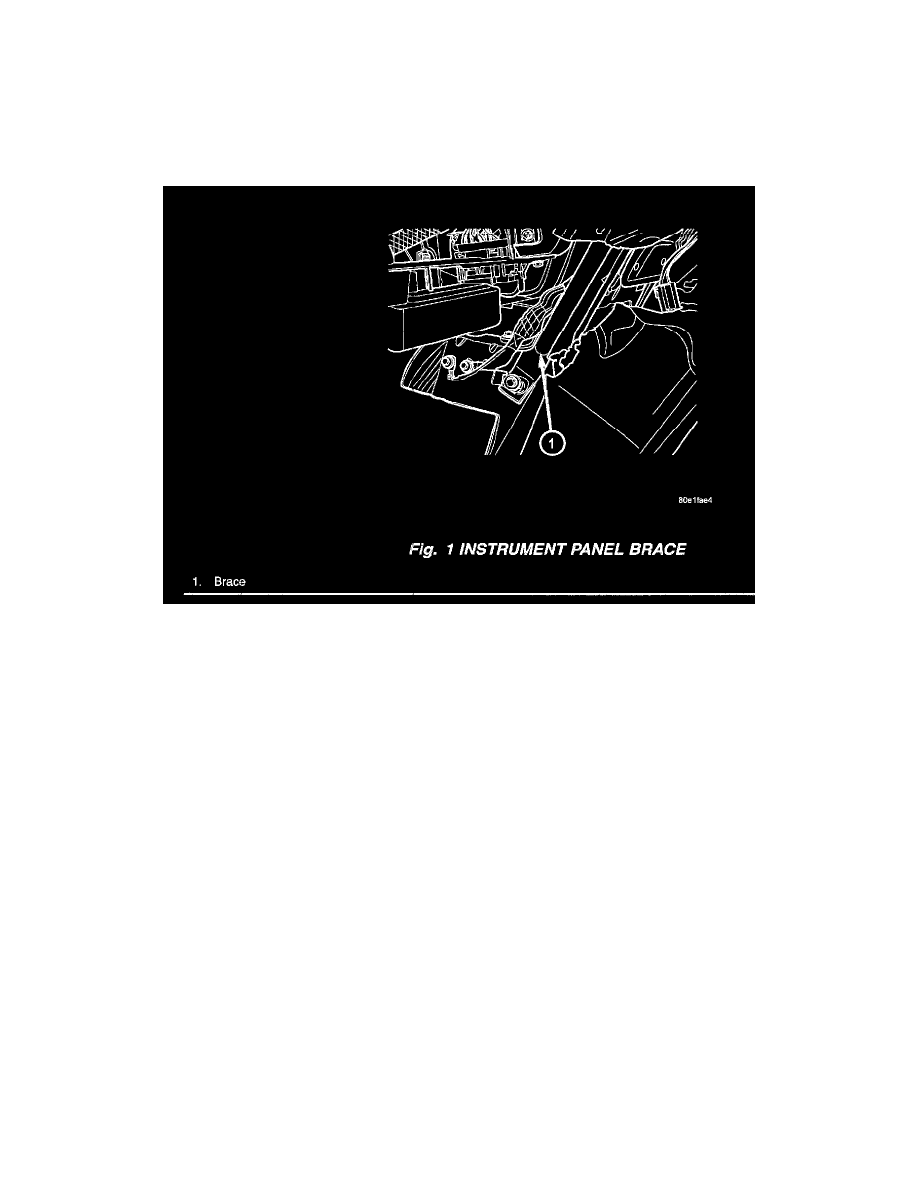
7.
Remove short instrument panel support brace (Fig. 1) located near the accelerator pedal.
8.
Peel front carpet back for access.
9.
Remove center instrument panel bolts (2), left and right instrument panel attaching bolts (4) and instrument panel roll-back bolts (2).
10.
Grasp metal at center of the lower instrument panel and pry the instrument panel away from dash panel (2 in.). Place spacer in that gap to keep
instrument panel in place.
11.
Disassemble tunnel slider duct from floor duct (DN ONLY).
12.
The floor duct that is attached to the HVAC unit is assembled in two pieces. Remove two screws that hold the passenger side of the floor duct to
the HVAC unit. Remove the duct.
13.
Remove two screws that hold the driver side of the floor duct to the HVAC unit. Remove the duct.
14.
On the driver's side half of the floor duct, use an alcohol-based solvent to clean the seal surface before seal application.
15.
Take the driver's side floor duct and install the foam seal provided and apply it to the seal surface. Be sure to press the seal to the duct firmly along
the entire length of the seal. Set duct aside.
16.
Remove foam seal on floor outlet of HVAC unit. Be careful to leave no adhesive residue on the housing.
17.
Insert right larger deflector onto the passenger side forward (Closest to the engine compartment) flange of the heat outlet with the extension flap
outboard as shown. Snap into place until positive lock is heard
18.
Insert left air deflector onto the driver side forward flange of the heat outlet as shown. Snap into place until positive lock is heard
19.
Make sure that both deflectors have tension on them and do not rattle. If they do, remove, bend appropriately and re-install.