
Durango 2WD V8-5.2L VIN Y (1999)
Oil Pan: Service and Repair
Removal and Installation
REMOVAL
2WD
1. Disconnect the negative cable from the battery.
2. Remove air cleaner assembly.
3. Remove engine oil dipstick.
4. Disconnect distributor cap and position away from cowl.
5. Remove fan shroud.
6. Disconnect throttle valve cable from throttle body and mounting bracket.
7. Raise vehicle.
8. Drain engine oil.
9. Remove exhaust pipe from exhaust manifolds.
10. Remove engine mount insulator through bolts.
11. Raise engine by way of oil pan using a block of wood between jack and oil pan.
12. When engine is high enough, place mount through bolts in the engine mount attaching points on the frame brackets.
13. Lower engine so bottom of engine mounts rest on the replacement bolts placed in the mount frame brackets.
14. Remove the transmission to engine braces.
15. Remove starter.
16. Remove transmission torque converter inspection cover.
17. Disconnect rear support cushion from crossmember.
18. Raise rear of transmission away from crossmember.
19. Remove oil pan and one piece gasket.
4WD
1. Disconnect the negative cable from the battery.
2. Remove engine oil dipstick.
3. Raise vehicle.
4. Drain engine oil.
5. Remove front axle assembly.
6. Remove both engine mount support brackets (Refer to Drive Belts, Mounts, Brackets and Accessories).
7. Remove transmission inspection cover.
8. Remove oil pan and one-piece gasket.
INSTALLATION
2WD
Fabrication Of Alignment Dowels
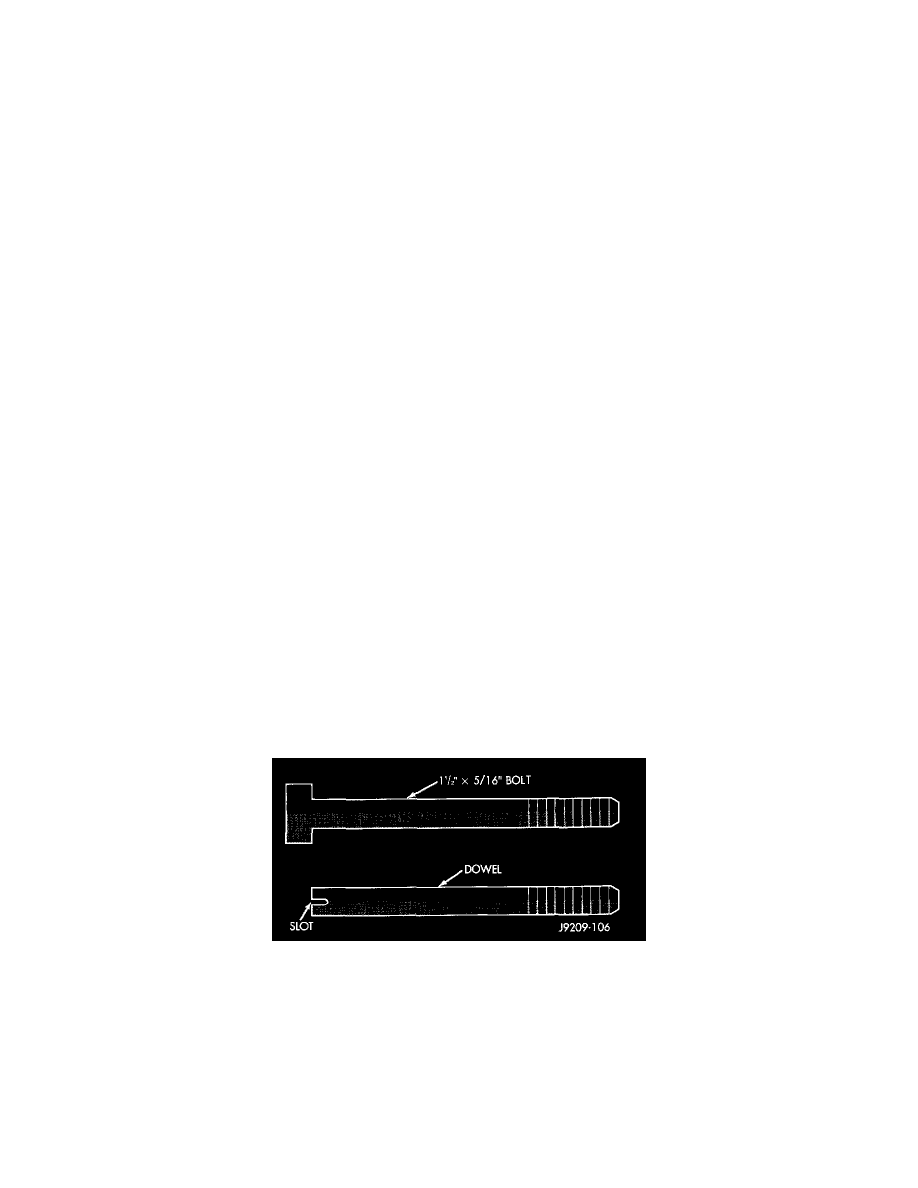
1. Fabricate 4 alignment dowels from 5/16 x 1 1/2 inch bolts. Cut the head off the bolts and cut a slot into the top of the dowel. This will allow easier
installation and removal with a screwdriver.