
Durango 2WD V8-5.7L Hybrid (2009)
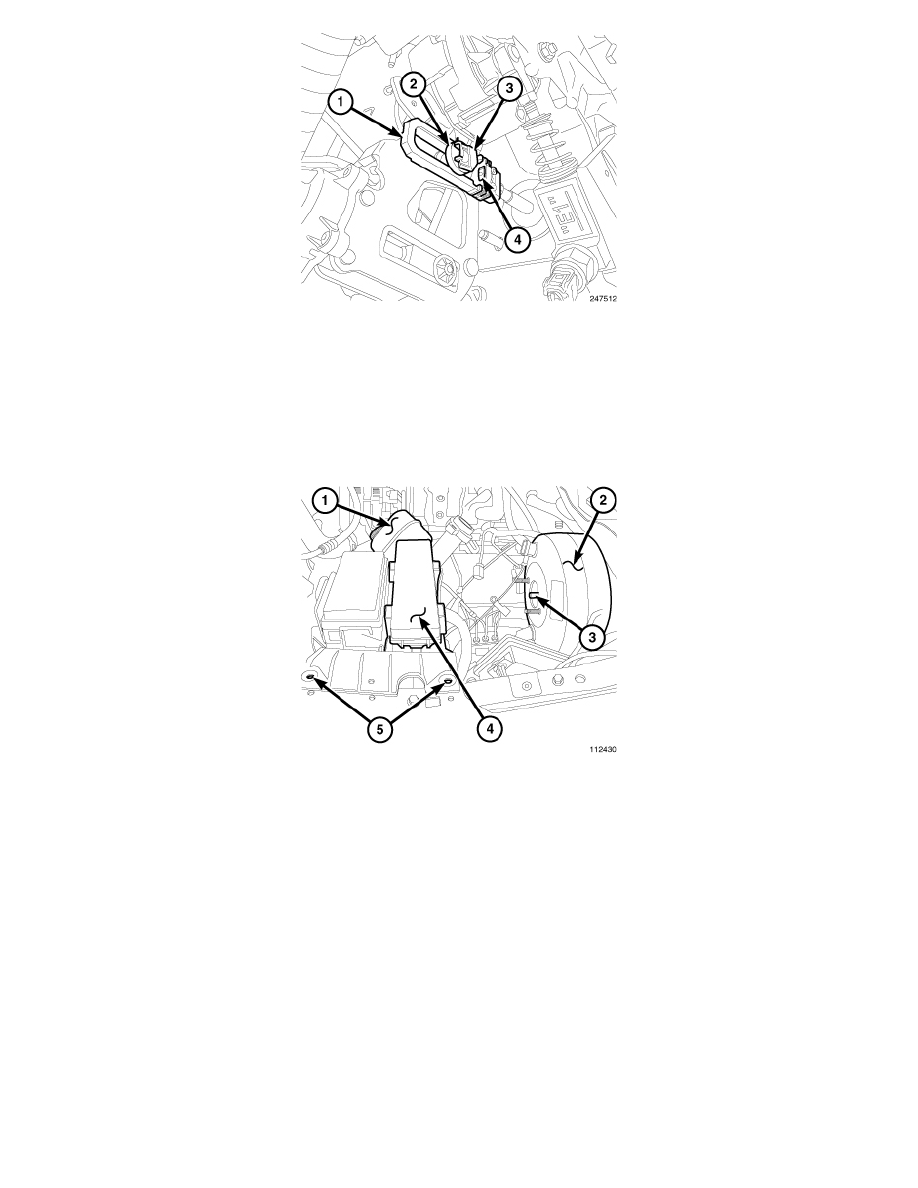
NOTE: Verify the positioning of the brake booster rod (1) for proper installation. The pad (4) must be positioned so that the spacer (2) can
contact the pad (4) when the brakes are applied.
3. Install the booster push rod (1) on brake pedal and install the push rod spacer (2) and a new retainer clip (3).
CAUTION: Do not reuse the original stop lamp switch. Anytime a switch has been removed or its position compromised, a new switch must be
installed and adjusted. Do not attempt to readjust the switch.
4. Install and adjust a NEW stop lamp switch. See: Lighting and Horns/Brake Light Switch/Service and Repair/Stop Lamp Switch - Installation.
NOTE: Prior to installing the master cylinder assembly (1), check that there is a vacuum seal present at the shoulder of the master cylinder
flange and its neck. A seal must be present to ensure vacuum integrity with the booster.
NOTE: Take precautions to locate the master cylinder plunger over the booster output rod before installing the master cylinder. If correctly
fitted the master cylinder should slide easily onto the booster output rod before the mounting studs are fully engaged in the flange
holes of the master cylinder.
5. Carefully install the master cylinder (1) on the booster mounting studs and install the master cylinder retaining nuts. Tighten the nuts to 25 Nm
(18.5 ft. lbs.).
6. Position the Intelligent Power Module (IPM) and install the IPM bracket upper retainer bolts (5). Tighten the bolts to 11.5 Nm (102 in. lbs).