
Durango 4WD V8-4.7L VIN N (2001)
Check Valve: Service and Repair
Rear Check Valve Replacement
REMOVAL
1. Unlatch and open the hood.
2. Locate the connection between the rear washer system engine compartment supply hose and passenger compartment supply hose sections. This
connection can be found just behind the air cleaner housing on the top of the right front fender wheel house, where the front and rear washer
system hoses are routed near the headlamp and dash wire harness.
3. Disconnect the passenger compartment half of the washer supply hose from the barbed nipple on the rear washer system check valve. A small
quantity of washer fluid will drain from the disconnected hose.
4. Disconnect the engine compartment half of the washer supply hose from the other barbed nipple of the rear check valve. Either install a temporary
plug in the engine compartment half of the supply hose or secure the loose end of this hose at a point higher than the washer reservoir to prevent
the contents of the washer reservoir from draining through this hose.
5. Remove the rear check valve from the engine compartment.
INSTALLATION
1. Position the rear check valve onto the back of the right front wheel house in the engine compartment.
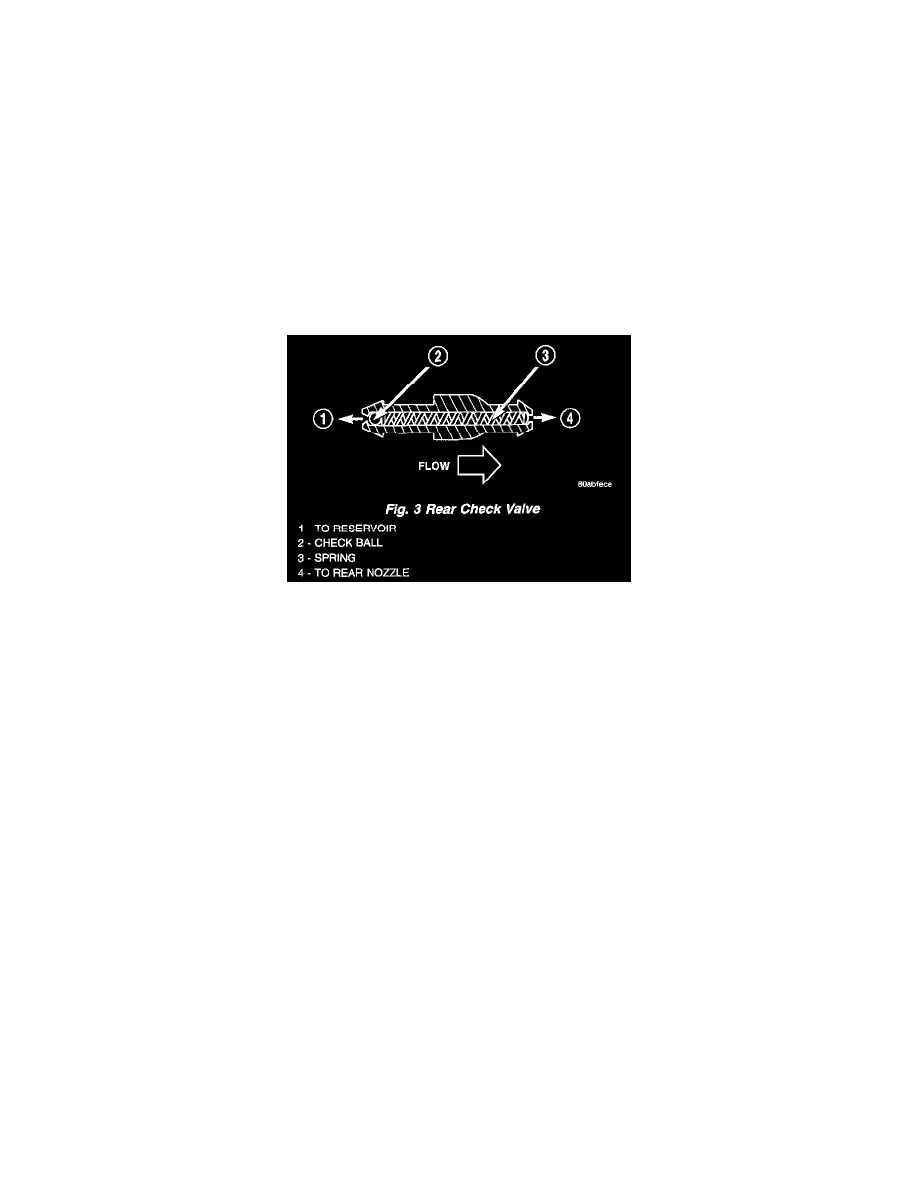
Fig.3 Rear Check Valve
2. With the tapered end of the check valve pointed in the direction of the system flow, reconnect the engine compartment half of the washer supply
hose to the barbed nipple of the rear check valve.
3. Reconnect the passenger compartment half of the washer supply hose to the other barbed nipple of the rear check valve.
4. Check that the washer supply hose are properly routed and are not pinched.
5. Close and latch the hood.