
Durango 4WD V8-5.9L VIN Z (1998)
Valve Body: Service and Repair
Disassembly and Assembly
42/44RE (A500) 4-Speed
Remove the valve body from the transmission, refer to Removal and Installation procedures.
DISASSEMBLY
CAUTION: Do not clamp any valve body component in a vise. This practice can damage the component resulting in unsatisfactory operation after
assembly and installation. Do not use pliers to remove any of the valves, plugs or springs and do not force any of the components out or into place.
The valves and valve body housings will be damaged if force is used. Tag or mark the valve body springs for reference as they are removed. Do not
allow them to become intermixed.
1. Remove fluid filter.
2. Disconnect wires from governor pressure sensor and solenoid.
3. Remove screws attaching governor body and retainer plate to transfer plate.
4. Remove retainer plate, governor body and gasket from transfer plate.
5. Disconnect wires from governor pressure sensor, if not done previously.
6. Remove governor pressure sensor from governor body. Sensor is retained in body with M-shaped spring clip. Remove clip with small pointed tool
and slide sensor out of body.
7. Remove governor pressure solenoid by pulling it straight out of bore in governor body. Remove and discard solenoid O-rings if worn, cut, or torn.
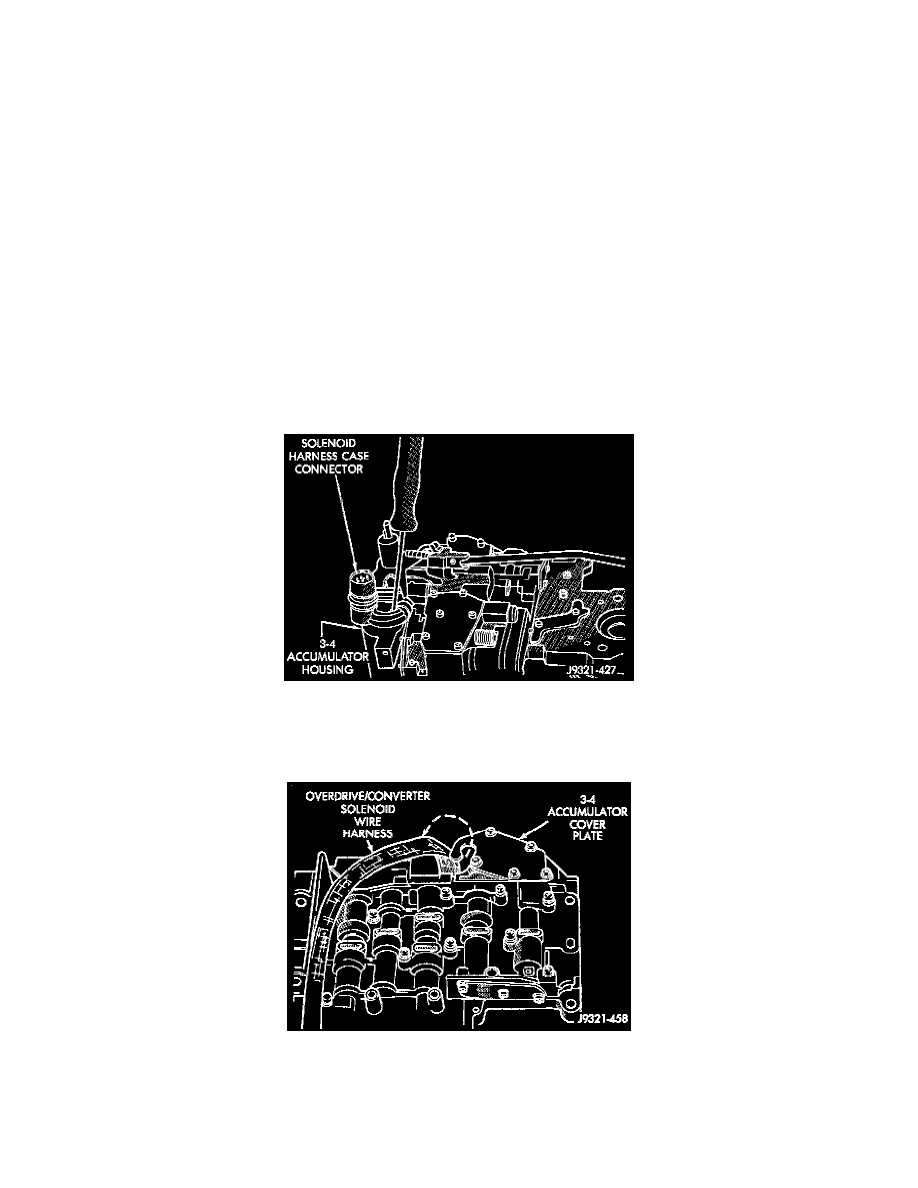
Solenoid Harness Case Connector Shoulder Boltt
8. Remove small shoulder bolt that secures solenoid harness case connector to 3-4 accumulator housing. Retain shoulder bolt. Either tape it to
harness or thread it back into accumulator housing after connector removal.
Unhooking Solenoid Harness From Accumulator Cover Plate
9. Unhook overdrive/converter solenoid harness from 3-4 accumulator cover plate.