
Durango 4WD V8-5.9L VIN Z (1998)
25. Remove left-side screw and remove 3-4 accumulator housing from valve body.
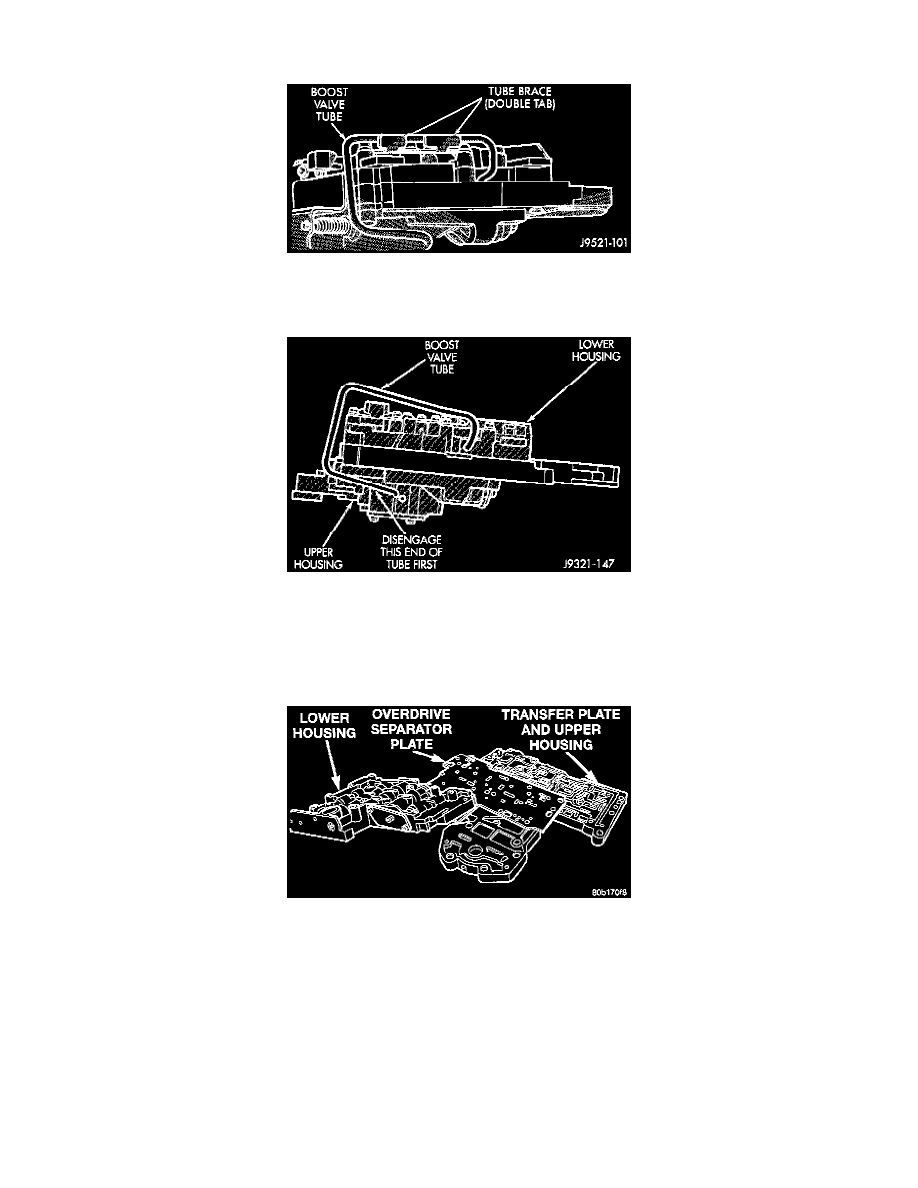
Boost Valve Tube Brace
26. Bend back tabs on boost valve tube brace.
Boost Valve Tube
27. Remove boost valve connecting tube. Disengage tube from upper housing port first. Then rock opposite end of tube back and forth to work it out
of lower housing.
CAUTION: Do not use tools to loosen or pry the connecting tube out of the valve body housings. Loosen and remove the tube by hand only.
Lower Housing
28. Turn valve body over so lower housing is facing upward. In this position, the two check balls in upper housing will remain in place and not fall out
when lower housing and separator plate are removed.
29. Remove screws attaching valve body lower housing to upper housing and transfer plate. Note position of boost valve tube brace for assembly
reference.
30. Remove lower housing and overdrive separator plate from transfer plate.