Intrepid V6-2.7L VIN R (2003)

Brake Master Cylinder: Service and Repair
Master Cylinder Removal and Installation
MASTER CYLINDER
REMOVAL
1. Disconnect brake fluid level switch wire connector on the side of the master cylinder reservoir.
2. Disconnect primary and secondary brake tubes from master cylinder housing. Install plugs at brake tube outlets.
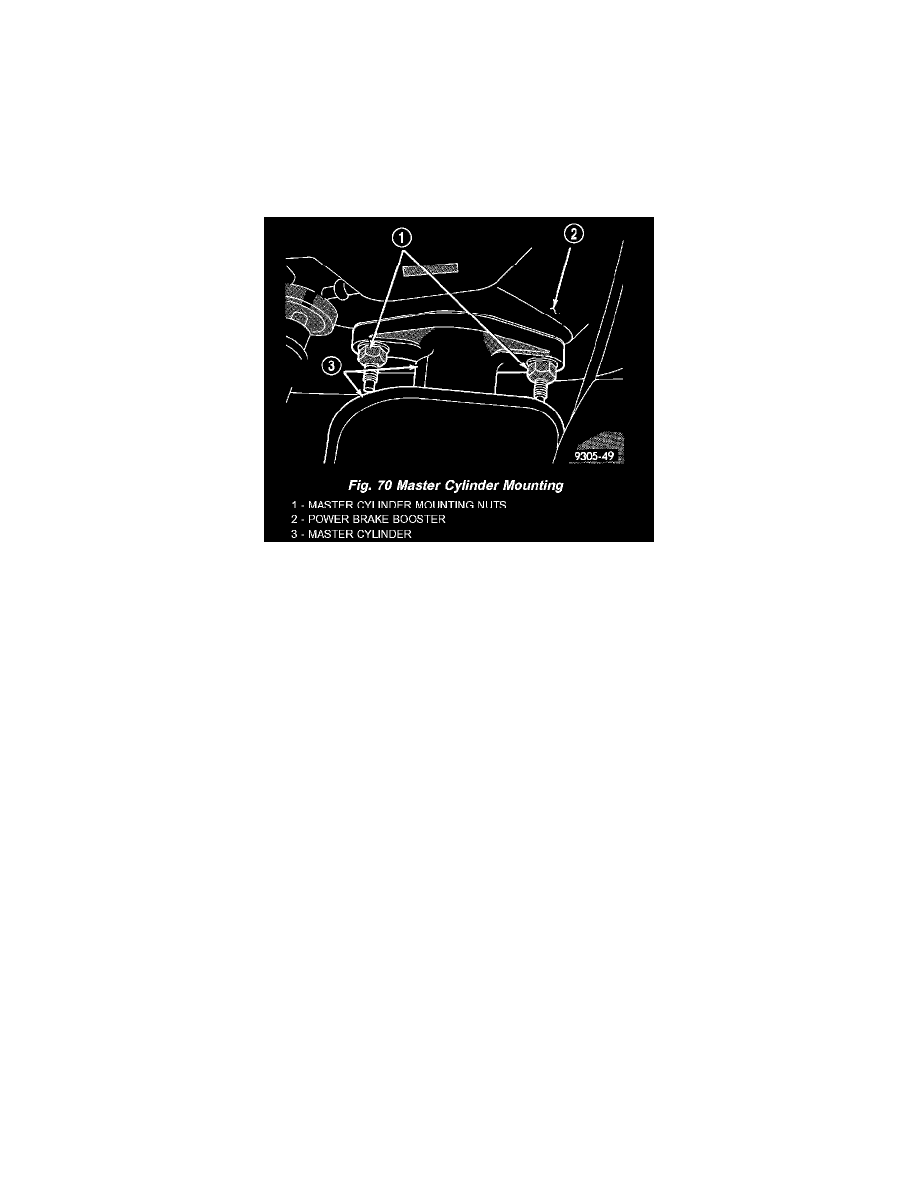
3. Remove the 2 nuts attaching the master cylinder to the power brake vacuum booster.
4. Slide master cylinder straight out from the booster.
INSTALLATION
CAUTION: If the master cylinder is being replaced or has been repaired, the master cylinder must be bled before installation.
1. Install master cylinder on studs of power brake vacuum booster, aligning the booster push rod with master cylinder piston.
2. Install the master cylinder mounting nuts. Tighten the nuts to a torque of 28 Nm (250 inch lbs.).
3. Connect brake tubes to master cylinder primary and secondary ports. Tighten fittings to 17 Nm (145 inch lbs.) torque.
4. Reconnect brake fluid level switch.
5. Check and adjust brake fluid level as necessary using Mopar Brake Fluid or equivalent.
CAUTION: It will be necessary to bleed the entire base hydraulic system if the brake system has been open to air for an excessive amount of time
or air is present in the lines.
