Intrepid V6-2.7L VIN R (2003)

Clock: Service and Repair
REMOVAL
1. Open hood.
2. Disconnect and isolate the negative battery remote cable.
3. Using a trim stick (special tool #C-4755), gently pry out instrument panel air distribution outlet bezel that retains the analog clock.
4. Disconnect the one wire connector to the clock.
5. Remove bezel from vehicle.
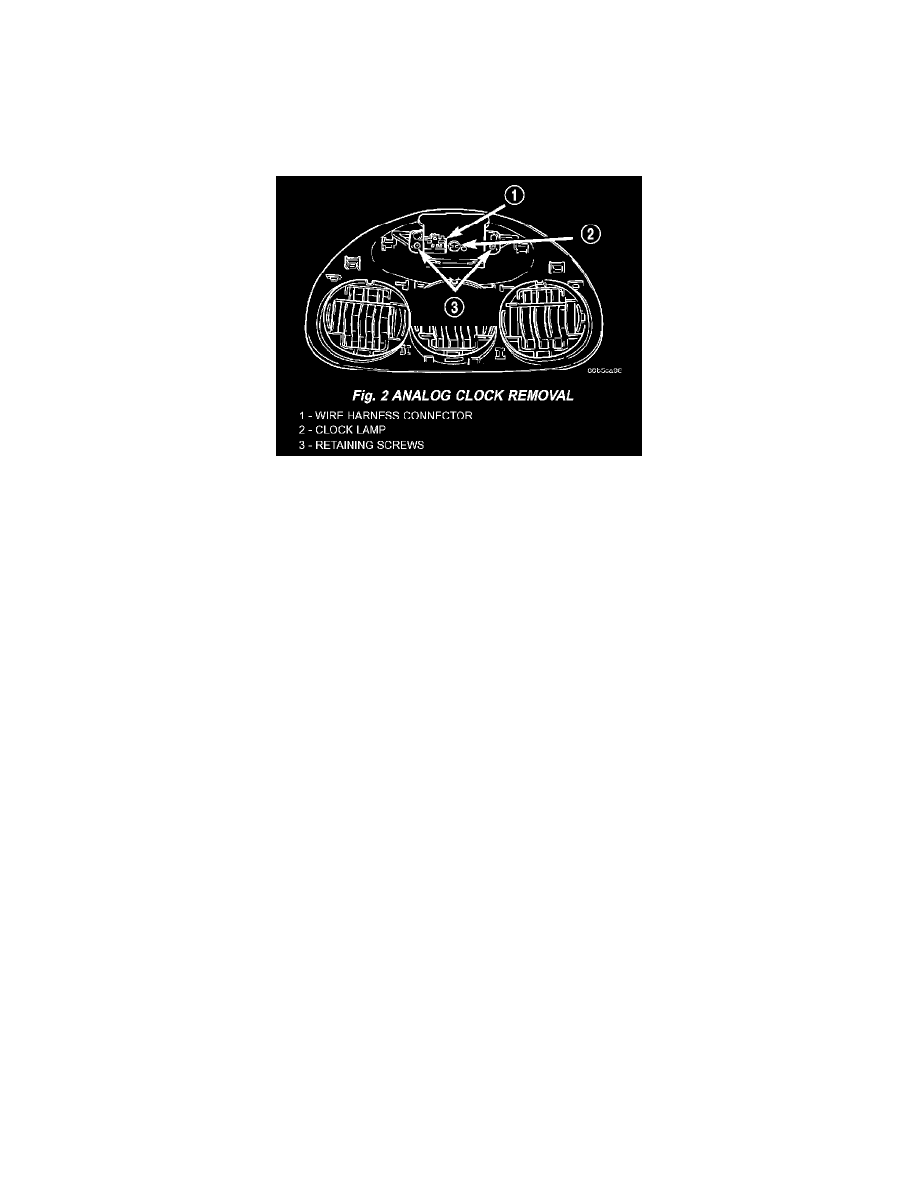
Fig. 2 Analog Clock Removal
6. On the bench, remove two retaining screws to analog clock and remove from bezel (Fig. 2).
INSTALLATION
1. On the bench, place the clock into place on the bezel and install the two retaining screws to analog clock (Fig. 2).
2. Connect the one wire connector to the clock.
3. Place bezel into place and firmly snap into place.
4. Connect and isolate the negative battery remote cable to the remote terminal.
5. Close hood.
