
Intrepid V6-2.7L VIN R (2003)
2. Slide the solenoid completely onto the shift lever mounting stud aligning the plastic guide formed into the solenoid housing with the flange on the
shift lever mechanism bracket (Fig. 368).
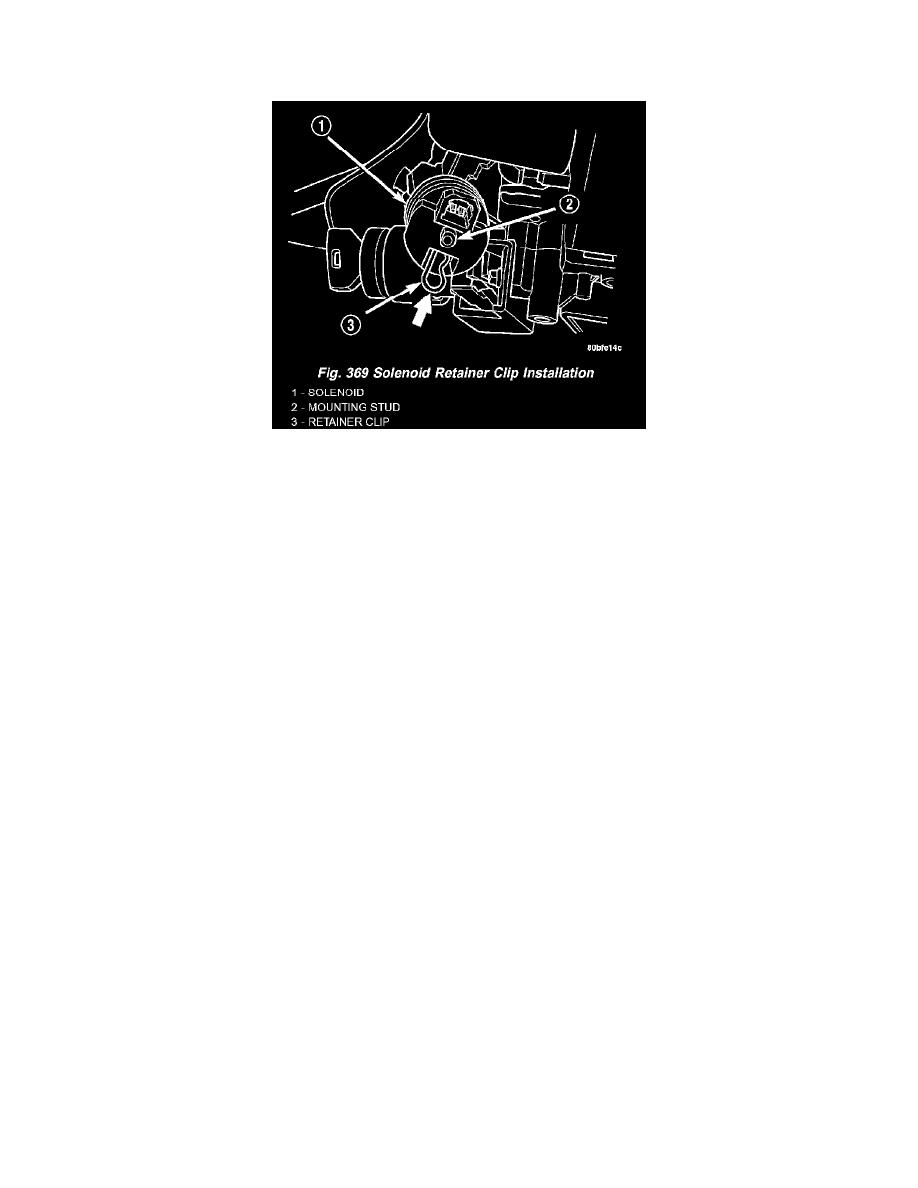
3. Install the retainer clip until it snaps into place in the slot cut into the shift lever mounting stud (Fig. 369).
4. Verify the BTSI solenoid is locked in place and will not slide off the mounting stud.
5. Connect the wiring harness connector to the BTSI solenoid.
6. Verify the BTSI is operating properly. With the ignition on (engine not running) and the parking brake applied, try shifting the transmission shift
lever out of the PARK position with and without the brake pedal being applied. The shift lever should only shift out of PARK with the brake pedal
being depressed.
7. Install the lower shroud (Fig. 364) on the steering column. Install and securely tighten the 2 screws attaching the lower shroud to the steering
column.
8. Install the tilt lever (Fig. 363) on the steering column.
9. Install the upper shroud on the steering column by snapping it onto the lower shroud.
10. Install the lower instrument panel cover.
11. Install the two screws behind the fuse panel cover attaching the lower instrument panel cover to the instrument panel (Fig. 362).
12. Install the fuse panel cover on the left end of the instrument panel (Fig. 361).