
Intrepid V6-3.5L VIN K (2003)
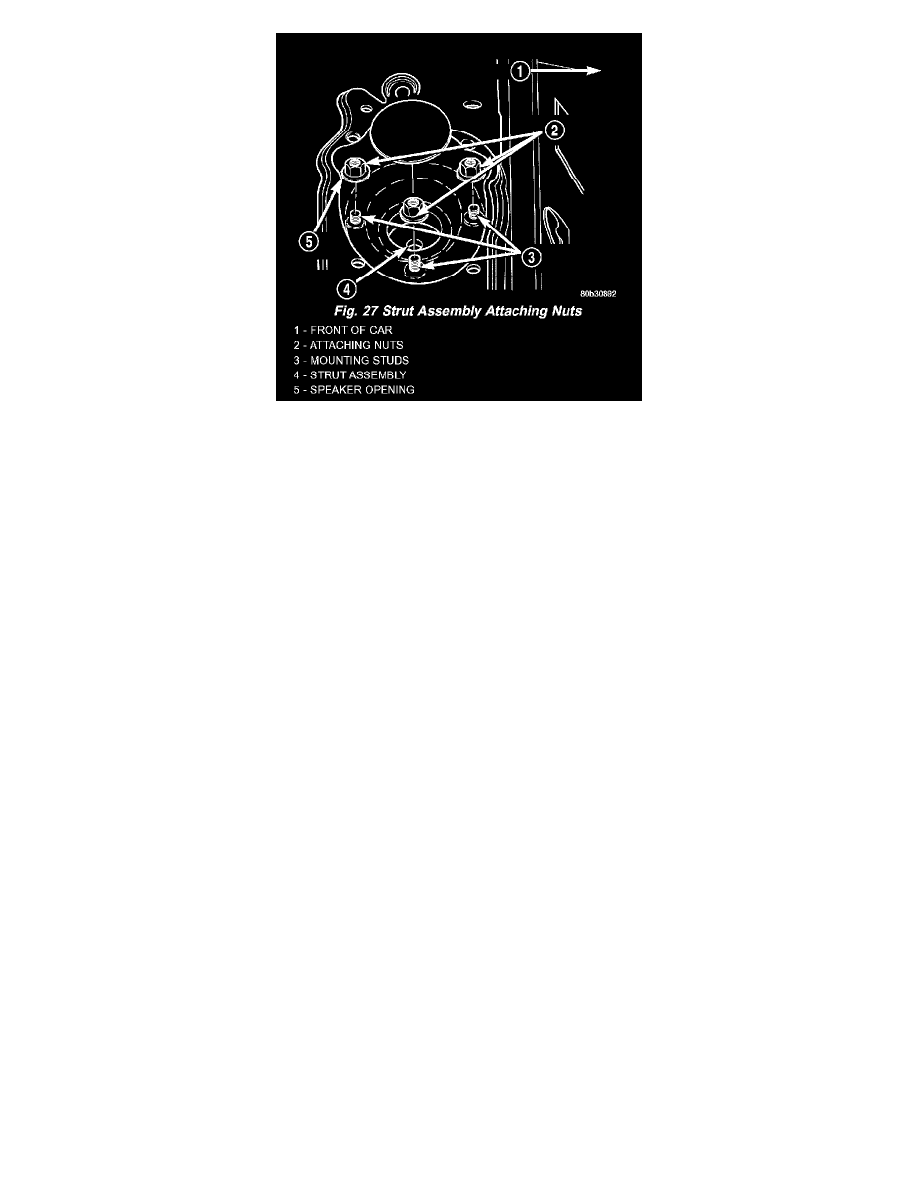
19. Mark the location of the 3 strut assembly-to-rear strut tower attaching nuts.
20. Remove the 3 strut assembly-to-rear strut tower attaching nuts, then remove strut assembly from vehicle.
21. Remove the nut, washers and rubber isolators securing the stabilizer bar link to the strut.
22. For disassembly of the strut assembly, refer to Disassembly.
Disassembly
DISASSEMBLY - STRUT ASSEMBLY (REAR)
The Strut assembly must be removed from the vehicle for it to be disassembled and assembled.
1. If both struts are being serviced at the same time, mark the coil spring and strut assembly according to which side of the vehicle the strut was
removed from, and which strut the coil spring was removed from.
WARNING: DO NOT INSTALL THE COIL SPRING COMPRESSOR HOOKS ON THE COIL SPRING IN AN AREA OF THE
SPRING COVERED BY A SLEEVE. IF THE SLEEVE MOVES WHEN COMPRESSING THE SPRING, THE SPRING COULD
MOVE RESULTING IN PERSONAL INJURY.
CAUTION: When installing the spring compressor's hooks on the coil spring, do not position the hooks of the spring compressor on the sleeve of
the coil spring. Positioning the spring compressor on the sleeve could cause the sleeve to dislodge from the coil spring when it is compressed. This
would result in the required replacement of the coil spring.
2. Position the strut assembly in the strut coil spring compressor following the manufacturers instructions. Position the strut assembly so the outboard
side of the strut is outward away from the compressor. Grasp the upper and lower coils of the spring with the upper and lower hooks of the
compressor. Place a clamp on the lower end of the coil spring, so the strut is held in place once the strut shaft nut is removed. Compress the coil
spring until all load is removed from the upper strut mount.
3. Install Strut Shaft Socket, Special Tool 6864, on the strut shaft nut. Use a deep well socket inserted into the opening of tool 6864 to keep strut
shaft from turning. With the spring compressed, remove the nut from the strut shaft.
4. Remove the strut upper mount assembly, upper spring isolator, dust shield, and jounce bumper. The jounce bumper should come off with the dust
shield. The dust shield and upper spring isolator can be removed from the upper mount if necessary.
5. Remove the clamp and remove the strut out from the bottom of the coil spring.
6. Remove the lower spring isolator from the strut coil spring seat.
7. Inspect the strut assembly components for the following and replace as necessary:
-
Inspect the strut for any condition of shaft binding over the full stroke of the shaft.
-
Inspect the strut shaft for loss of charge.
-
Inspect the jounce bumper for cracks and signs of deterioration.
-
Check the upper mount for cracks and distortion and its retaining studs for any sign of damage.
-
Inspect the dust shield for rips and deterioration.
-
Inspect the upper and lower spring isolators for material deterioration.
-
Inspect the coil spring for any sign of damage to the coating.
NOTE: Before releasing the tension on the coil spring, note the position of the coil end on the upper end of the coil spring. When reinstalled,
position it in the same spot for ease of alignment of the upper mount, coil spring and the strut.
8. If the coil spring needs to be removed from the compressor, release the tension from the coil spring by backing off the compressor drive fully.