
Journey AWD V6-3.5L (2009)
Hood Hinge: Service and Repair
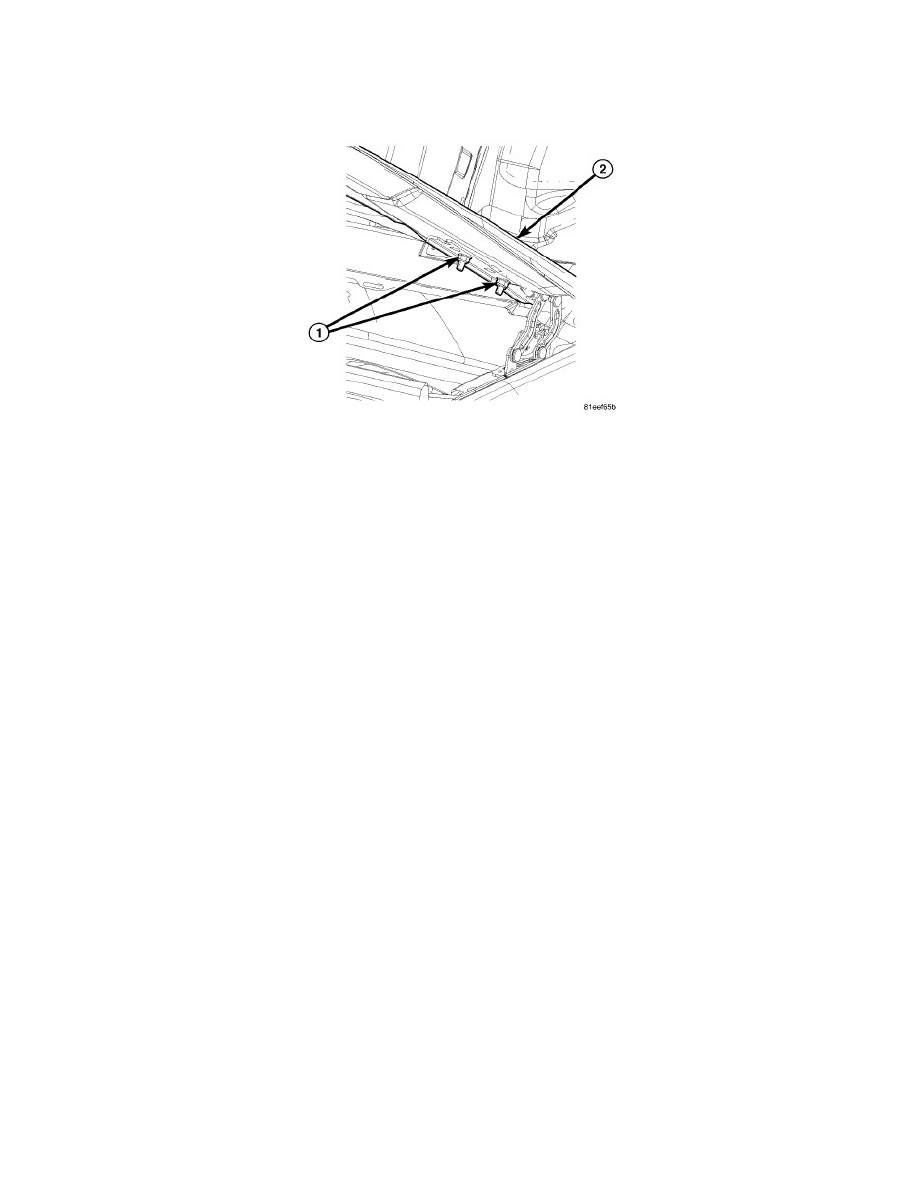
Hood Hinge - Installation
INSTALLATION
1. If necessary, paint new hinge before installation.
2. Place hinge in position on vehicle.
3. Install bolts to attach hood hinge to load beam inner.
4. Install bolts to attach hood to hinge.
5. Align all marks and secure bolts.
6. Tighten bolts to 28 Nm (20 ft. lbs.) torque.
7. The hood should be aligned to 4 mm (0.160 in.) gap to the front fenders and flush across the top surfaces along fenders. Shims can be added or
removed under hood hinge to achieve proper hood height.
8. Install cowl cover See: Cowl/Cowl Moulding / Trim/Service and Repair/Cowl Panel Inner Cover - Installation See: Cowl/Cowl Moulding /
Trim/Service and Repair/Cowl Panel Outer Cover - Installation.
9. Verify hood latch operation. Adjust as necessary.