
2009 Dodge Journey AWD V6-35L Brake Master Cylinder Replacement Instructions
10. Connect the negative (ground) cable on the battery.
11. Fill the master cylinder reservoir to the proper level. See: Brake Fluid/Service and Repair
WARNING: Be certain a firm brake pedal is achieved prior to attempting to operate the vehicle. If a firm brake pedal cannot be achieved,
bleed the brake hydraulic system and check for leaks. See: Brake Bleeding/Service and Repair
12. Road test the vehicle to ensure proper operation of the brakes.
Brake Master Cylinder Reservoir - Removal
REMOVAL
CAUTION: If at any time the master cylinder is loosened or removed, you must perform the master cylinder installation procedure to ensure
that the seal (o-ring) is still on the hub of the master cylinder See: Brake Master Cylinder - Installation .
NOTE: The brake fluid level switch is mounted through the center of the fluid reservoir. The switch can be serviced separately from the
master cylinder fluid reservoir See: Brake Fluid Level Sensor/Switch/Service and Repair/Brake Fluid Level Switch - Removal
NOTE: Before proceeding, See: Service Precautions/Technician Safety Information See: Service Precautions/Vehicle Damage Warnings .
1. Remove the outer and inner cowl covers See: Body and Frame/Cowl/Cowl Moulding / Trim/Service and Repair/Cowl Panel Inner Cover -
Removal See: Body and Frame/Cowl/Cowl Moulding / Trim/Service and Repair/Cowl Panel Outer Cover - Removal
2. Remove the front wiper motor module See: Wiper and Washer Systems/Wiper Motor Linkage/Service and Repair/Wiper Arm Linkage - Removal
3. Clean the master cylinder housing and brake fluid reservoir. Use only Mopar(R) Brake Parts Cleaner or equivalent.
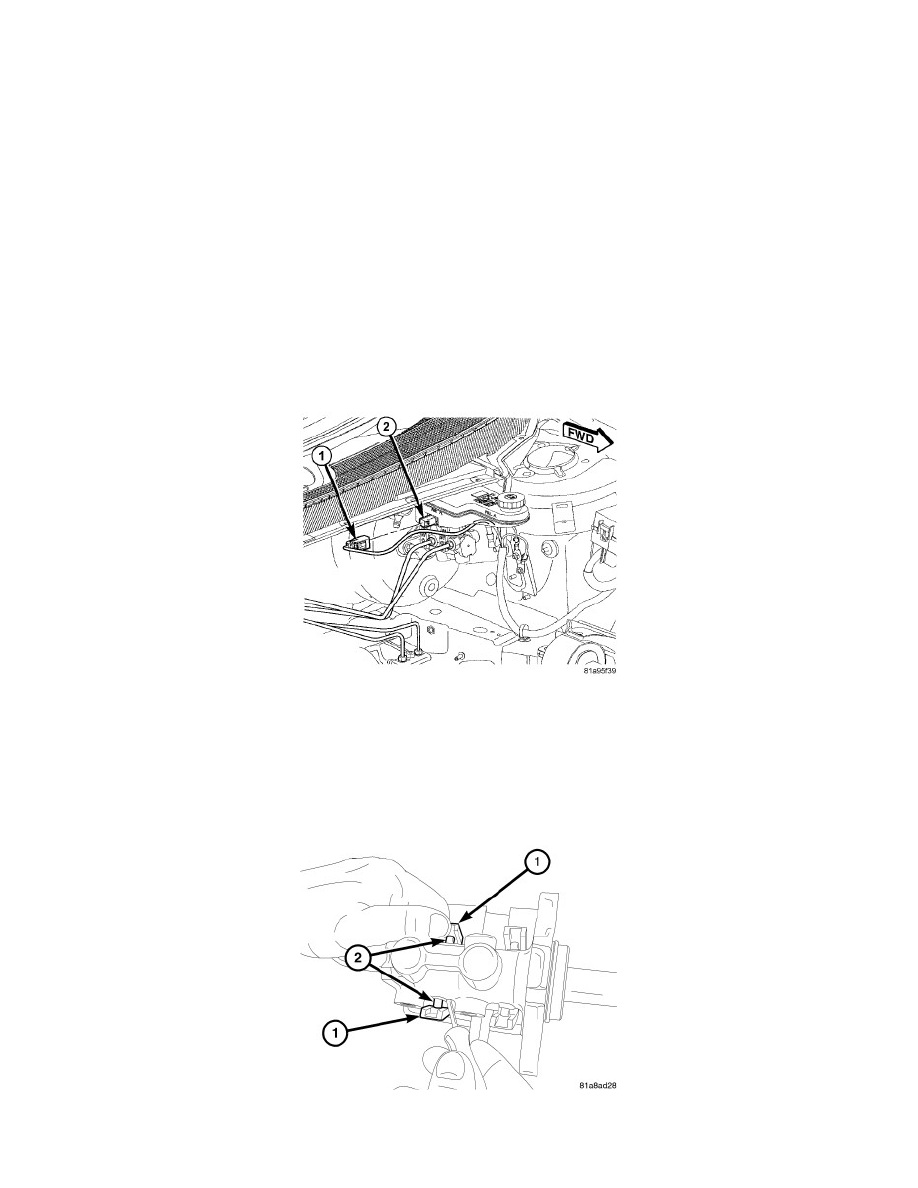
4. Remove the wiring harness connector (1) from the brake fluid level switch (2) in the master cylinder brake fluid reservoir.
5. Remove the brake fluid reservoir cap. Using a syringe or equivalent type tool, empty as much brake fluid as possible from the reservoir.
6. Remove the four reservoir retaining tabs from the mounting posts on the master cylinder housing.
7. Pull the reservoir straight up and remove it from the grommet seals in master cylinder housing.