
Journey AWD V6-3.5L (2009)
Brake Master Cylinder: Overhaul
Brake Master Cylinder - Disassembly
DISASSEMBLY
NOTE: If the reservoir is being replaced, the new reservoir will come with a brake fluid level switch installed. The old fluid switch does not
need to be transferred from the old reservoir to the new reservoir.
1. Clean the master cylinder housing and brake fluid reservoir. Use only Mopar(R) Brake Parts Cleaner or equivalent.
2. Remove the brake fluid reservoir cap. Using a syringe or equivalent type tool, empty as much brake fluid as possible from the reservoir.
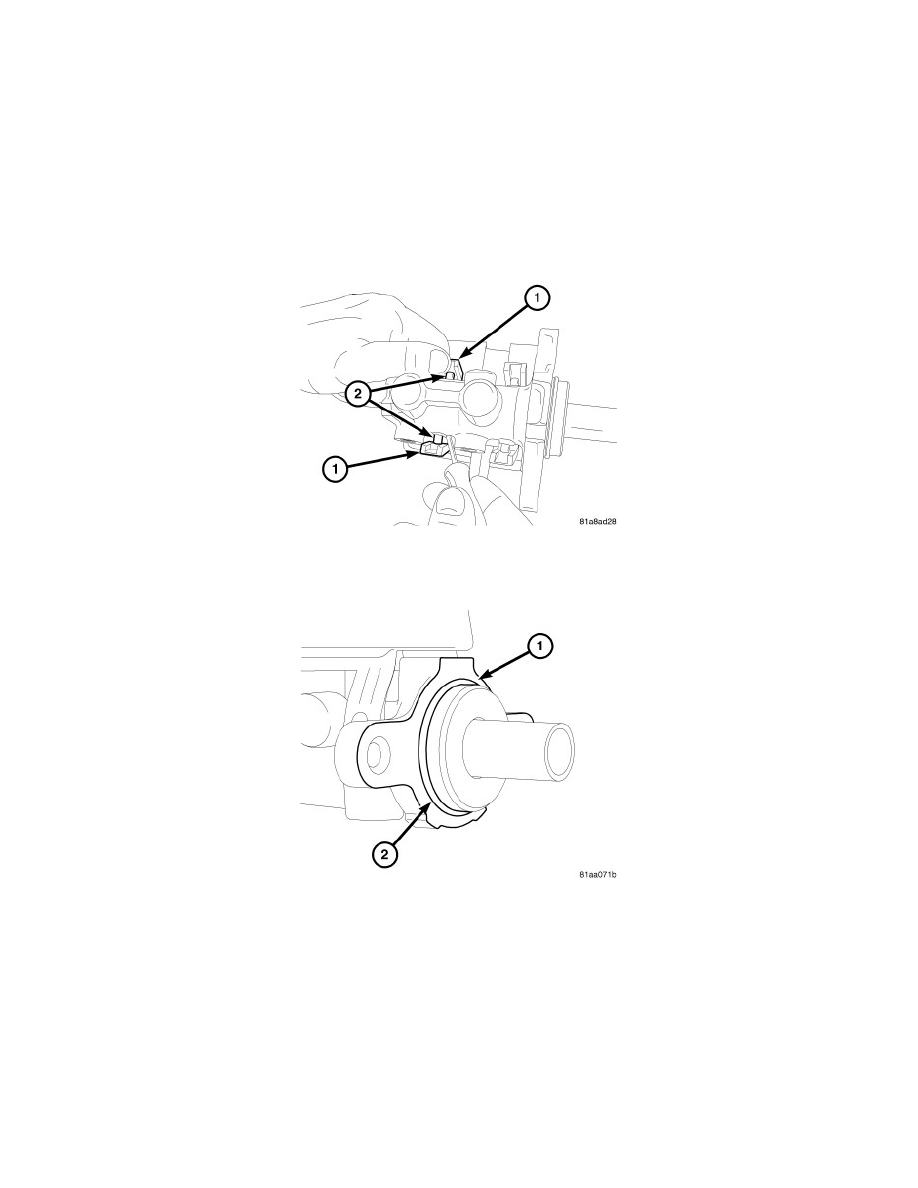
3. Remove the four reservoir retaining tabs from the mounting posts on the master cylinder housing.
4. Pull the reservoir straight up and remove it from the grommet seals in master cylinder housing.
5. Remove the vacuum O-ring seal (2) from the master cylinder mounting flange (1).
Brake Master Cylinder - Assembly
ASSEMBLY
NOTE: If the reservoir is being replaced, the new reservoir will come with a brake fluid level switch installed. The old fluid switch does not
need to be transferred from the old reservoir to the new reservoir.