
Journey AWD V6-3.5L (2009)
Control Assembly: Service and Repair
A/C and Heater Control - Installation
Front
INSTALLATION
NOTE: MTC single zone A/C-heater control shown. Other A/C-heater controls similar.
1. Position the A/C-heater control (1) onto the back of the center bezel (3).
2. Install the screws (2 and 4) that secure the A/C-heater control to the center bezel. Tighten the screws to 2 Nm (17 in. lbs.).
3. Install the center bezel See: Body and Frame/Interior Moulding / Trim/Dashboard / Instrument Panel/Service and Repair/Instrument Panel Bezel -
Installation.
4. Reconnect the negative battery cable.
NOTE: The A/C-heater control will automatically perform the Actuator Calibration function when the ignition is initially turned on when
installing a new control or when reinstalling the original control. However, the Actuator Calibration function must be manually
initiated using a scan tool if the A/C-heater control has been previously installed in another vehicle.
5. If required, initiate the Actuator Calibration function using a scan tool See: Testing and Inspection/Component Tests and General
Diagnostics/HVAC System Test.
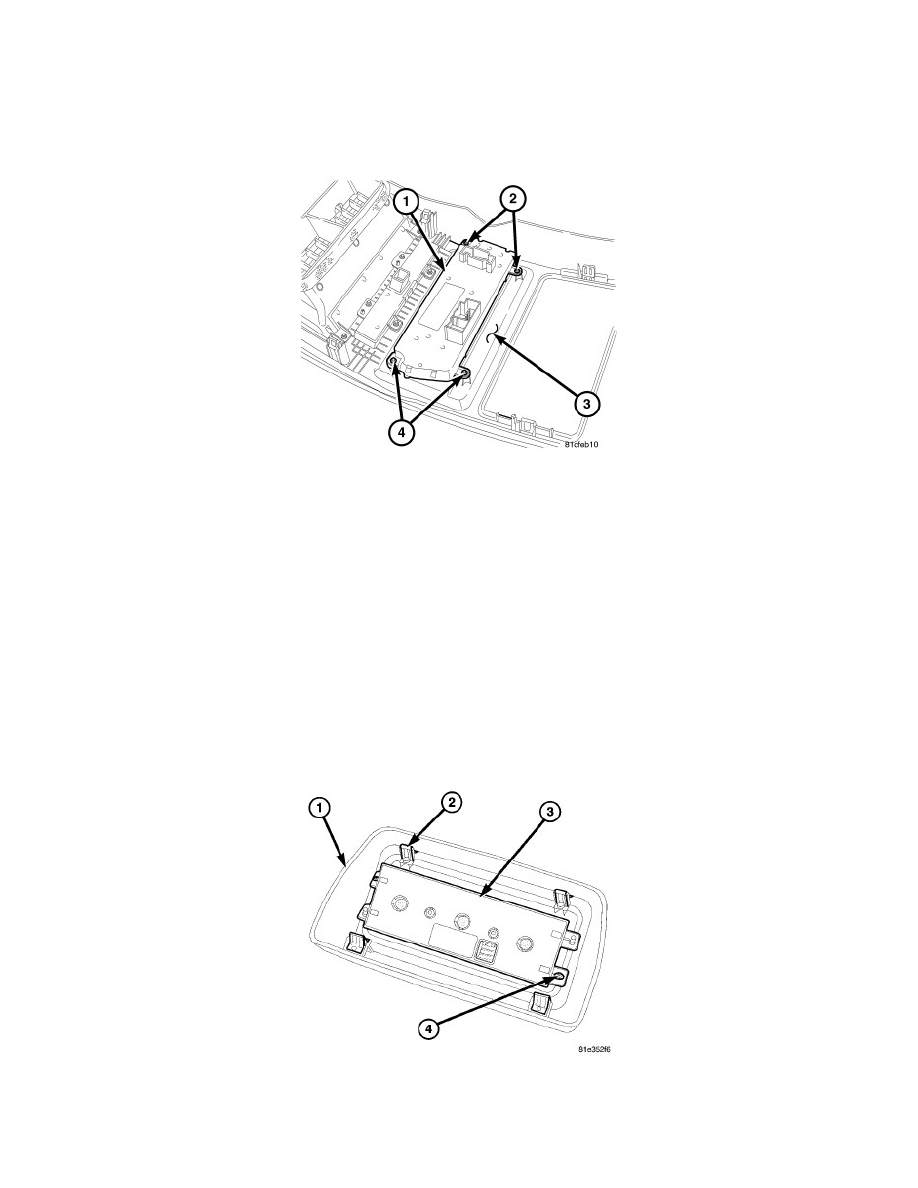
Rear
INSTALLATION
1. Position the rear A/C-heater control (3) to the rear control bezel (1) and align the control to the two plastic guide posts on the back of the bezel.
2. Install the two screws (4) that secure the rear A/C-heater control to the rear control bezel. Tighten the screws to 1.2 Nm (10 in. lbs.).
3. Connect the wire harness connector to the back of the rear A/C-heater control and install the bezel and control as an assembly to the headliner.