
Journey AWD V6-3.5L (2009)
Wiper Motor Linkage: Service and Repair
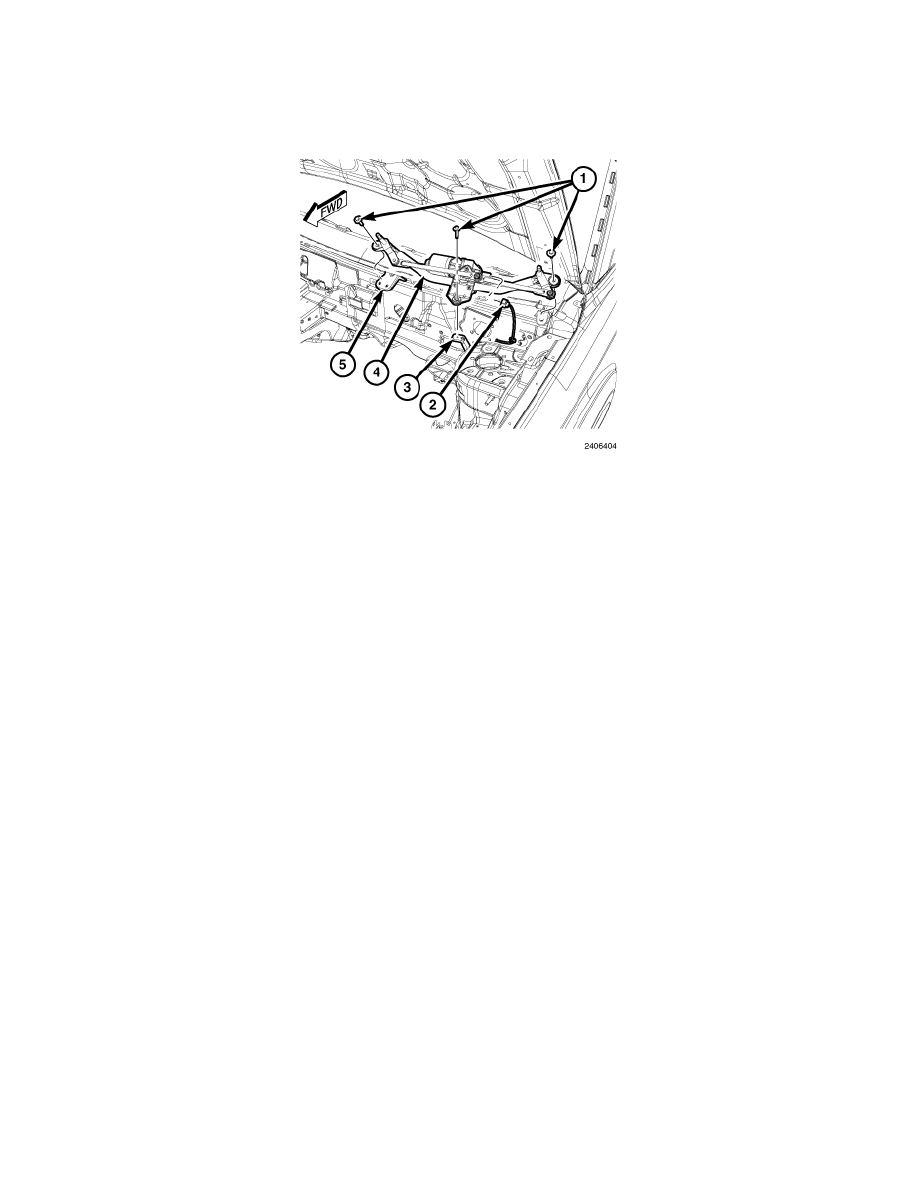
Wiper Arm Linkage - Installation
INSTALLATION
NOTE: The front wiper linkage module includes the wiper motor. The wiper motor is also available for separate service replacement and can
be removed from the wiper linkage module without removing the module from the vehicle. See: Wiper Motor/Service and Repair/Wiper
Motor - Removal .
1. Position the front wiper linkage module (4) into the vehicle as a unit.
2. Reconnect the headlamp and dash wire harness connector (2) to the wiper motor pigtail wire connector. Be certain to route the wire harness take
out under the wiper linkage module.
3. Install but do not tighten the three screws (1) that secure the front wiper linkage module to the driver side strut tower bracket (3) and the two cowl
brackets (5).
4. Starting on the driver side and working toward the passenger side, tighten each of the three screws. Tighten the screws to 10 Nm (90 in. lbs.).
5. Reinstall the inner and outer cowl plenum cover/grille panels. See: Body and Frame/Cowl/Cowl Moulding / Trim/Service and Repair/Cowl Panel
Inner Cover - Installation and See: Body and Frame/Cowl/Cowl Moulding / Trim/Service and Repair/Cowl Panel Outer Cover - Installation.
6. Reconnect the battery negative cable.
7. Reinstall both front wiper arms onto the wiper pivots. See: Wiper Arm/Service and Repair/Wiper Arm - Installation.