
Neon L4-2.0L SOHC (1995)
Axle Shaft: Service and Repair
Installation
The content of this article reflects the changes called out by TSB 26-01-95.
INSTALLATION
CAUTION: The driveshaft, when installed, acts as a bolt and secures the front hub/bearing assembly. If vehicle is to be supported or moved an its
wheels with a driveshaft removed, install a PROPER-SIZED BOLT AND NUT through front hub. Tighten bolt and nut to 183 Nm (135 ft lbs.). This
will ensure that the hub bearing cannot loosen.
1. Thoroughly clean spline and oil seal sealing surface, on tripod joint. Lightly lubricate oil seal sealing surface on tripod joint with fresh clean
transmission lubricant.
2. Holding driveshaft assembly by tripod joint and interconnecting shaft, install Tripod joint into transaxle side gear as far as possible by hand.
3. Carefully align tripod joint with transaxle side gears. Then grasp driveshaft interconnecting shaft and push tripod joint into transaxle side gear until
fully seated. Test that snap ring is fully engaged with side gear by attempting to remove tripod joint from transaxle by hand. If snap ring is fully
engaged with side gear tripod joint will not be removable by hand.
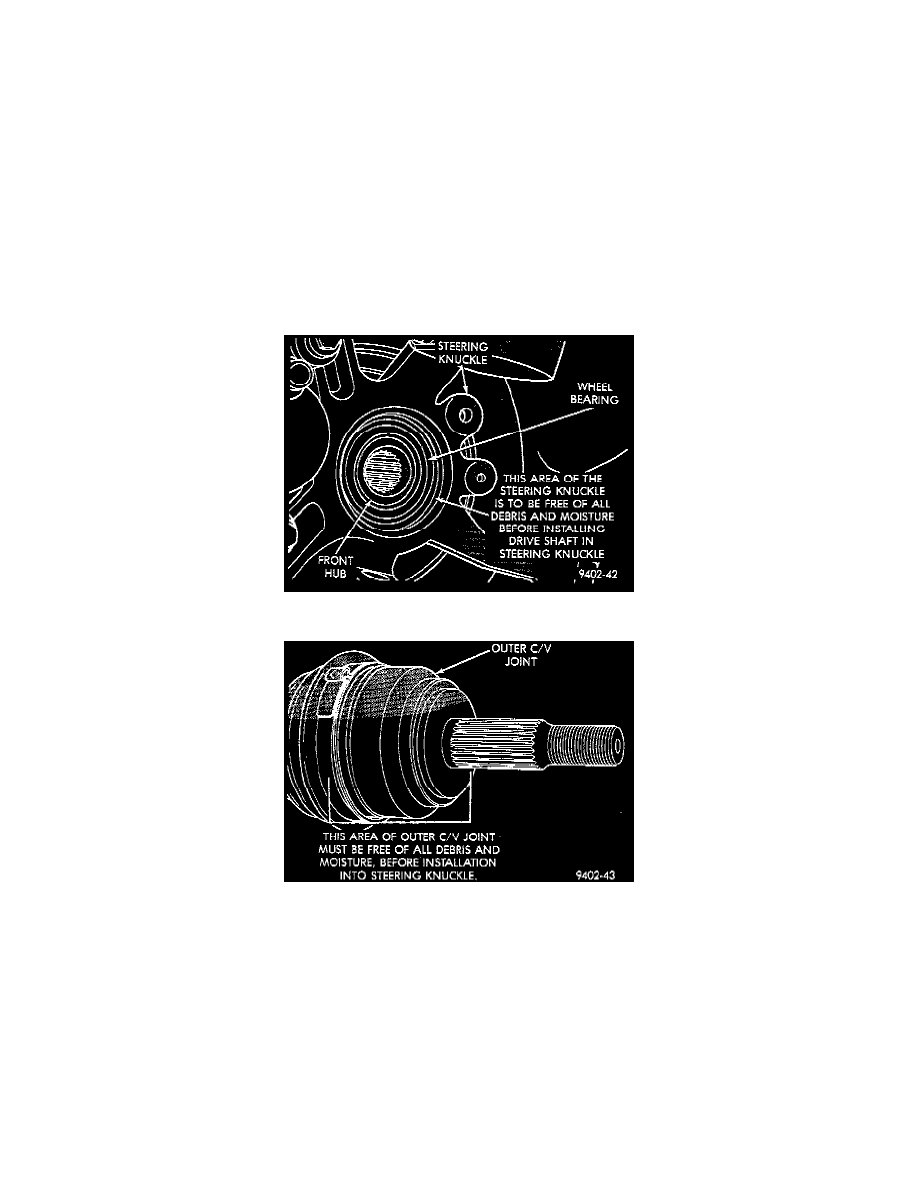
4. Clean all debris and moisture out of steering knuckle.
5. Ensure that front of outer C/V joint, which fits into steering knuckle, is free of debris and moisture before assembling into steering knuckle.