
RAM 1500 Truck 2WD V6-3.7L VIN K (2003)
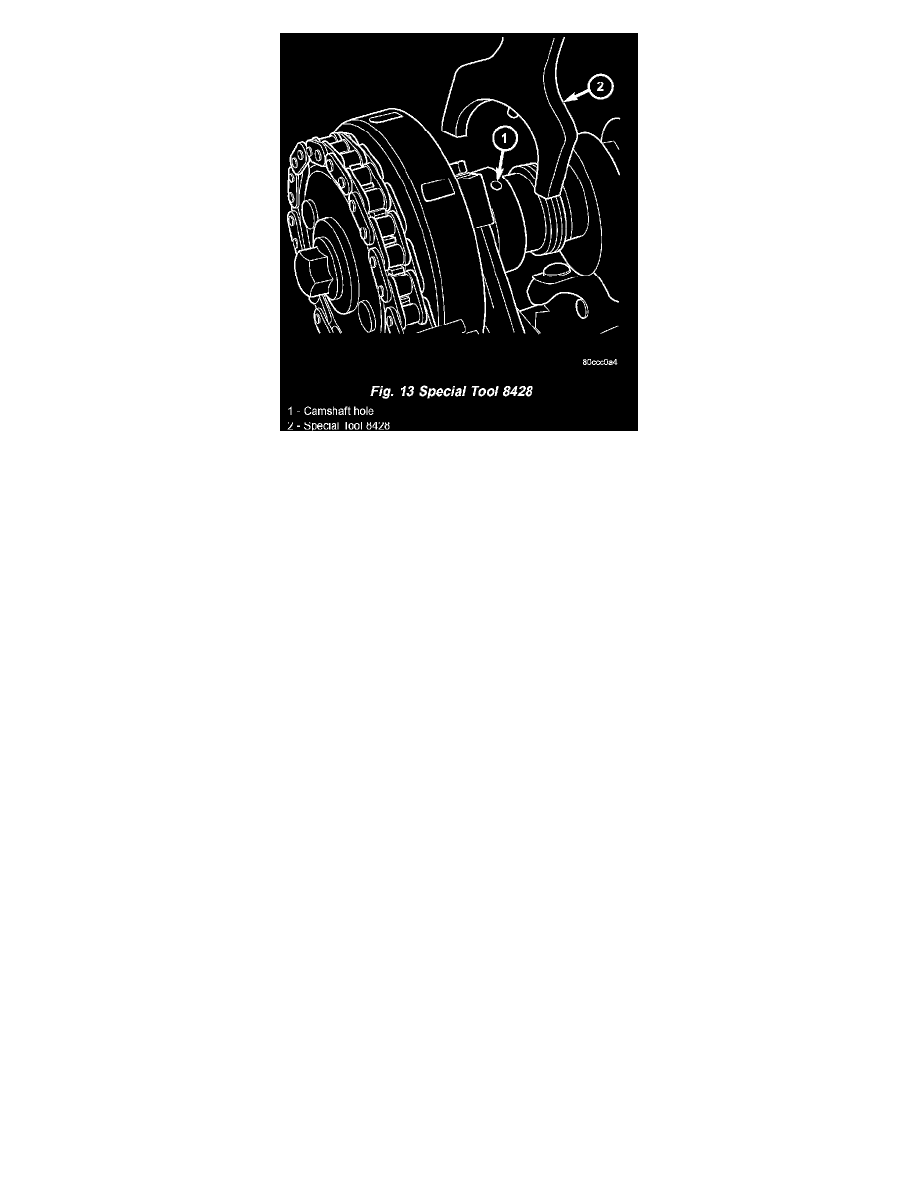
6. Hold the camshaft with Special Tool 8428 Camshaft Wrench, while removing the camshaft sprocket bolt and sprocket (Fig. 13).
7. Using Special Tool 8428 Camshaft Wrench, gently allow the camshaft to rotate 5° clockwise until the camshaft is in the neutral position (no valve
load).
8. Starting at the outside working inward, loosen the camshaft bearing cap retaining bolts 1/2 turn at a time. Repeat until all load is off the bearing
caps.
CAUTION: DO NOT STAMP OR STRIKE THE CAMSHAFT BEARING CAPS. SEVERE DAMAGE WILL OCCUR TO THE BEARING
CAPS.
NOTE: When the camshaft is removed the rocker arms may slide downward, mark the rocker arms before removing camshaft.
9. Remove the camshaft bearing caps and the camshaft.
INSTALLATION
1. Lubricate camshaft journals with clean engine oil.
NOTE: Position the left side camshaft so that the camshaft sprocket dowel is near the 1 o'clock position, This will place the camshaft at the
neutral position easing the installation of the camshaft bearing caps.
2. Position the camshaft into the cylinder head.
3. Install the camshaft bearing caps, hand tighten the retaining bolts.
NOTE: Caps should be installed so that the stamped numbers on the caps are in numerical order, (1 thru 4) from the front to the rear of the
engine. All caps should be installed so that the stamped arrows on the caps point toward the front of the engine.