
RAM 1500 Truck 4WD V8-5.7L VIN D (2005)
7. Remove and discard the lower coupler pinch bolt.
INSTALLATION
1. Install the coupler to the steering rack & pinion using the marks made in the removal process.
2. Install the coupler to the intermediate shaft using the marks made in the removal process.
NOTE: New pinch bolts must be used for reinstallation.
3. Install the lower pinch bolt and tighten to 57 Nm (42 ft. lbs.).
4. Install the upper pinch bolt and tighten to 57 Nm (42 ft. lbs.).
5. Install the left front tire and wheel assembly.
6. Lower the vehicle.
7. Reconnect the negative battery cable.
8. Unlock the steering wheel.
4X4 HD
LOWER STEERING COUPLING
REMOVAL
4X4 HD
1. Disconnect the negative battery cable.
2. Raise and support the vehicle.
NOTE: The steering column on vehicles with an automatic transmission may not be equipped with an internal locking shaft that allows the
ignition key cylinder to be locked with the key. Alternative methods of locking the steering wheel for service will have to be used.
3. Lock the steering wheel with the tire in the straight position.
4. Remove the left front tire and wheel assembly.
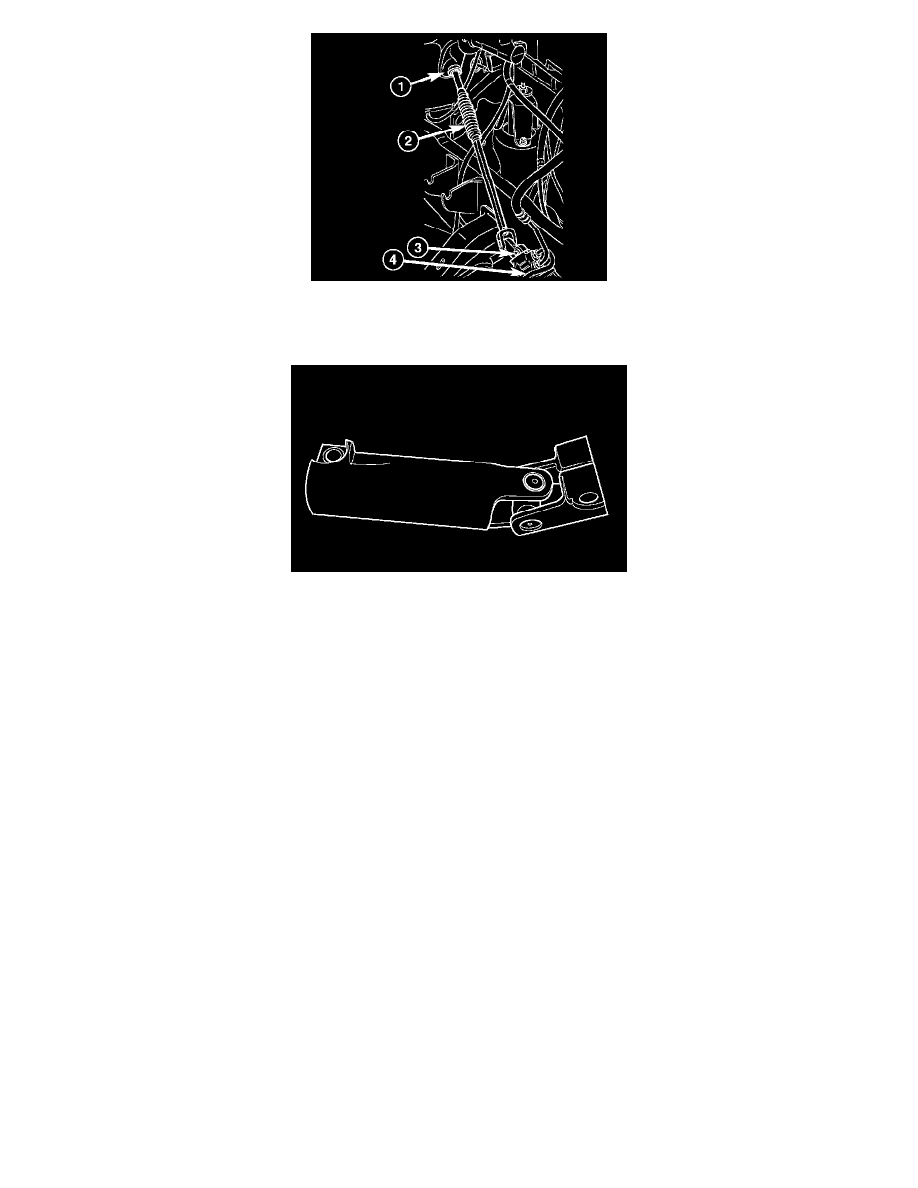
5. Remove and discard the upper coupler pinch bolt (1).
6. Remove and discard the lower coupler pinch bolt (2).
7. Remove the lower steering shaft coupler (3).
INSTALLATION