
RAM 1500 Truck 4WD V8-5.9L VIN Z (2002)
Crankshaft Main Bearing Seal: Service and Repair
CRANKSHAFT OIL SEAL REAR
REMOVAL
The service seal is a two piece, Viton seal. The upper seal half can be installed with crankshaft removed from engine or with crankshaft installed.
When a new upper seal is installed, install a new lower seal. The lower seal half can be installed only with the rear main bearing cap removed.
UPPER SEAL - CRANKSHAFT REMOVED
1. Remove the crankshaft. Discard the old upper seal.
UPPER SEAL - CRANKSHAFT INSTALLED
1. Remove the oil pan.
2. Remove the oil pump.
3. Remove the rear main bearing cap. Remove and discard the old lower oil seal.
4. Carefully remove and discard the old upper oil seal.
LOWER SEAL
1. Remove the oil pan.
2. Remove the oil pump.
3. Remove the rear main bearing cap and discard the old lower seal.
INSTALLATION
The service seal is a two piece, Viton seal. The upper seal half can be installed with crankshaft removed from engine or with crankshaft installed.
When a new upper seal is installed, install a new lower seal. The lower seal half can be installed only with the rear main bearing cap removed.
UPPER SEAL - CRANKSHAFT REMOVED
1. Clean the cylinder block rear cap mating surface. Be sure the seal groove is free of debris. Check for burrs at the oil hole on the cylinder block
mating surface to rear cap.
2. Lightly oil the new upper seal lips with engine oil.
3. Install the new upper rear bearing oil seal with the white paint facing toward the rear of the engine.
4. Position the crankshaft into the cylinder block.
5. Lightly oil the new lower seal lips with engine oil.
6. Install the new lower rear bearing oil seal into the bearing cap with the white paint facing towards the rear of the engine.
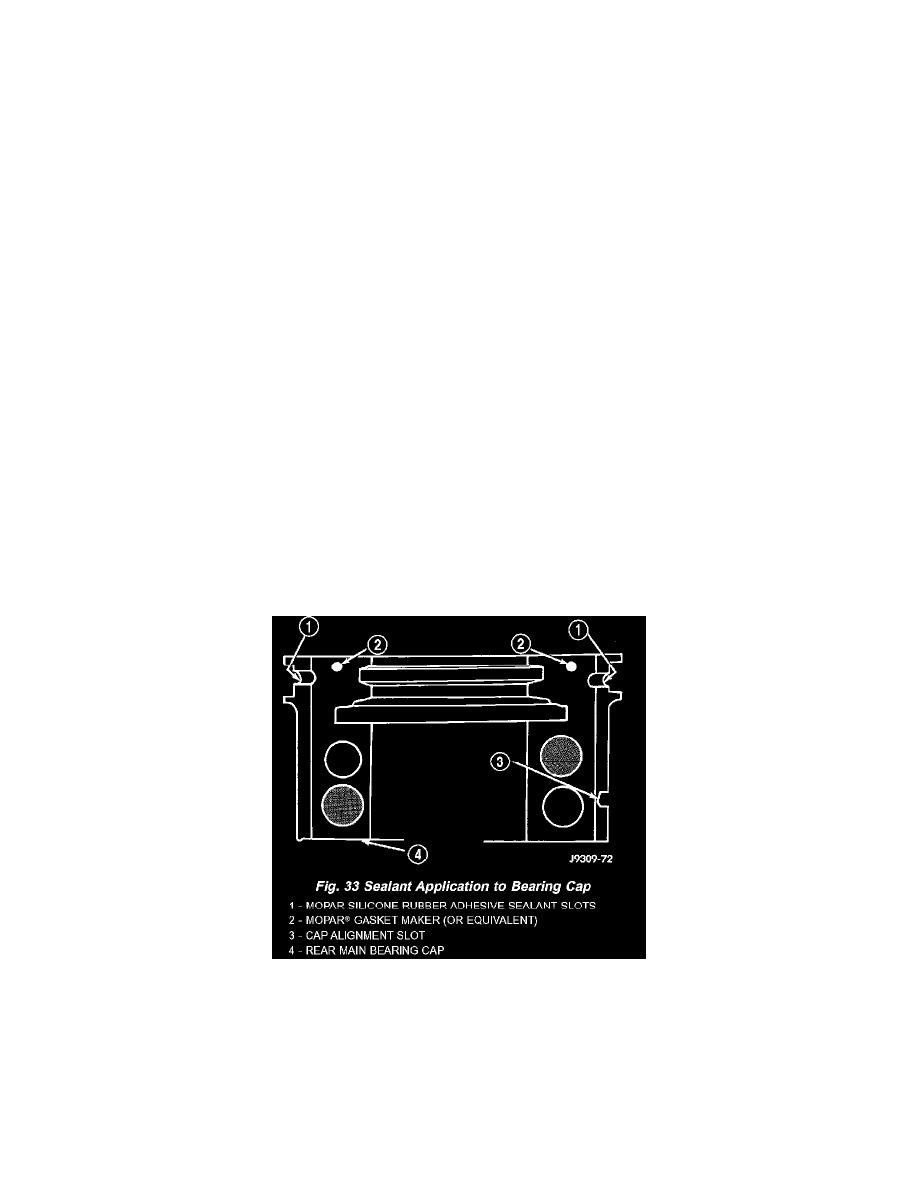
7. Apply 5 mm (0.20 inch) drop of Mopar Gasket Maker, or equivalent, on each side of the rear main bearing cap (Fig. 33). DO NOT over-apply
sealant or allow the sealant to contact the rubber seal. Assemble bearing cap to cylinder block immediately after sealant application.
8. To align the bearing cap, use cap slot, alignment dowel, and cap bolts. DO NOT remove excess material after assembly DO NOT strike rear cap
more than two times for proper engagement.
9. Clean and oil all cap bolts. Install all main bearing caps. Install all cap bolts and alternately tighten to 115 Nm (85 ft. lbs.) torque.
10. Install oil pump.