
RAM 1500 Truck 4WD V8-5.9L VIN Z (2002)
Exhaust Manifold: Service and Repair
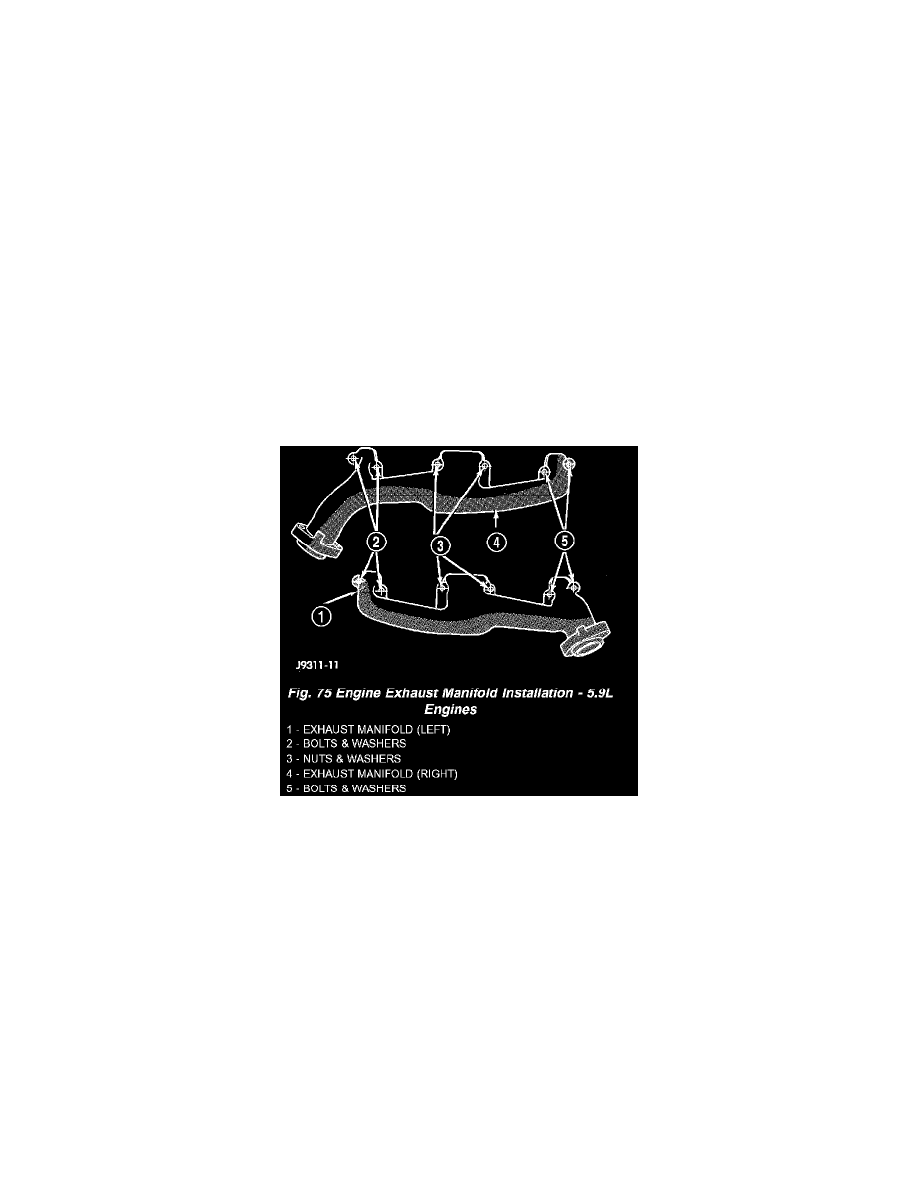
EXHAUST MANIFOLD
REMOVAL
1. Disconnect the negative cable from the battery.
2. Raise and support the vehicle.
3. Remove the bolts and nuts attaching the exhaust pipe to the engine exhaust manifold.
4. Lower the vehicle.
5. Remove the exhaust heat shields.
6. Remove bolts, nuts and washers attaching manifold to cylinder head.
7. Remove manifold from the cylinder head.
CLEANING
Clean mating surfaces on cylinder head and manifold. Wash with solvent and blow dry with compressed air.
INSPECTION
Inspect manifold for cracks.
Inspect mating surfaces of manifold for flatness with a straight edge. Gasket surfaces must be flat within 0.2 mm per 300 mm (0.008 inch per foot).
INSTALLATION
CAUTION: If the studs came out with the nuts when removing the engine exhaust manifold, install new studs. Apply sealer on the coarse thread
ends. Water leaks may develop at the studs if this precaution is not taken.
1. Position the engine exhaust manifolds on the two studs located on the cylinder head. Install conical washers and nuts on these studs.
2. Install two bolts and conical washers at the inner ends of the engine exhaust manifold outboard arms. Install two bolts WITHOUT washers on the
center arm of engine exhaust manifold. Starting at the center arm and working outward, tighten the bolts and nuts to 34 Nm (25 ft. lbs.) torque.
3. Install the exhaust heat shields.
4. Raise and support the vehicle.
5. Assemble exhaust pipe to manifold and secure with bolts, nuts and retainers. Tighten the bolts and nuts to 34 Nm (25 ft. lbs.) torque.
6. Lower the vehicle.
7. Connect the negative cable to the battery.