
RAM 1500 Truck 4WD V8-5.9L VIN Z (2002)
Glove Box Lamp: Service and Repair
GLOVE BOX LAMP/SWITCH
REMOVAL
1. Disconnect and isolate the battery negative cable
2. Remove the glove box from the instrument panel.
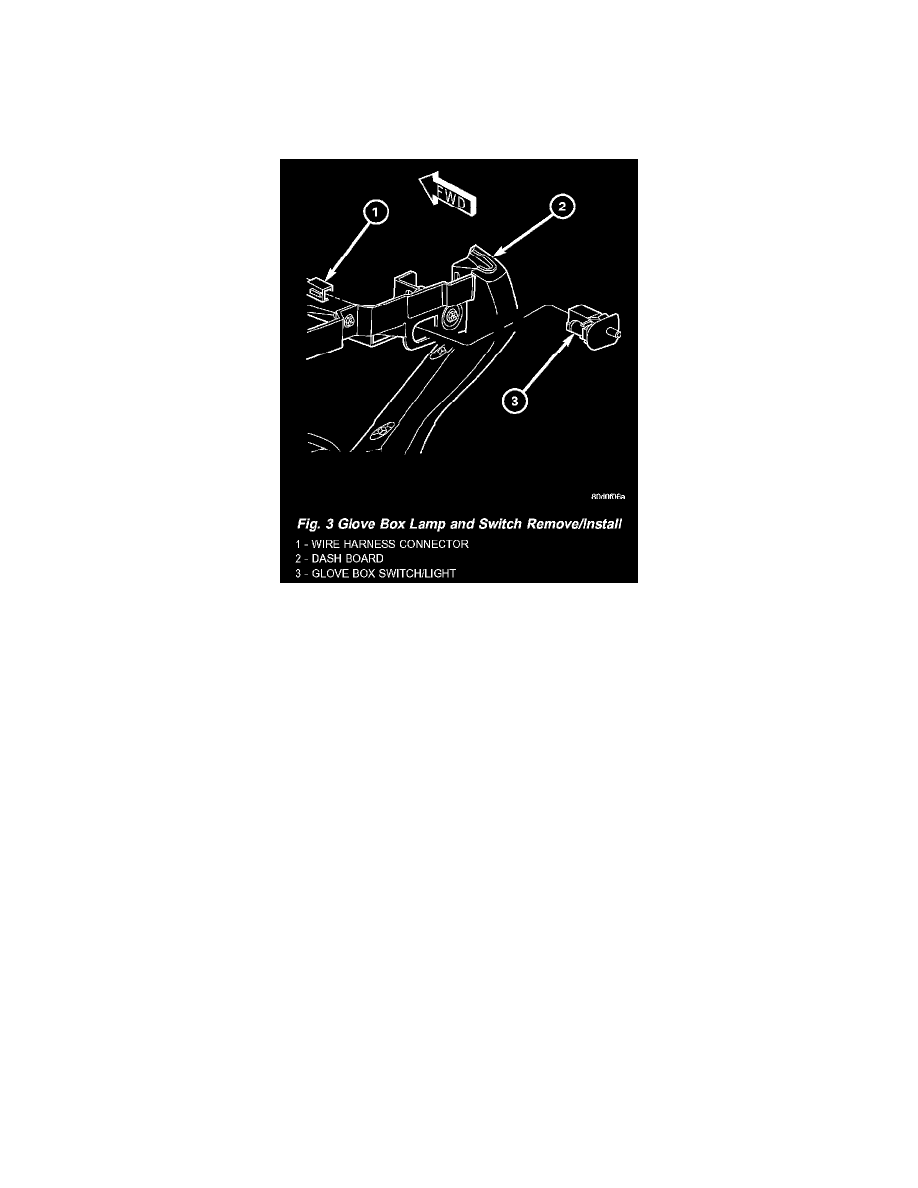
Fig. 3 Glove Box Lamp And Switch Remove/Install
3. Reach through the glove box opening and behind the glove box lamp and switch mounting bracket to access the instrument panel wire harness
connector on the glove box lamp and switch.
4. Disconnect the instrument panel wire harness connector from the connector receptacle on the back of the glove box lamp and switch unit.
5. Reach through the glove box opening and behind the glove box lamp and switch mounting bracket to depress the retaining tabs on the top and
bottom of the glove box lamp and switch housing.
6. While holding the retaining tabs depressed, push the glove box lamp and switch unit out through the hole in the mounting bracket on the
instrument panel glove box opening upper reinforcement.
7. Remove the glove box lamp and switch unit from the instrument panel.
INSTALLATION
1. Reach through the glove box opening and behind the glove box lamp and switch mounting bracket to feed the instrument panel wire harness
connectors out through the hole in the glove box lamp and switch housing mounting bracket.
2. Position the glove box lamp and switch unit to the instrument panel.
3. Reconnect the instrument panel wire harness connector to the connector receptacle on the back of the glove box lamp and switch unit.
4. Push the glove box lamp and switch unit into the hole in the mounting bracket on the instrument panel glove box opening upper reinforcement.
5. Install the glove box onto the instrument panel.
6. Close the glove box
7. Reconnect the battery negative cable.