
RAM 1500 Truck 4WD V8-5.9L VIN Z (2002)
Seals and Gaskets: Service and Repair
NV241/GEN II - Transfer Case
Extension Housing Bushing and Seal
NV241/GEN II - Transfer Case
Extension Housing Bushing and Seal
REMOVAL
1. Raise and support vehicle.
2. Remove rear propeller shaft.
3. Using a suitable pry tool or slide-hammer mounted screw, remove the extension housing seal.
4. Using Remover 8158, remove bushing from extension housing.
INSTALLATION
1. Clean fluid residue from sealing surface and inspect for defects.
2. Position replacement bushing in extension housing with fluid port in bushing aligned with slot in housing.
3. Using Installer 8157, drive bushing into housing until installer seats against case.
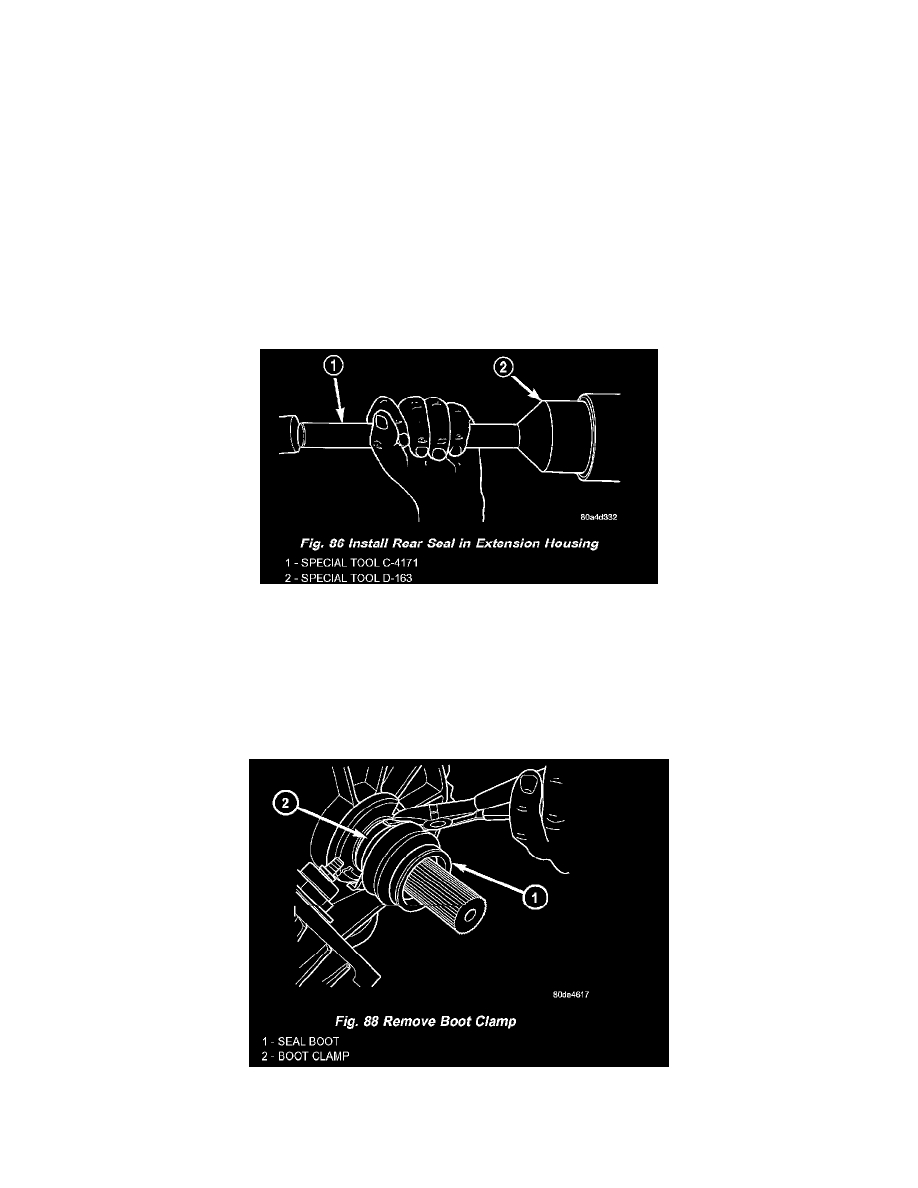
4. Using Installer D-163, install seal in extension housing (Fig. 86).
5. Install propeller shaft.
6. Verify proper transfer case fluid level.
7. Lower vehicle.
Front Output Shaft Seal
NV241/GEN II - Transfer Case
Front Output Shaft Seal
REMOVAL
1. Remove the front propeller shaft.
2. Remove the front propeller shaft seal boot retaining clamp (Fig. 88).