
RAM 1500 Van V8-5.2L VIN Y (1999)
Evaporator Core: Service and Repair
Evaporator Core Replacement
Front Evaporator Core
FRONT EVAPORATOR CORE
WARNING: REVIEW THE WARNINGS AND CAUTIONS BEFORE PERFORMING THE FOLLOWING OPERATION.
REMOVAL
1. Remove the heater-A/C housing from the engine compartment. Refer to: " Housing Assembly HVAC : Service and Repair" See: Housing
Assembly HVAC/Service and Repair/Rear Heater-A/C Unit Replacement and Service
2. Remove the top cover from the heater-A/C housing.
3. Remove the expansion valve from the evaporator coil. Refer to: "Expansion Valve : Service and Repair" See: Expansion Valve/Service and
Repair/Rear Expansion Valve
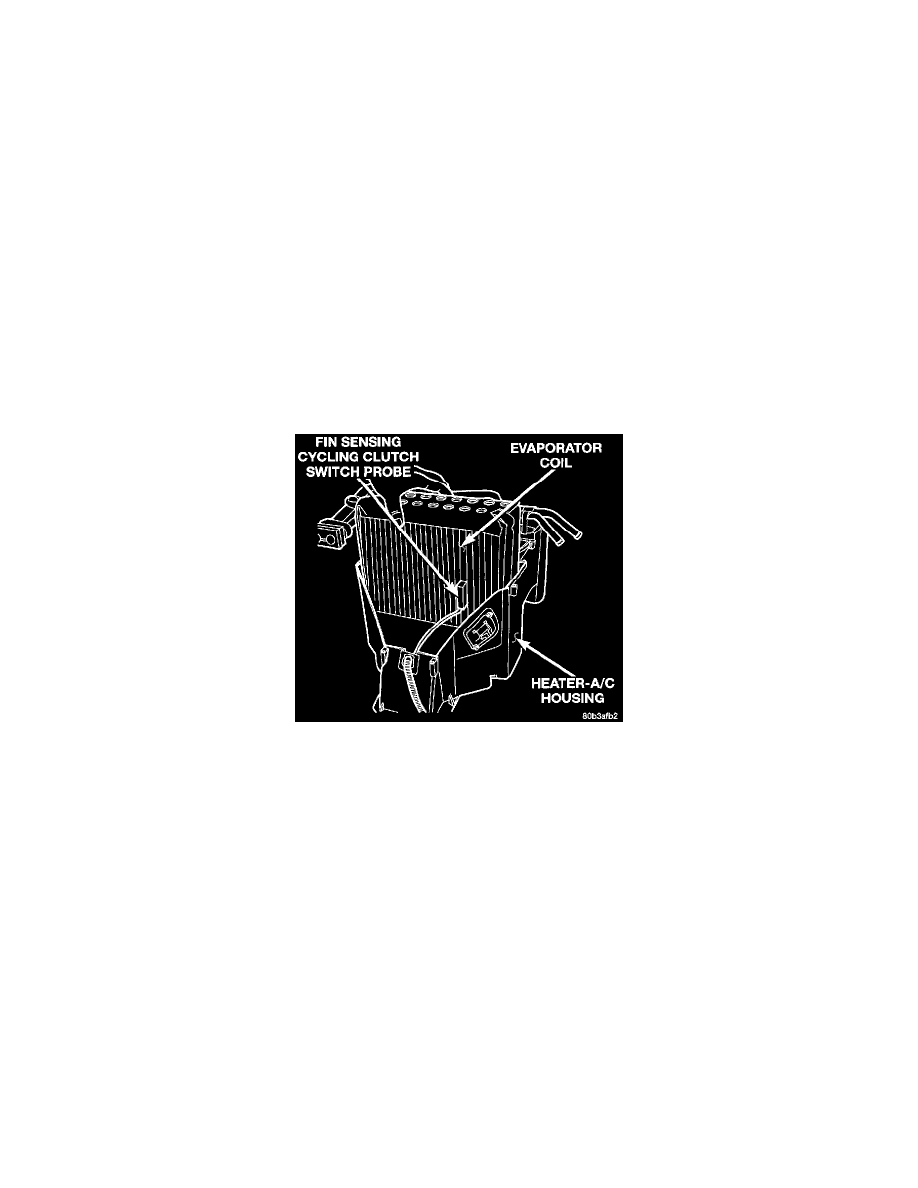
4. Remove the fin sensing cycling clutch switch probe from the evaporator coil. Refer to: "Evaporator Temperature Sensor/Switch : Service and
Repair" See: Fin Sensing Cycling Clutch Switch/Service and Repair
Evaporator Coil Remove/Install
5. Lift the evaporator coil out of the heater-A/C housing.
INSTALLATION
1. Insert the evaporator coil into the bottom of the heater-A/C housing.
2. Reinstall the expansion valve to the evaporator coil.
3. Reinstall the fin sensing cycling clutch switch probe to the evaporator coil.
4. Reinstall the top cover onto the heater-A/C housing.
5. Reinstall the heater-A/C housing in the engine compartment.
NOTE: If the front evaporator coil is replaced, add 60 ml (2 fluid ounces) of refrigerant oil to the refrigerant system Use only refrigerant oil of
the type recommended for the compressor in the vehicle.
Rear Evaporator Core
REAR EVAPORATOR CORE
WARNING: REVIEW THE WARNINGS AND CAUTIONS BEFORE PERFORMING THE FOLLOWING OPERATION.