
RAM 2500 Truck 2WD V8-5.7L (2008)
Lower Side Moulding / Trim: Service and Repair
Installation
INSTALLATION
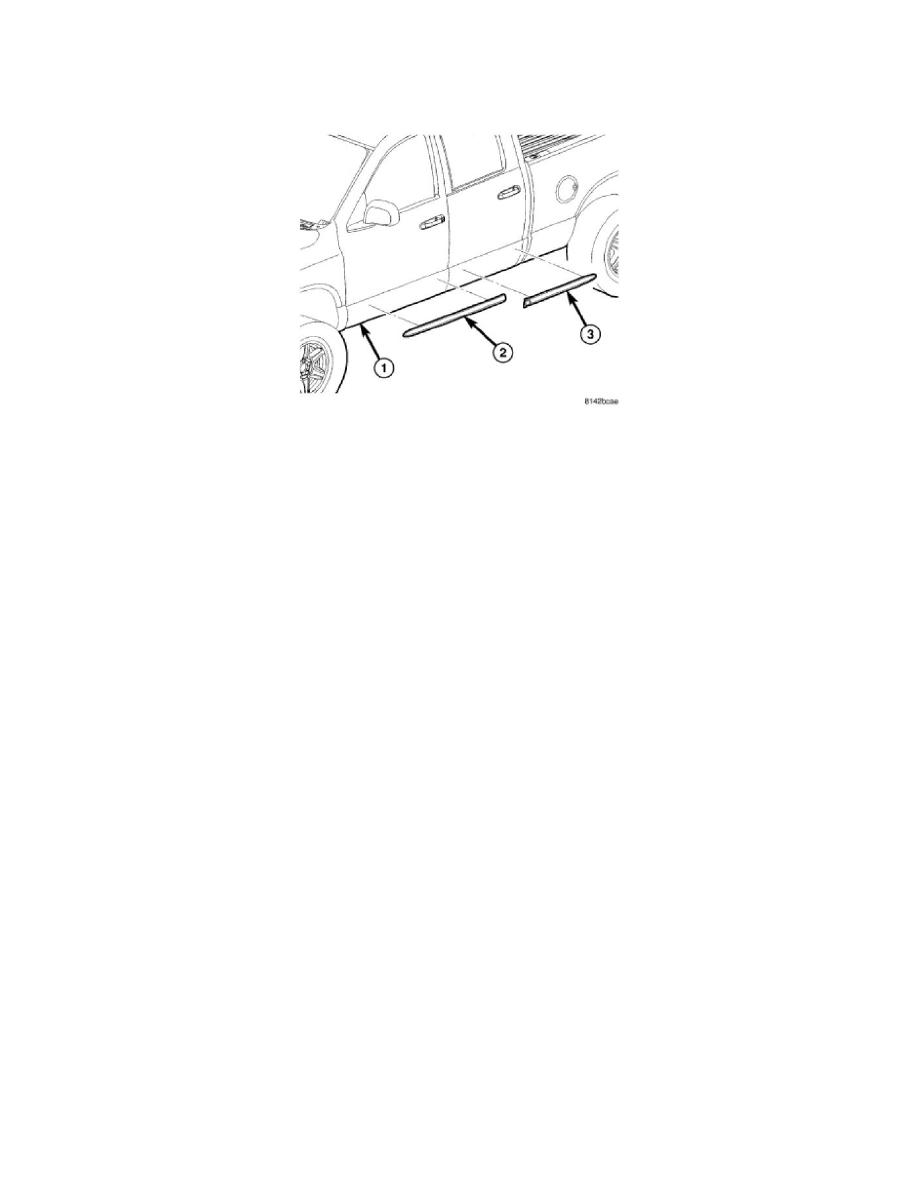
NOTE: Quad Cab model shown in the illustration. Body side moldings for Regular cab models are similar.
1. Thoroughly clean all residue from the molding attachment areas of the rocker panels (1).
2. Wipe the attachment areas with a clean, lint-free cloth, moistened with a 50% solution of water and alcohol and then wipe dry the areas
immediately with a dry, lint-free cloth.
CAUTION: Do not exceed 52° C (120° F) when heating the moldings or rocker panels. Failure to follow this caution may result in damage
to the moldings and/or the vehicle paint finish.
NOTE: If ambient temperatures are below 21° C (70° F), warm the body side molding and rocker panel with a heat lamp or gun to assure
proper adhesion.
3. Remove the protective covering from the back of the body side molding (2 and 3) and position the molding onto the rocker panel using the
previously installed guide tape.
NOTE: To ensure proper molding adhesion, apply consistent and uniform pressure of approximately 40 p.s.i. over the entire surface of
each body side molding.
4. Install the body side molding onto the rocker panel.