
RAM 2500 Truck 4WD V8-5.7L VIN D (2005)
6. If the original clutch plate (1) and pulley and bearing assembly are to be reused, reinstall the original shim(s) onto the compressor shaft. If a new
clutch plate and/or pulley and bearing assembly are being used, install a 1.0, 0.50, and 0.13 millimeter (0.040, 0.020, and 0.005 inch) shims from
the new clutch hardware package that is provided with the new clutch.
7. Install the clutch plate onto the compressor shaft.
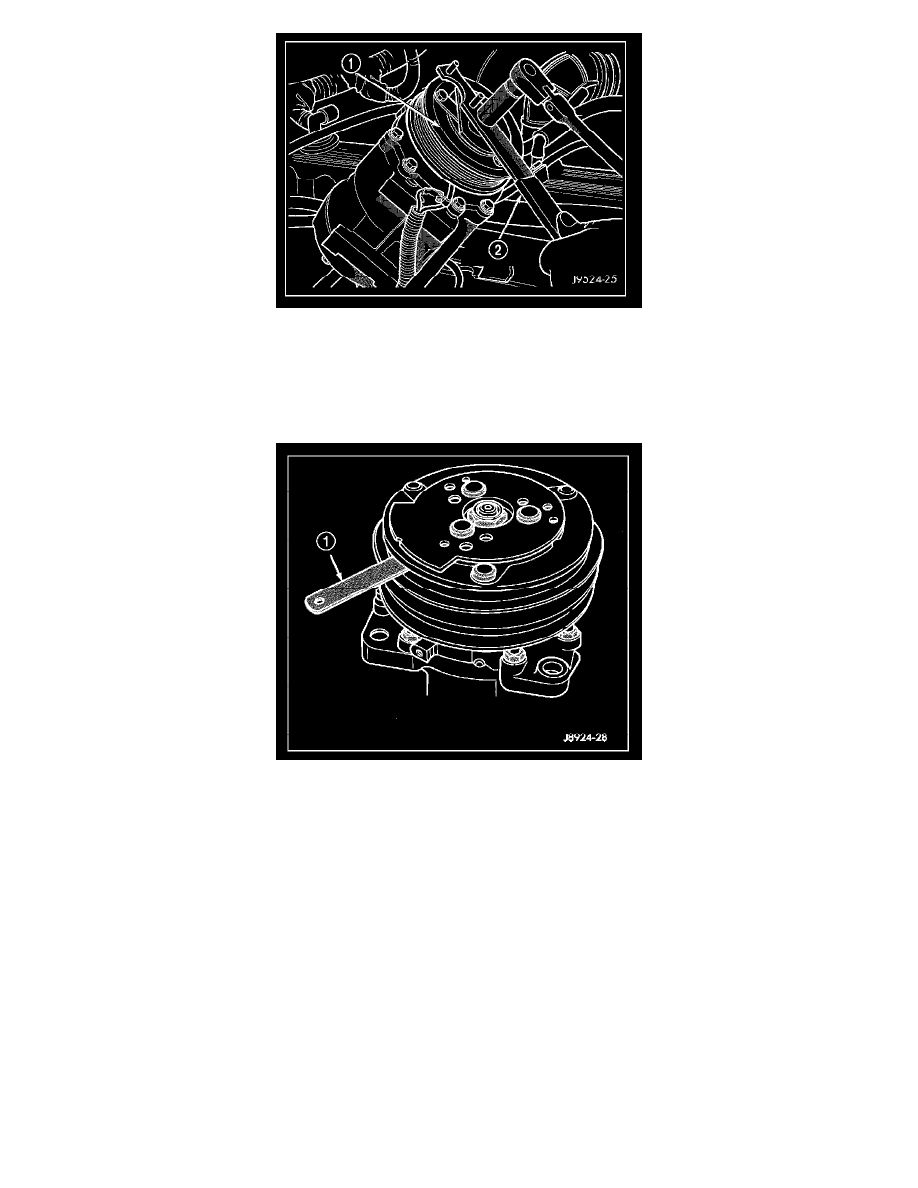
8. Insert the two pins of the spanner wrench (Special Tool C-4489 or equivalent) (2) into the holes of the clutch plate (1). Hold the clutch plate
stationary and install the nut that secures the clutch plate. Tighten the nut to 20 N.m (15 ft.lbs.).
NOTE: The shims may compress after tightening the shaft bolt. Check the air gap in four or more places to verify the air gap is correct. Spin the
pulley before performing a final check of the air gap.
9. With the clutch plate assembled tight against the shim(s), measure the air gap between the clutch plate and the pulley and bearing assembly faces
with a feeler gauge. The air gap should be between specifications. If the proper air gap is not obtained, add or subtract shims as needed until the
desired air gap is obtained.
10. Install the bolts that secure the A/C compressor to the mounting bracket.
11. Connect the engine wire harness connector to the A/C compressor clutch coil.
12. Install the accessory drive belt.
13. Reconnect the negative battery cable.